Once you finish working on your screenplay in Scrite, you may want to export it so that you can share your work with others or for further editing and post processing using other tools.
We have come in touch with quite a few writers who prefer to work on the first draft using Scrite, because they like the structuring features offered by the app, but want to work on the second, third and more drafts using Final Draft or Fade In Pro because that’s what their studio mandates.
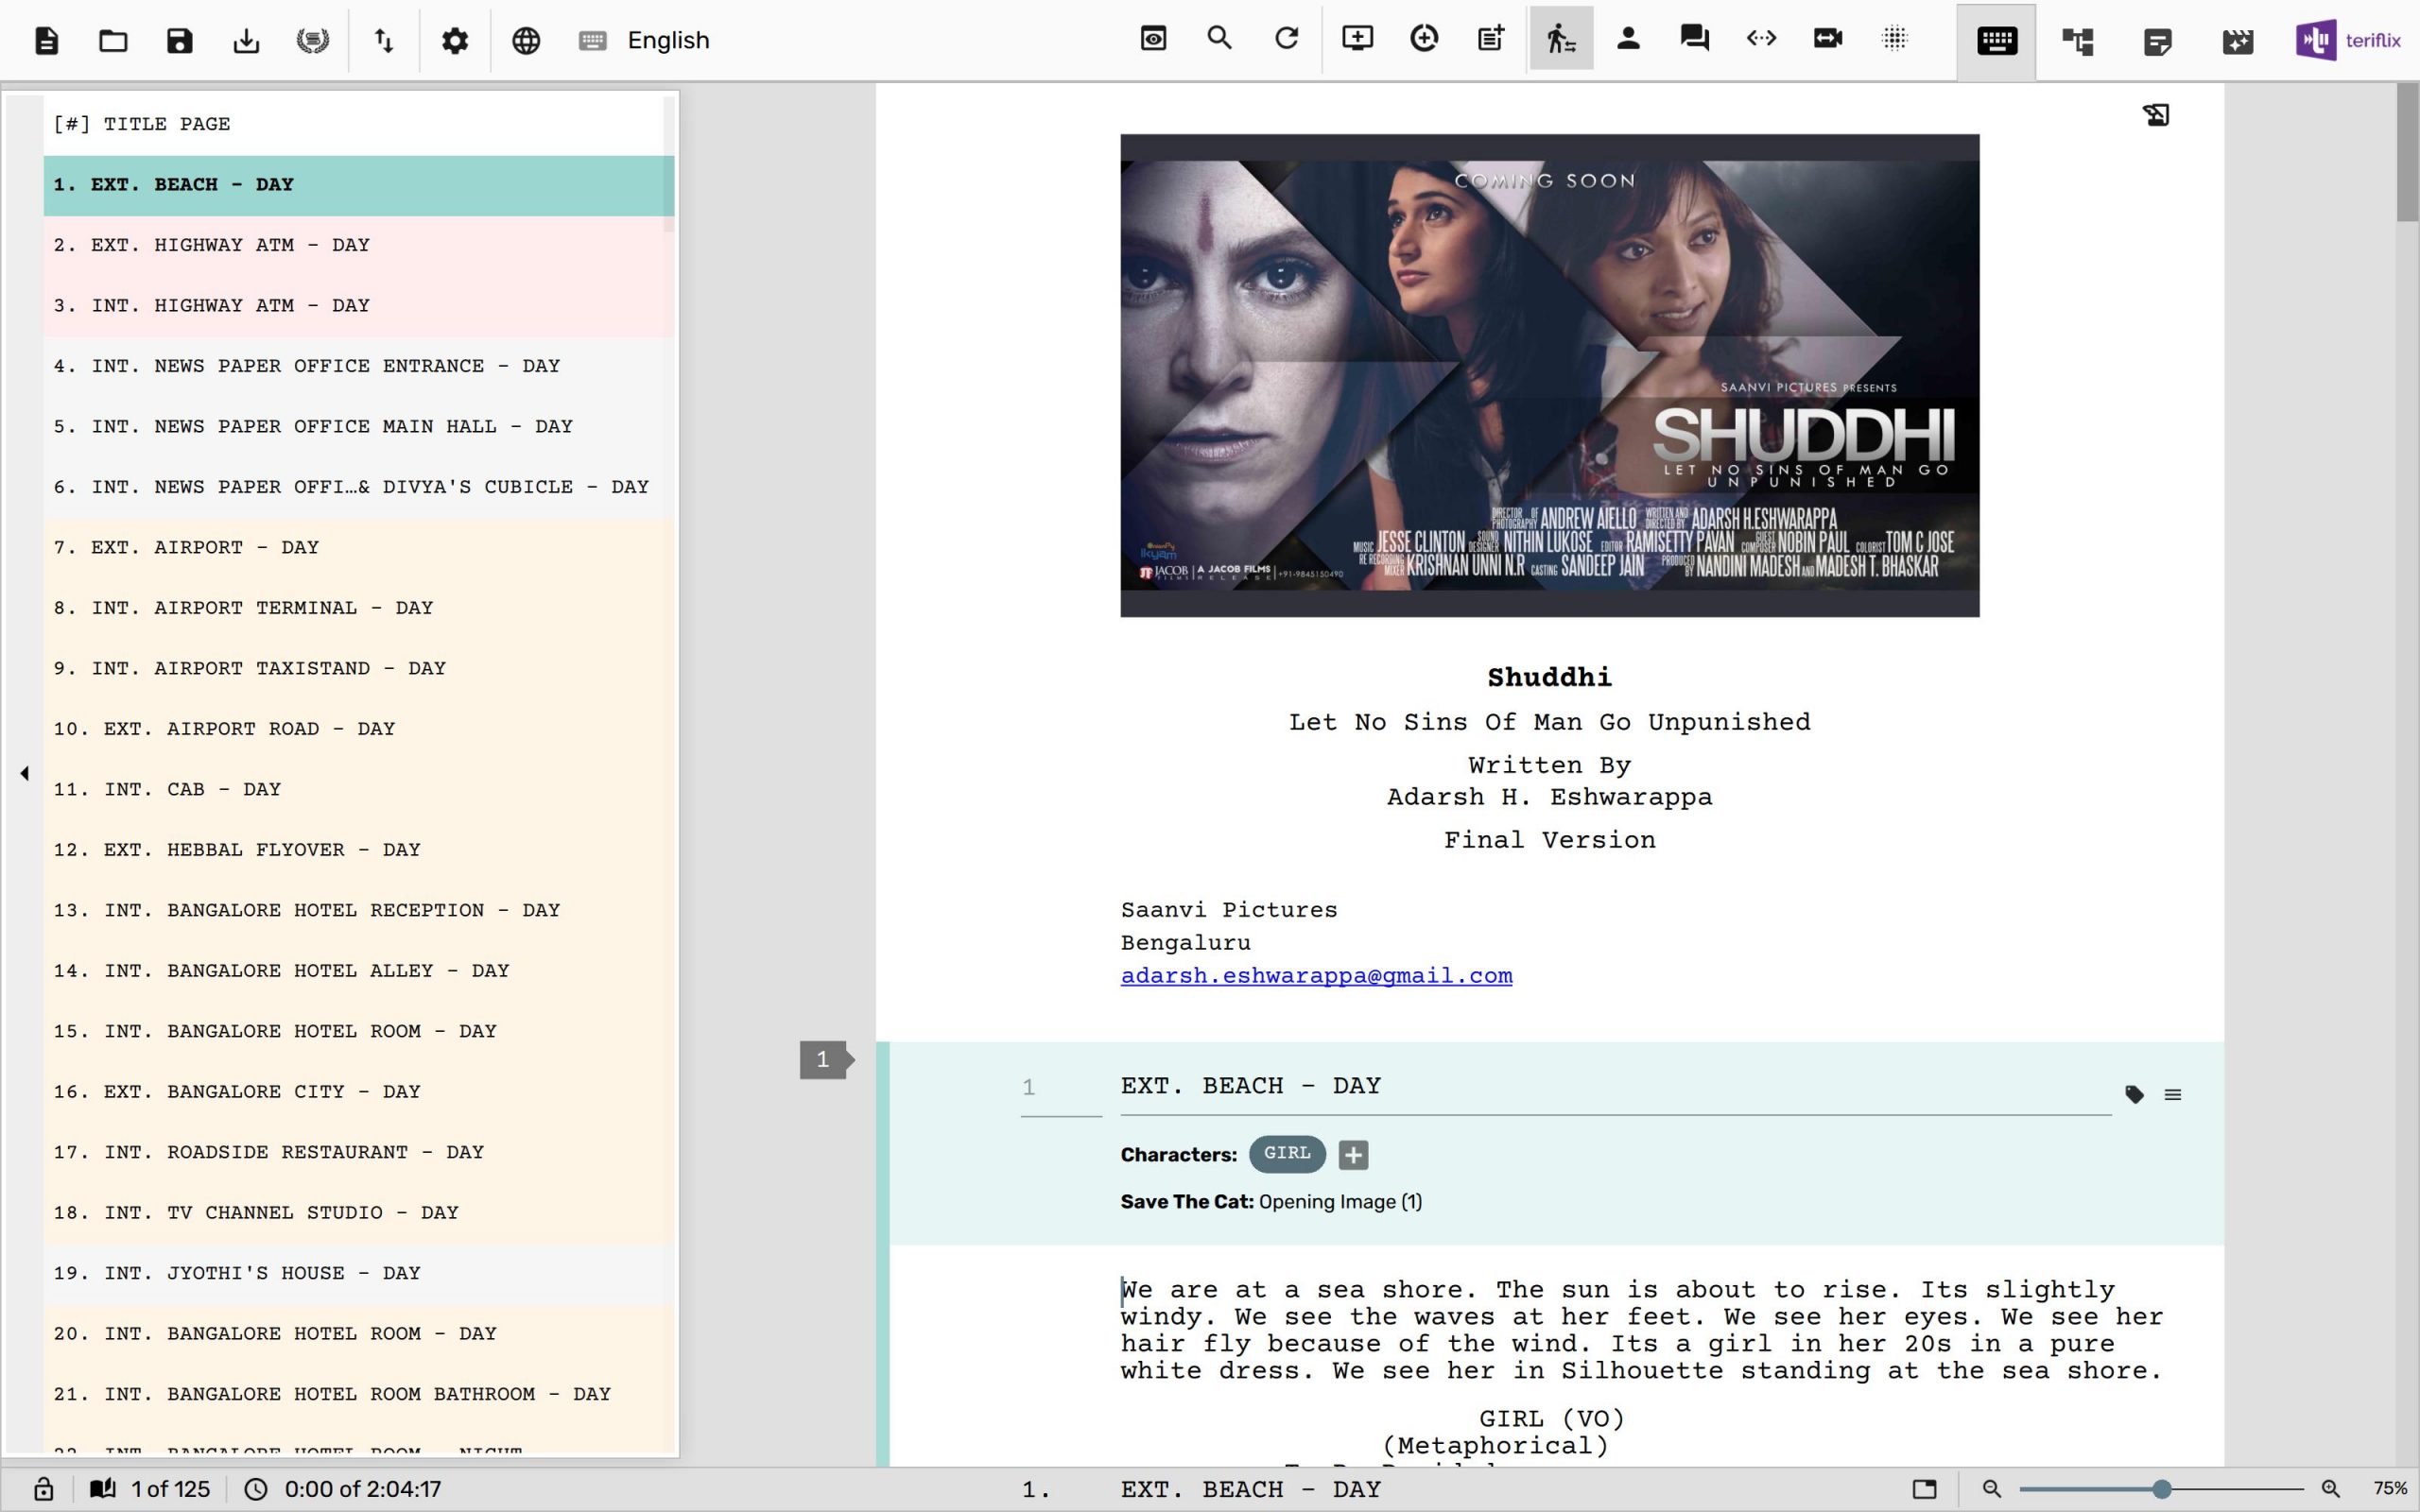
In this article we will walk you through the various formats to which you can export your screenplay in Scrite.
Table Of Contents
As on writing, the following export formats are supported in Scrite.
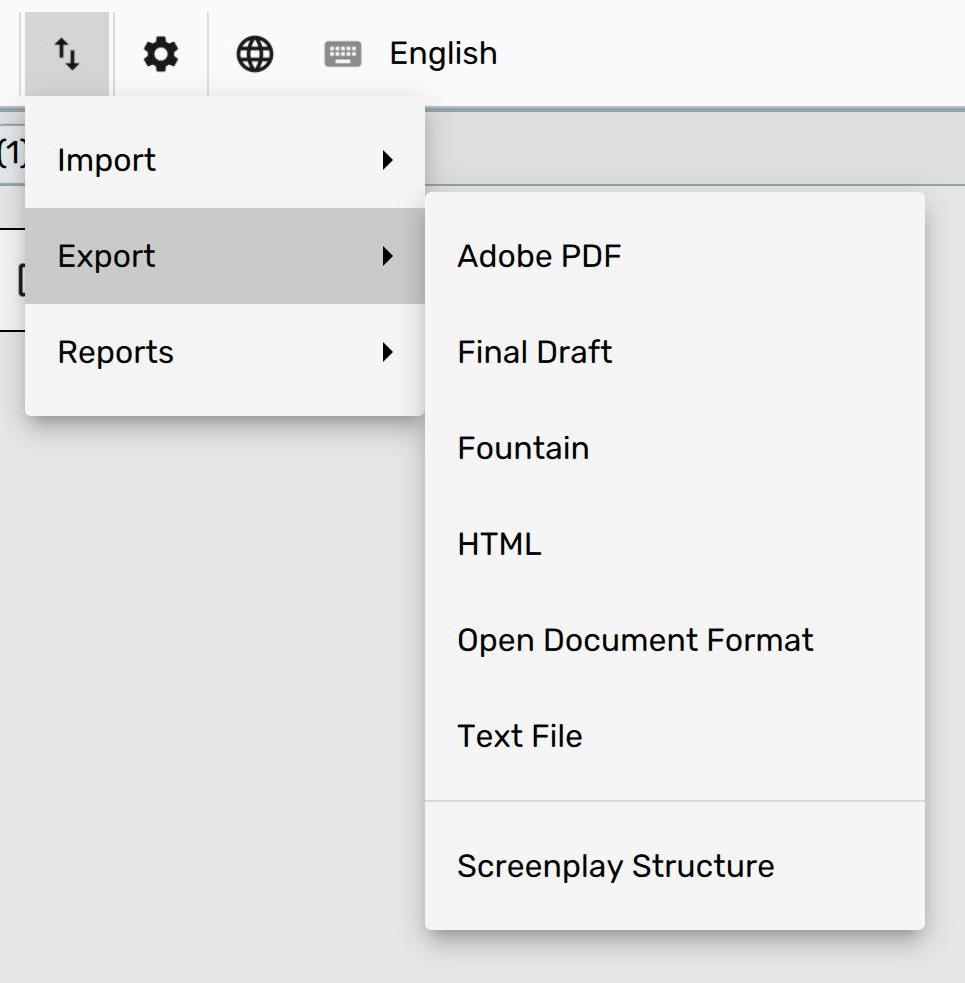
Export To PDF
When you select the Export -> PDF option, you will see the following dialog box.
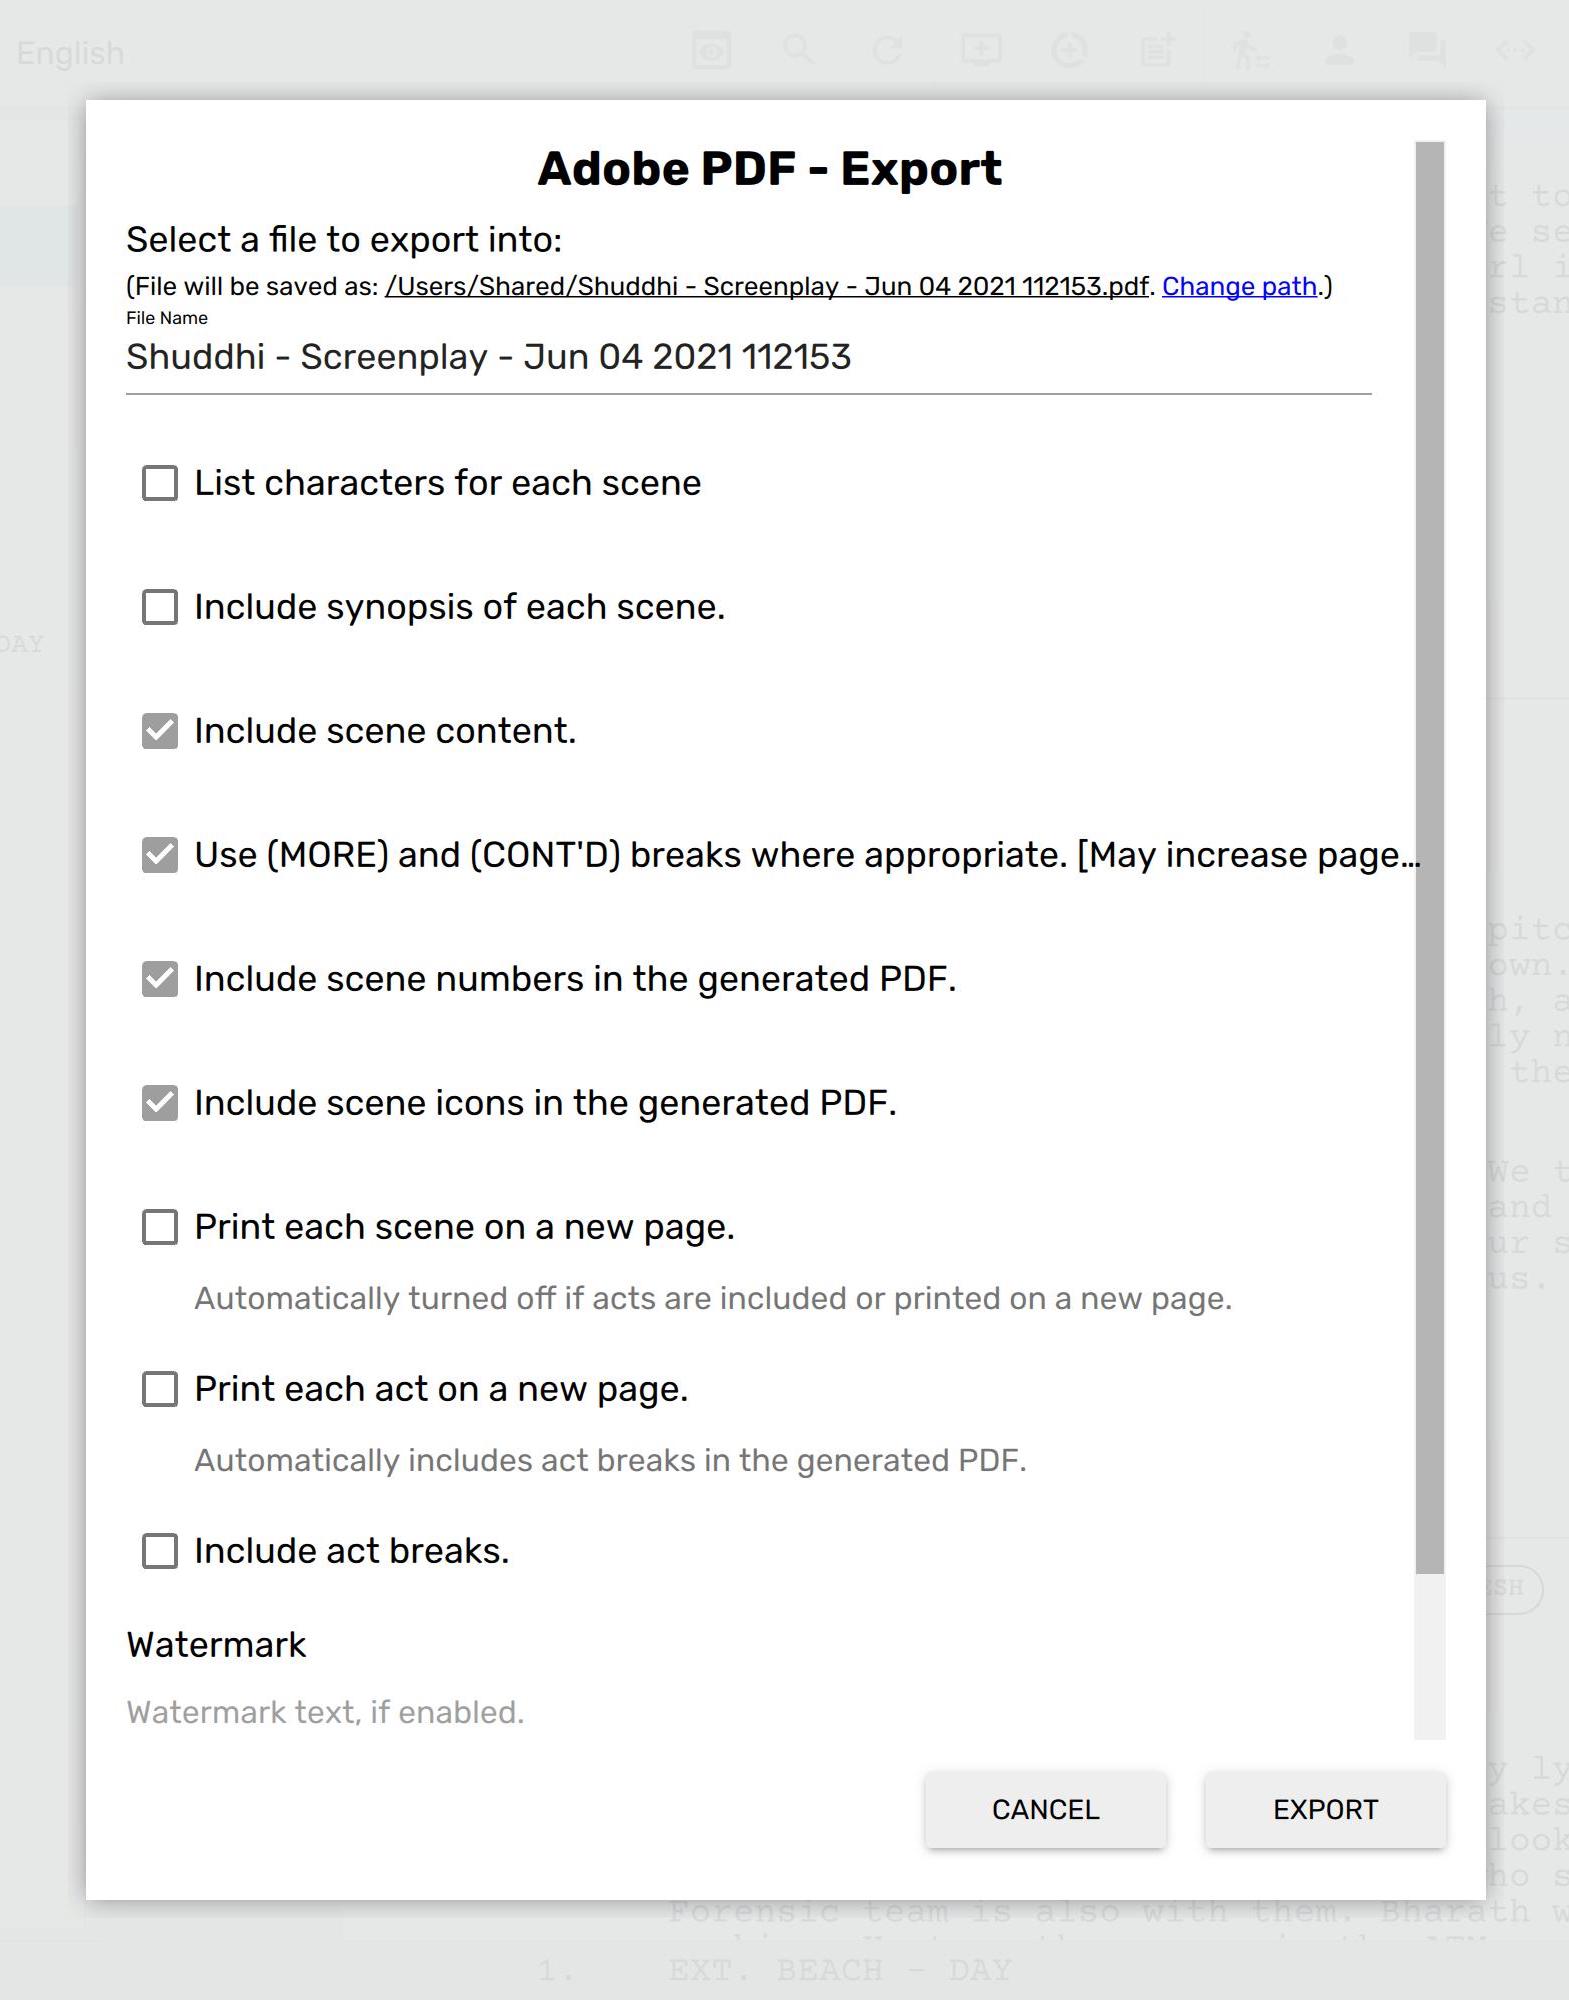
Options on this dialog box are configured to their default values that works for most people. But you can change them if you like. But before we get into that, lets look at the PDF file generated using the default options.
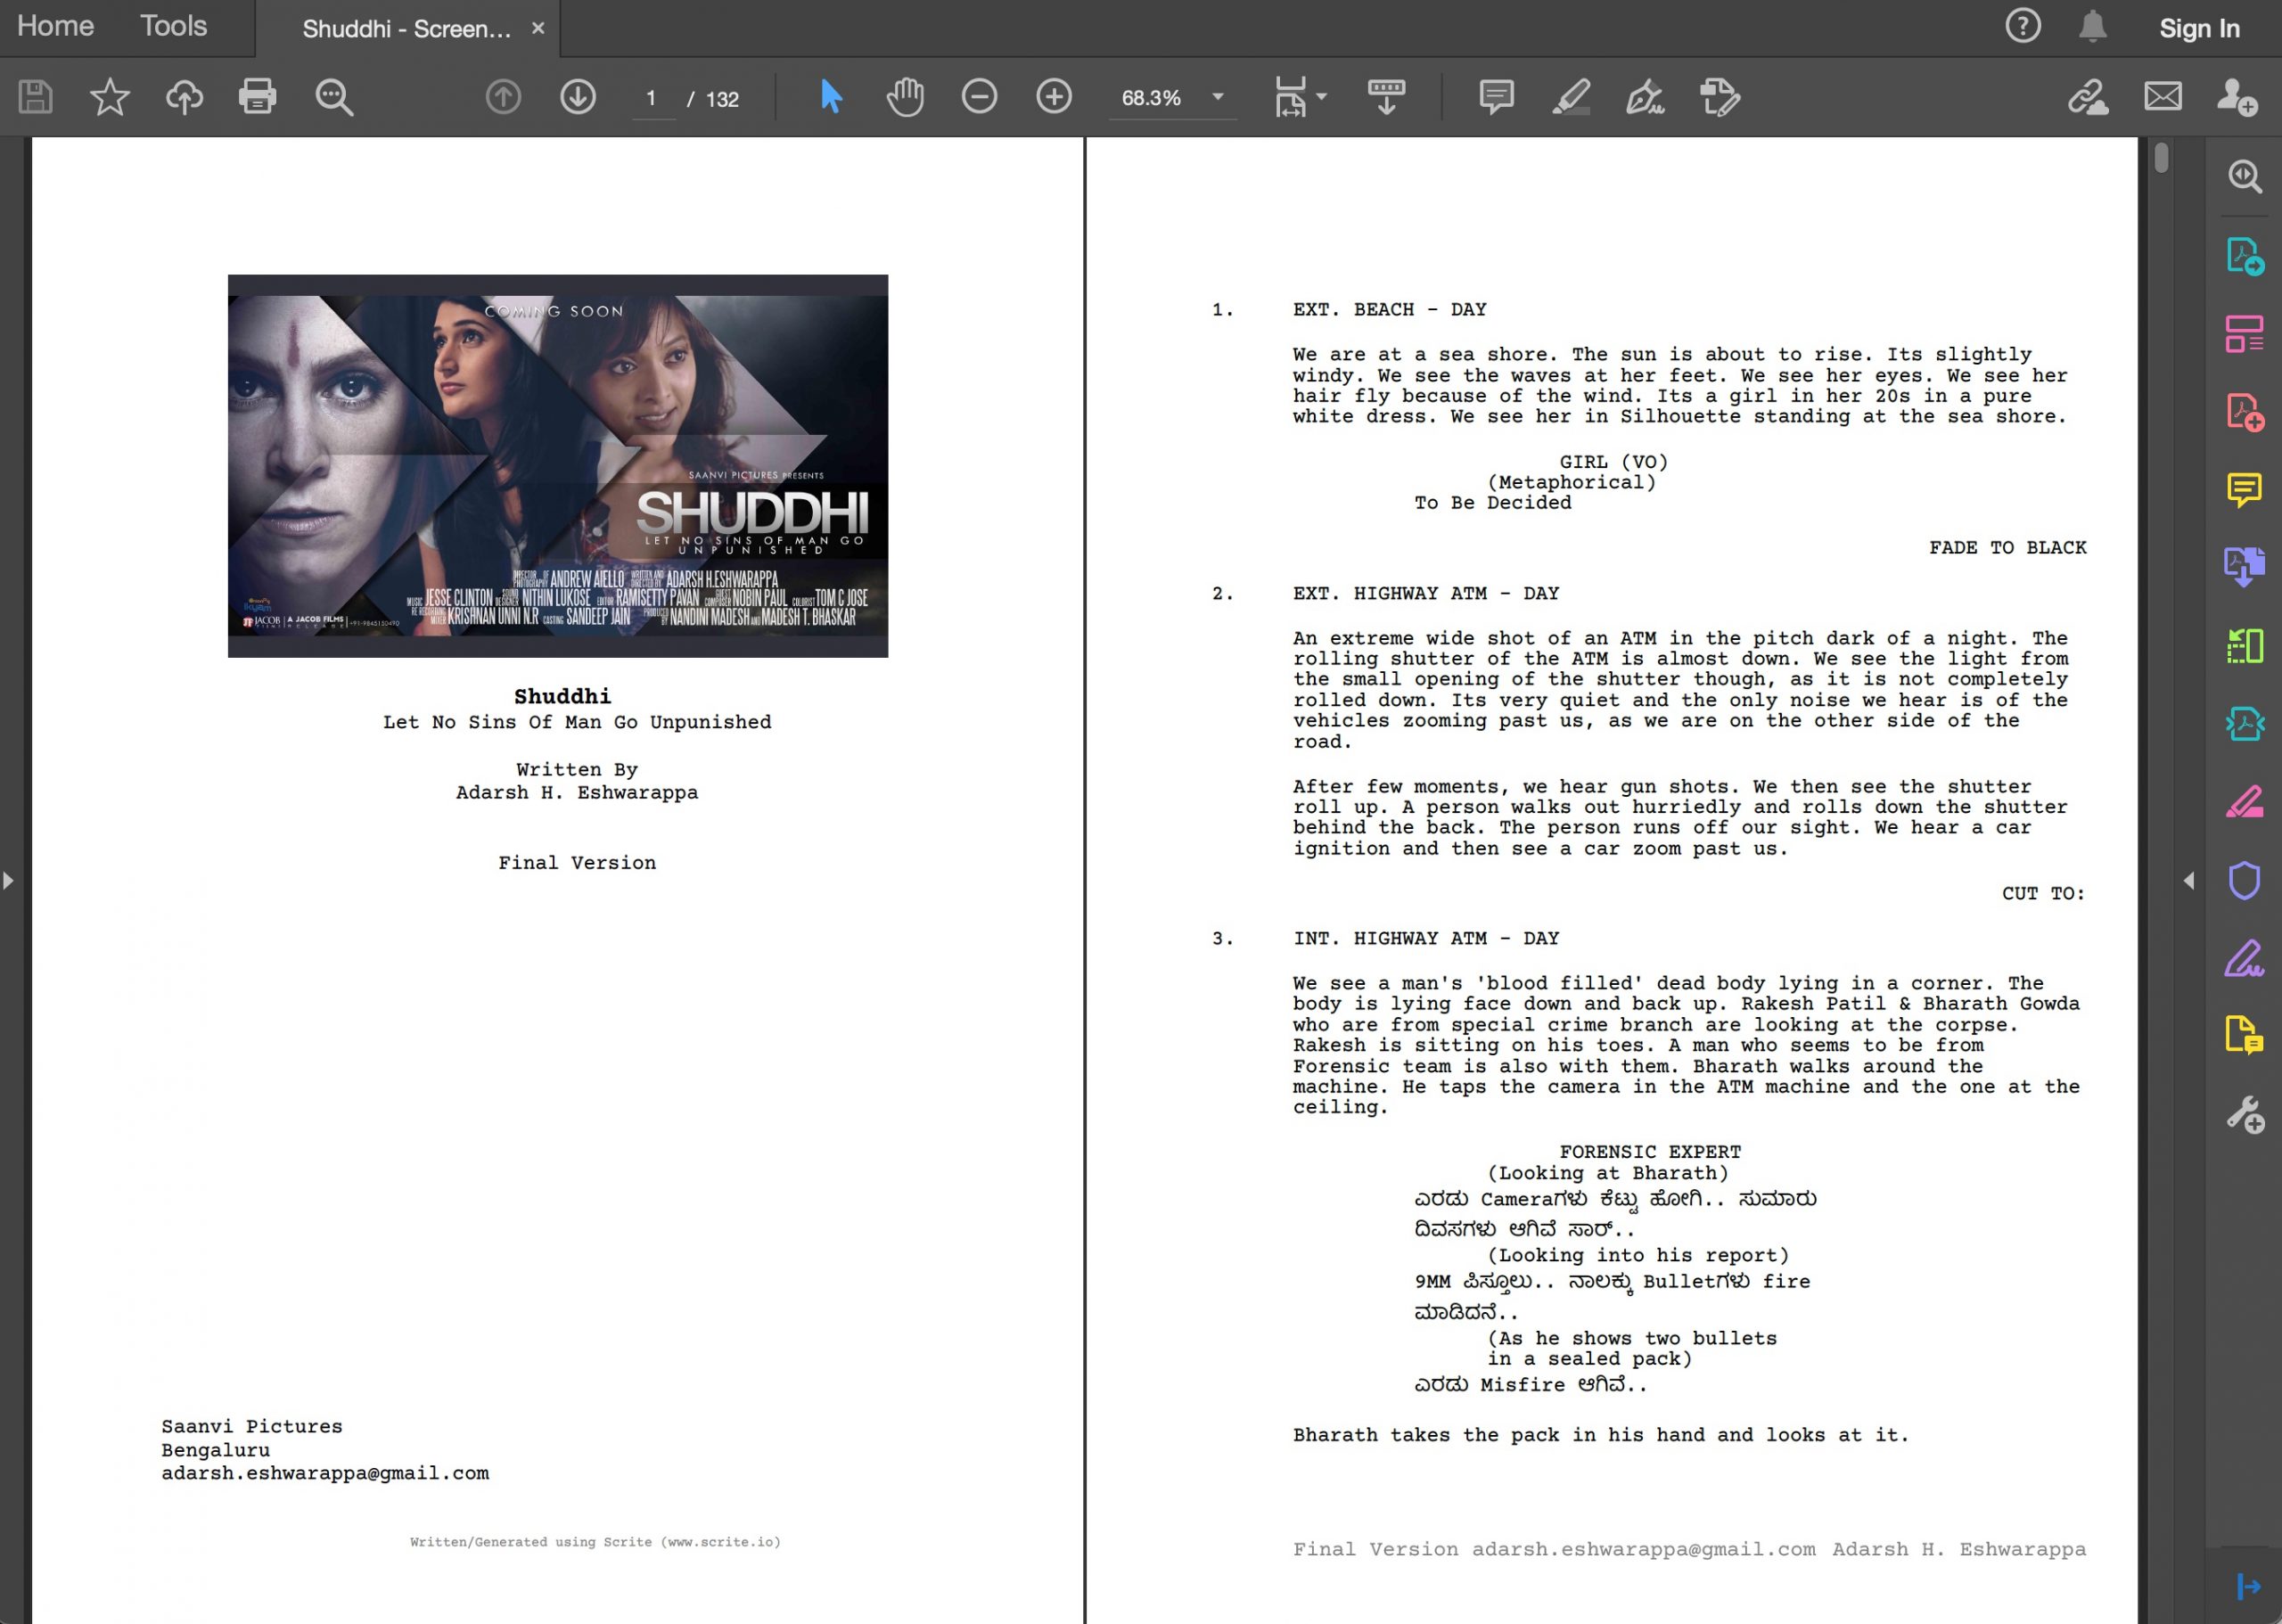
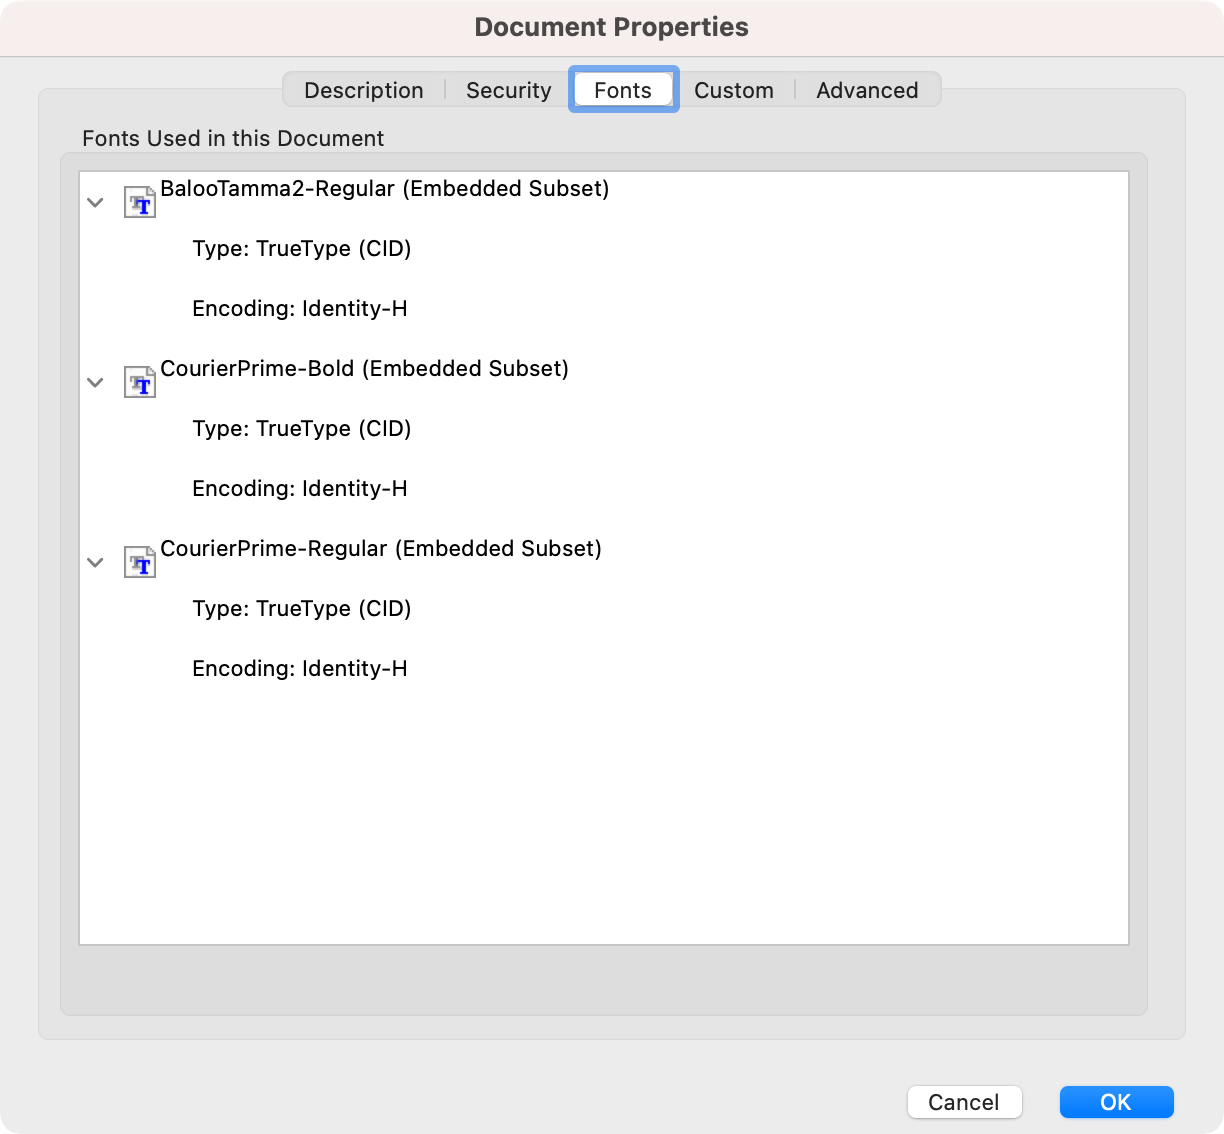
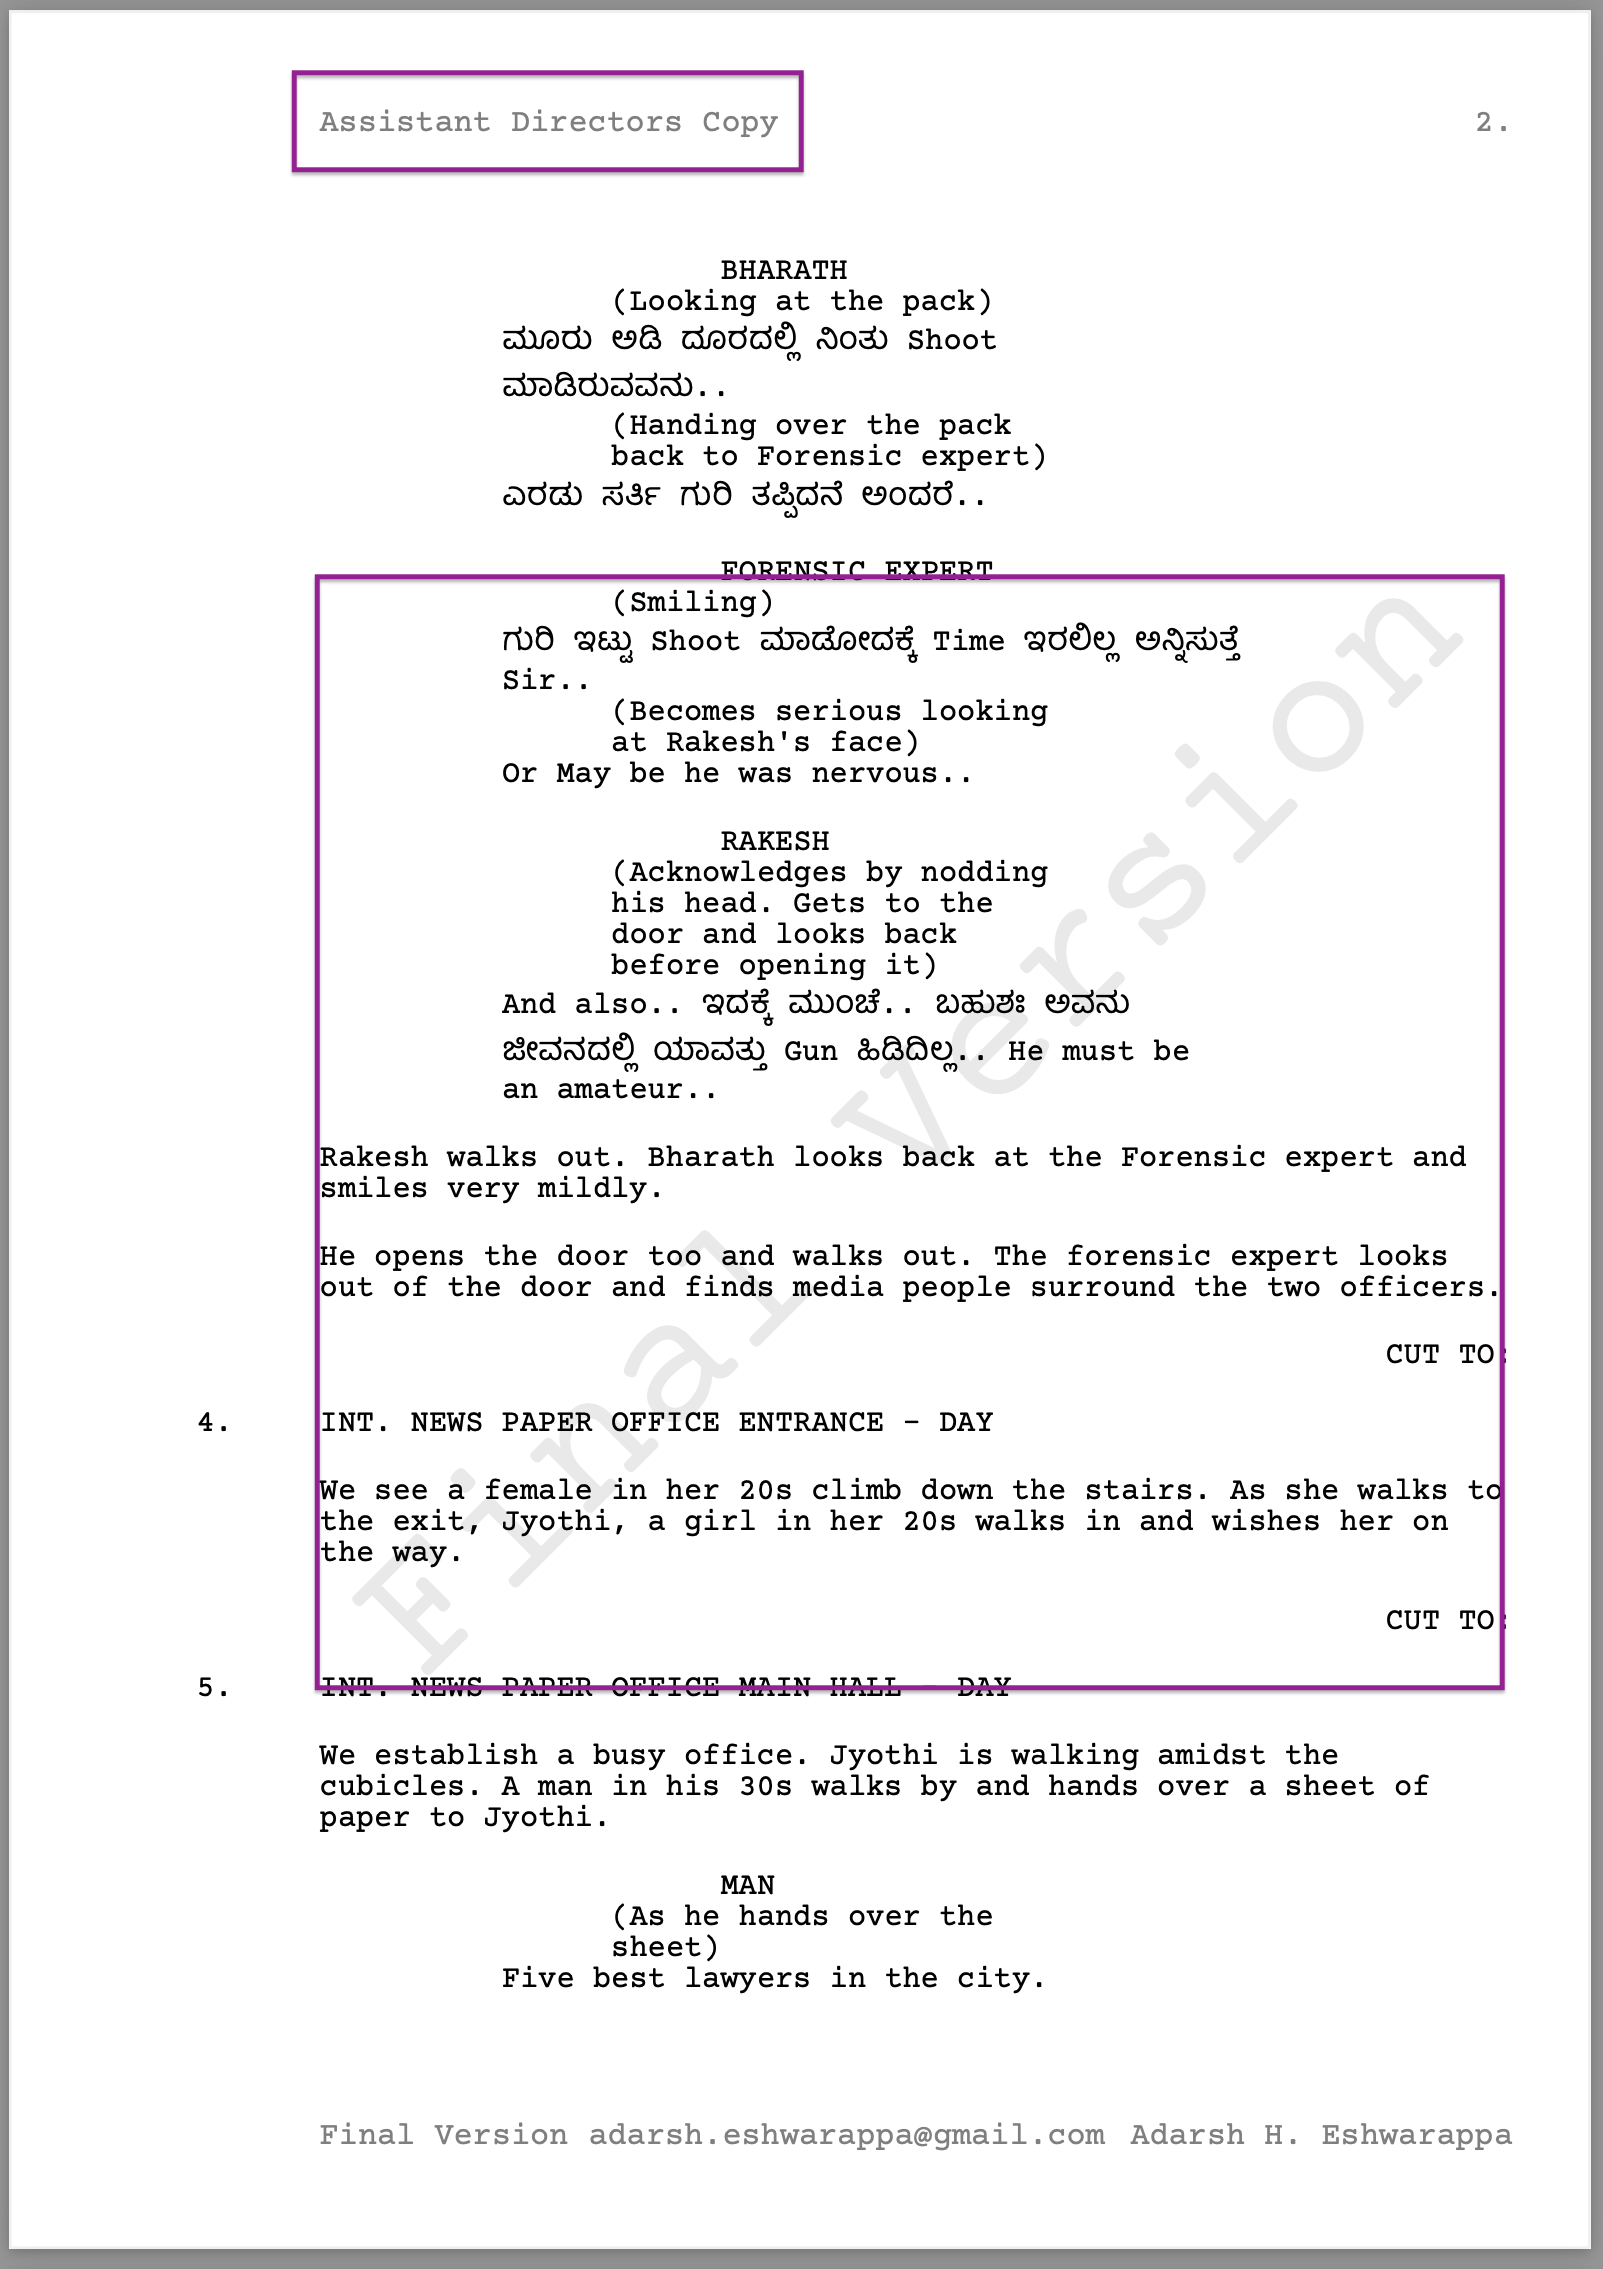
The exported PDF file contains text fragments from Indian languages that you may have used in your screenplay. Infact, Scrite embeds the fonts into the PDF itself so that the appearance is consistent across all systems, even those that may not have the font that you have on your system.
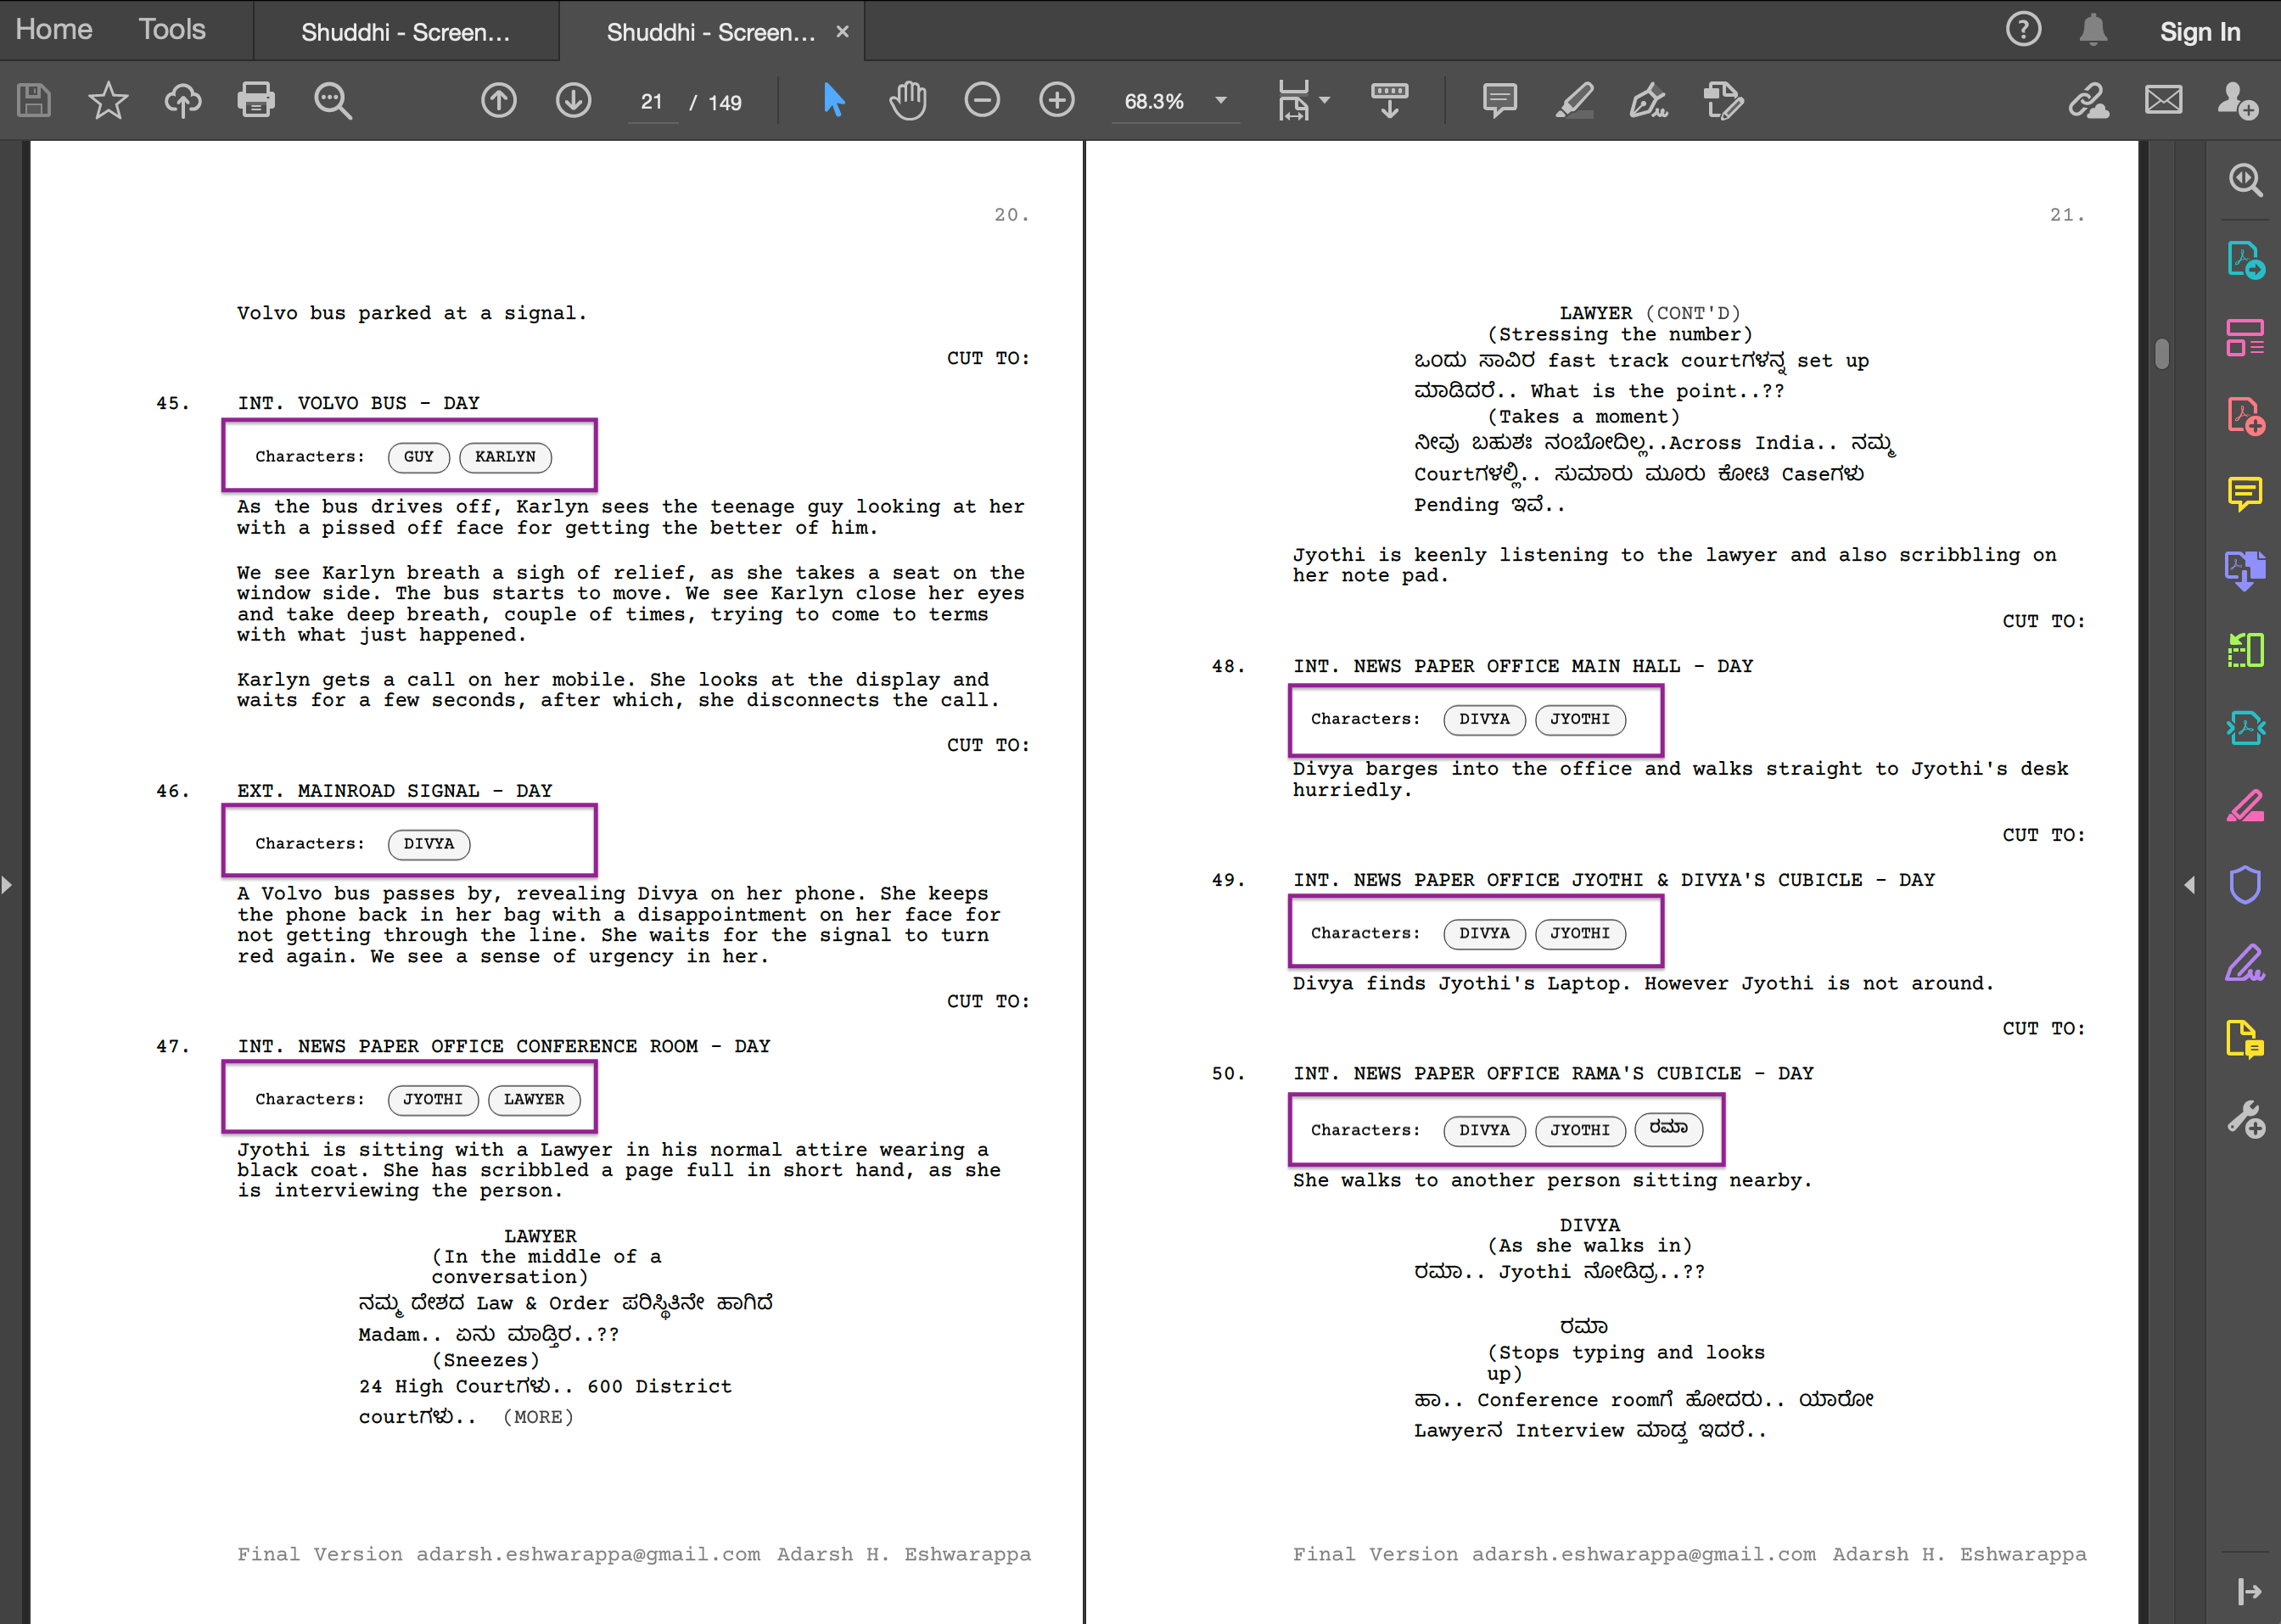
List Characters For Each Scene
By checking this option on the “Adobe PDF Export” dialog box, you will get a PDF file with character names listed below each scene heading.
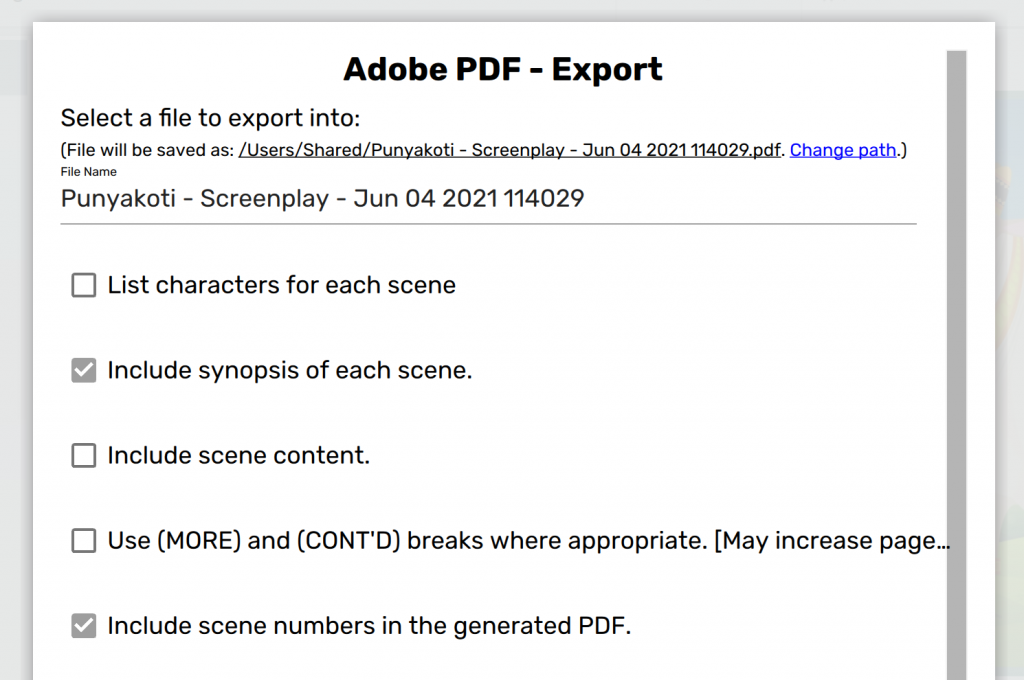
Include Synopsis Of Each Scene
By default scene synopsis is not exported to PDF. When you enable it, you will notice synopsis of each scene printed in the generated PDF file.
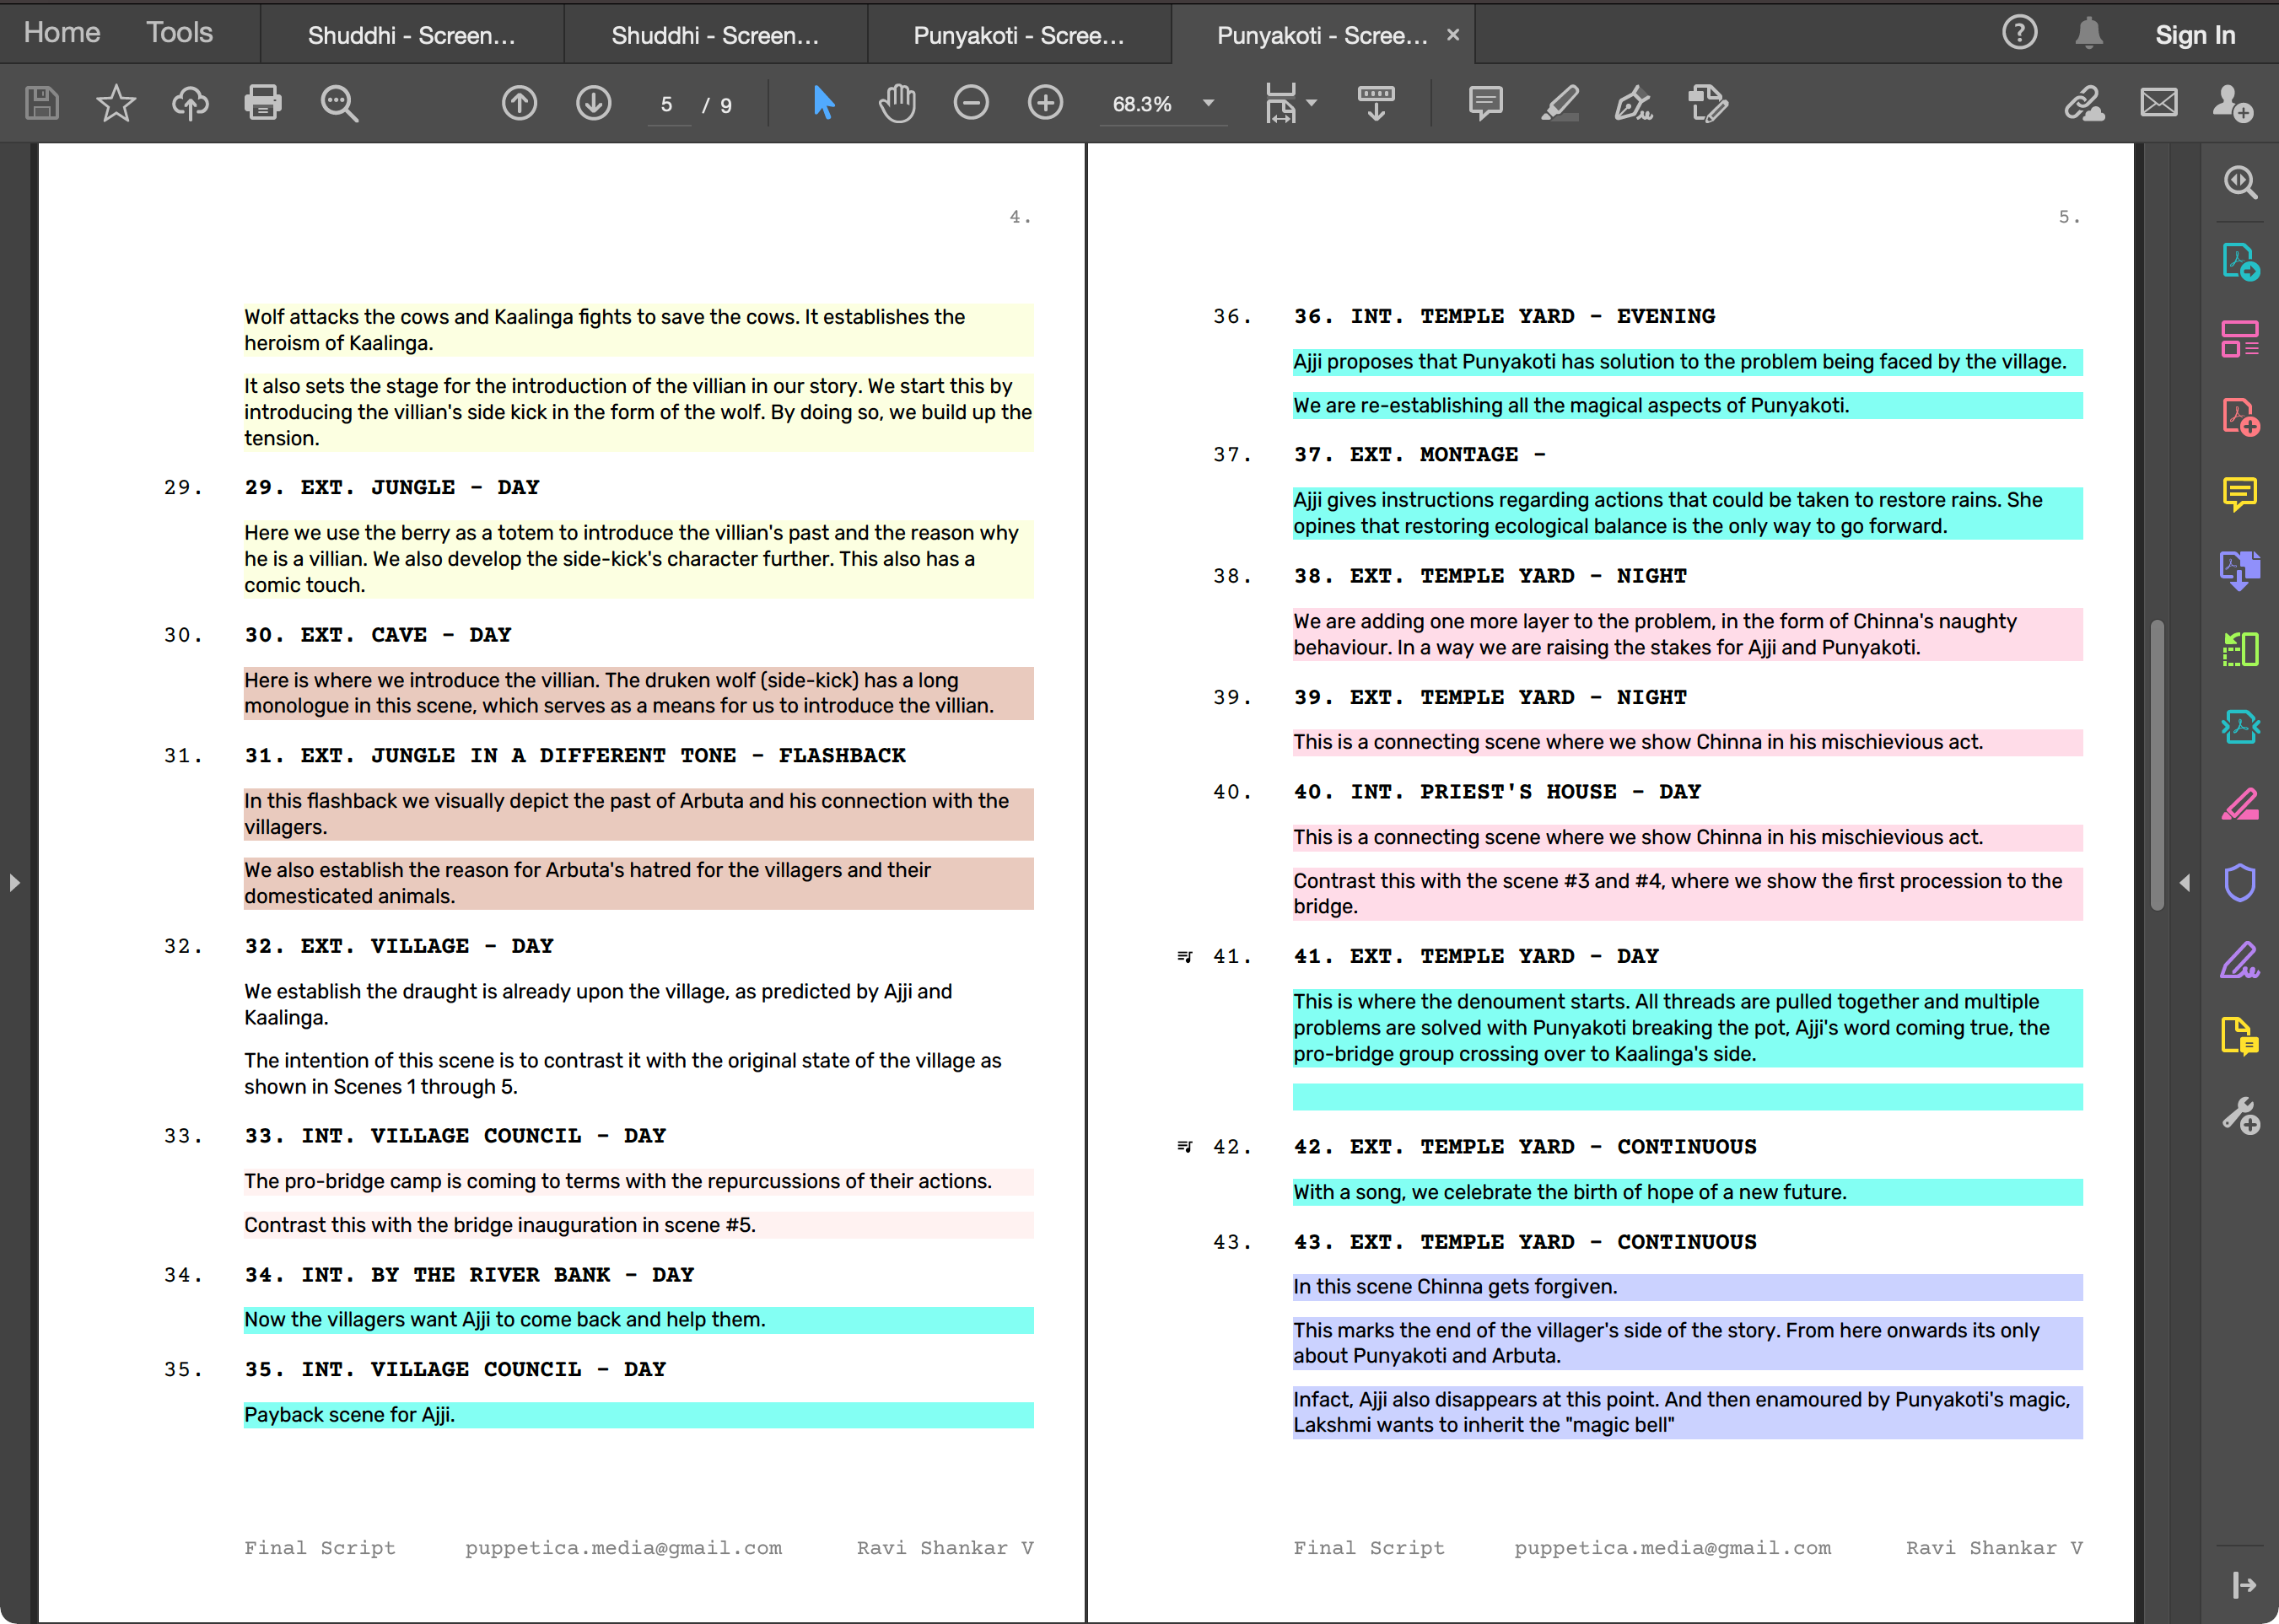
By turning this option ON and turning off “Include Scene Content” option, you will a PDF with just the outline of your screenplay.
Include Scene Content
By turning this option ON, Scrite will include complete scene contents for each scene in the generated PDF. This option is turned ON by default.
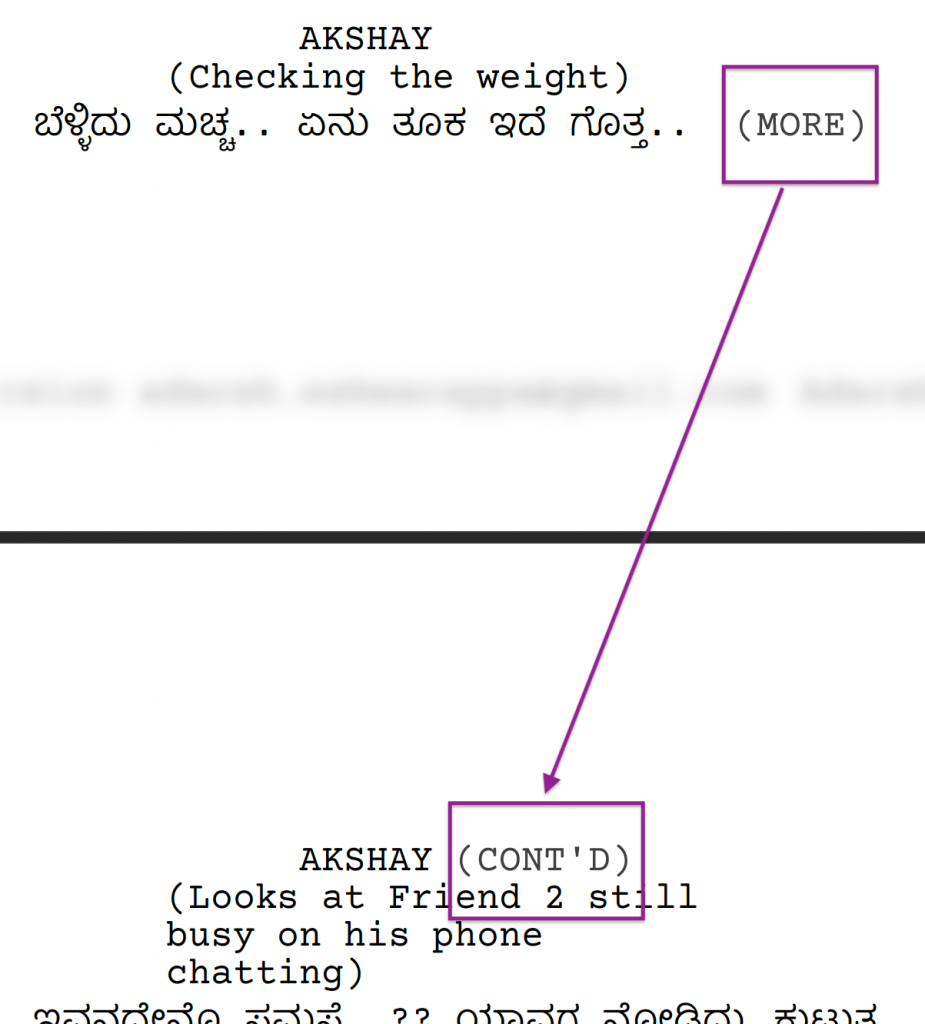
Use MORE and CONTD Makers
When this option is turned ON, Scrite breaks dialogue paragraphs across page boundaries with MORE and CONTD markers.
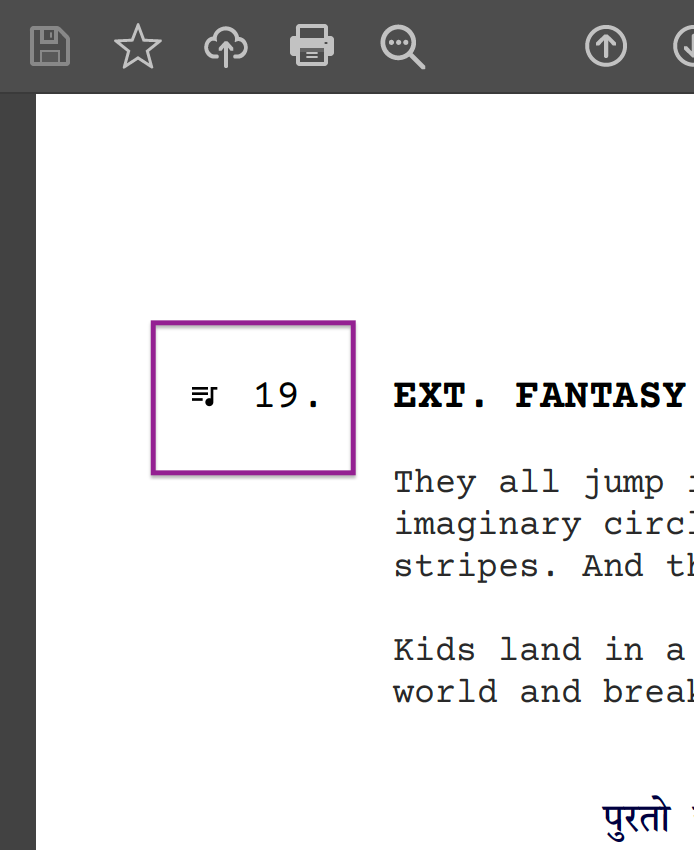
Include Scene Numbers & Scene Icons
By default Scene Numbers & Scene Icons are included in the generated PDF files, but you can turn them off.
Scene, Act & Episode Page Breaks
By default Scrite generates PDFs such that a page break is inserted for every episode and act names are omitted. However by configuring the options show below you can customise this behaviour.
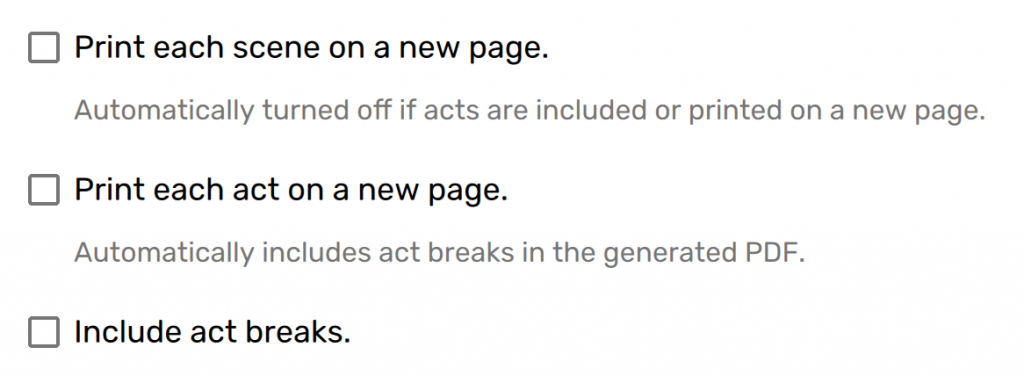
- By checking “Print each scene on a new page”, every scene of your screenplay will show up in a new page.
- By checking “Print each act on a new page.”, a page break will be added every time an act break is encountered.
- By checking the “Include act breaks”, you can force generation of act names in the generated PDF file.
Watermark & Comment
To use these features, you will have to first enabled watermark and comments in Settings > Page Setup:
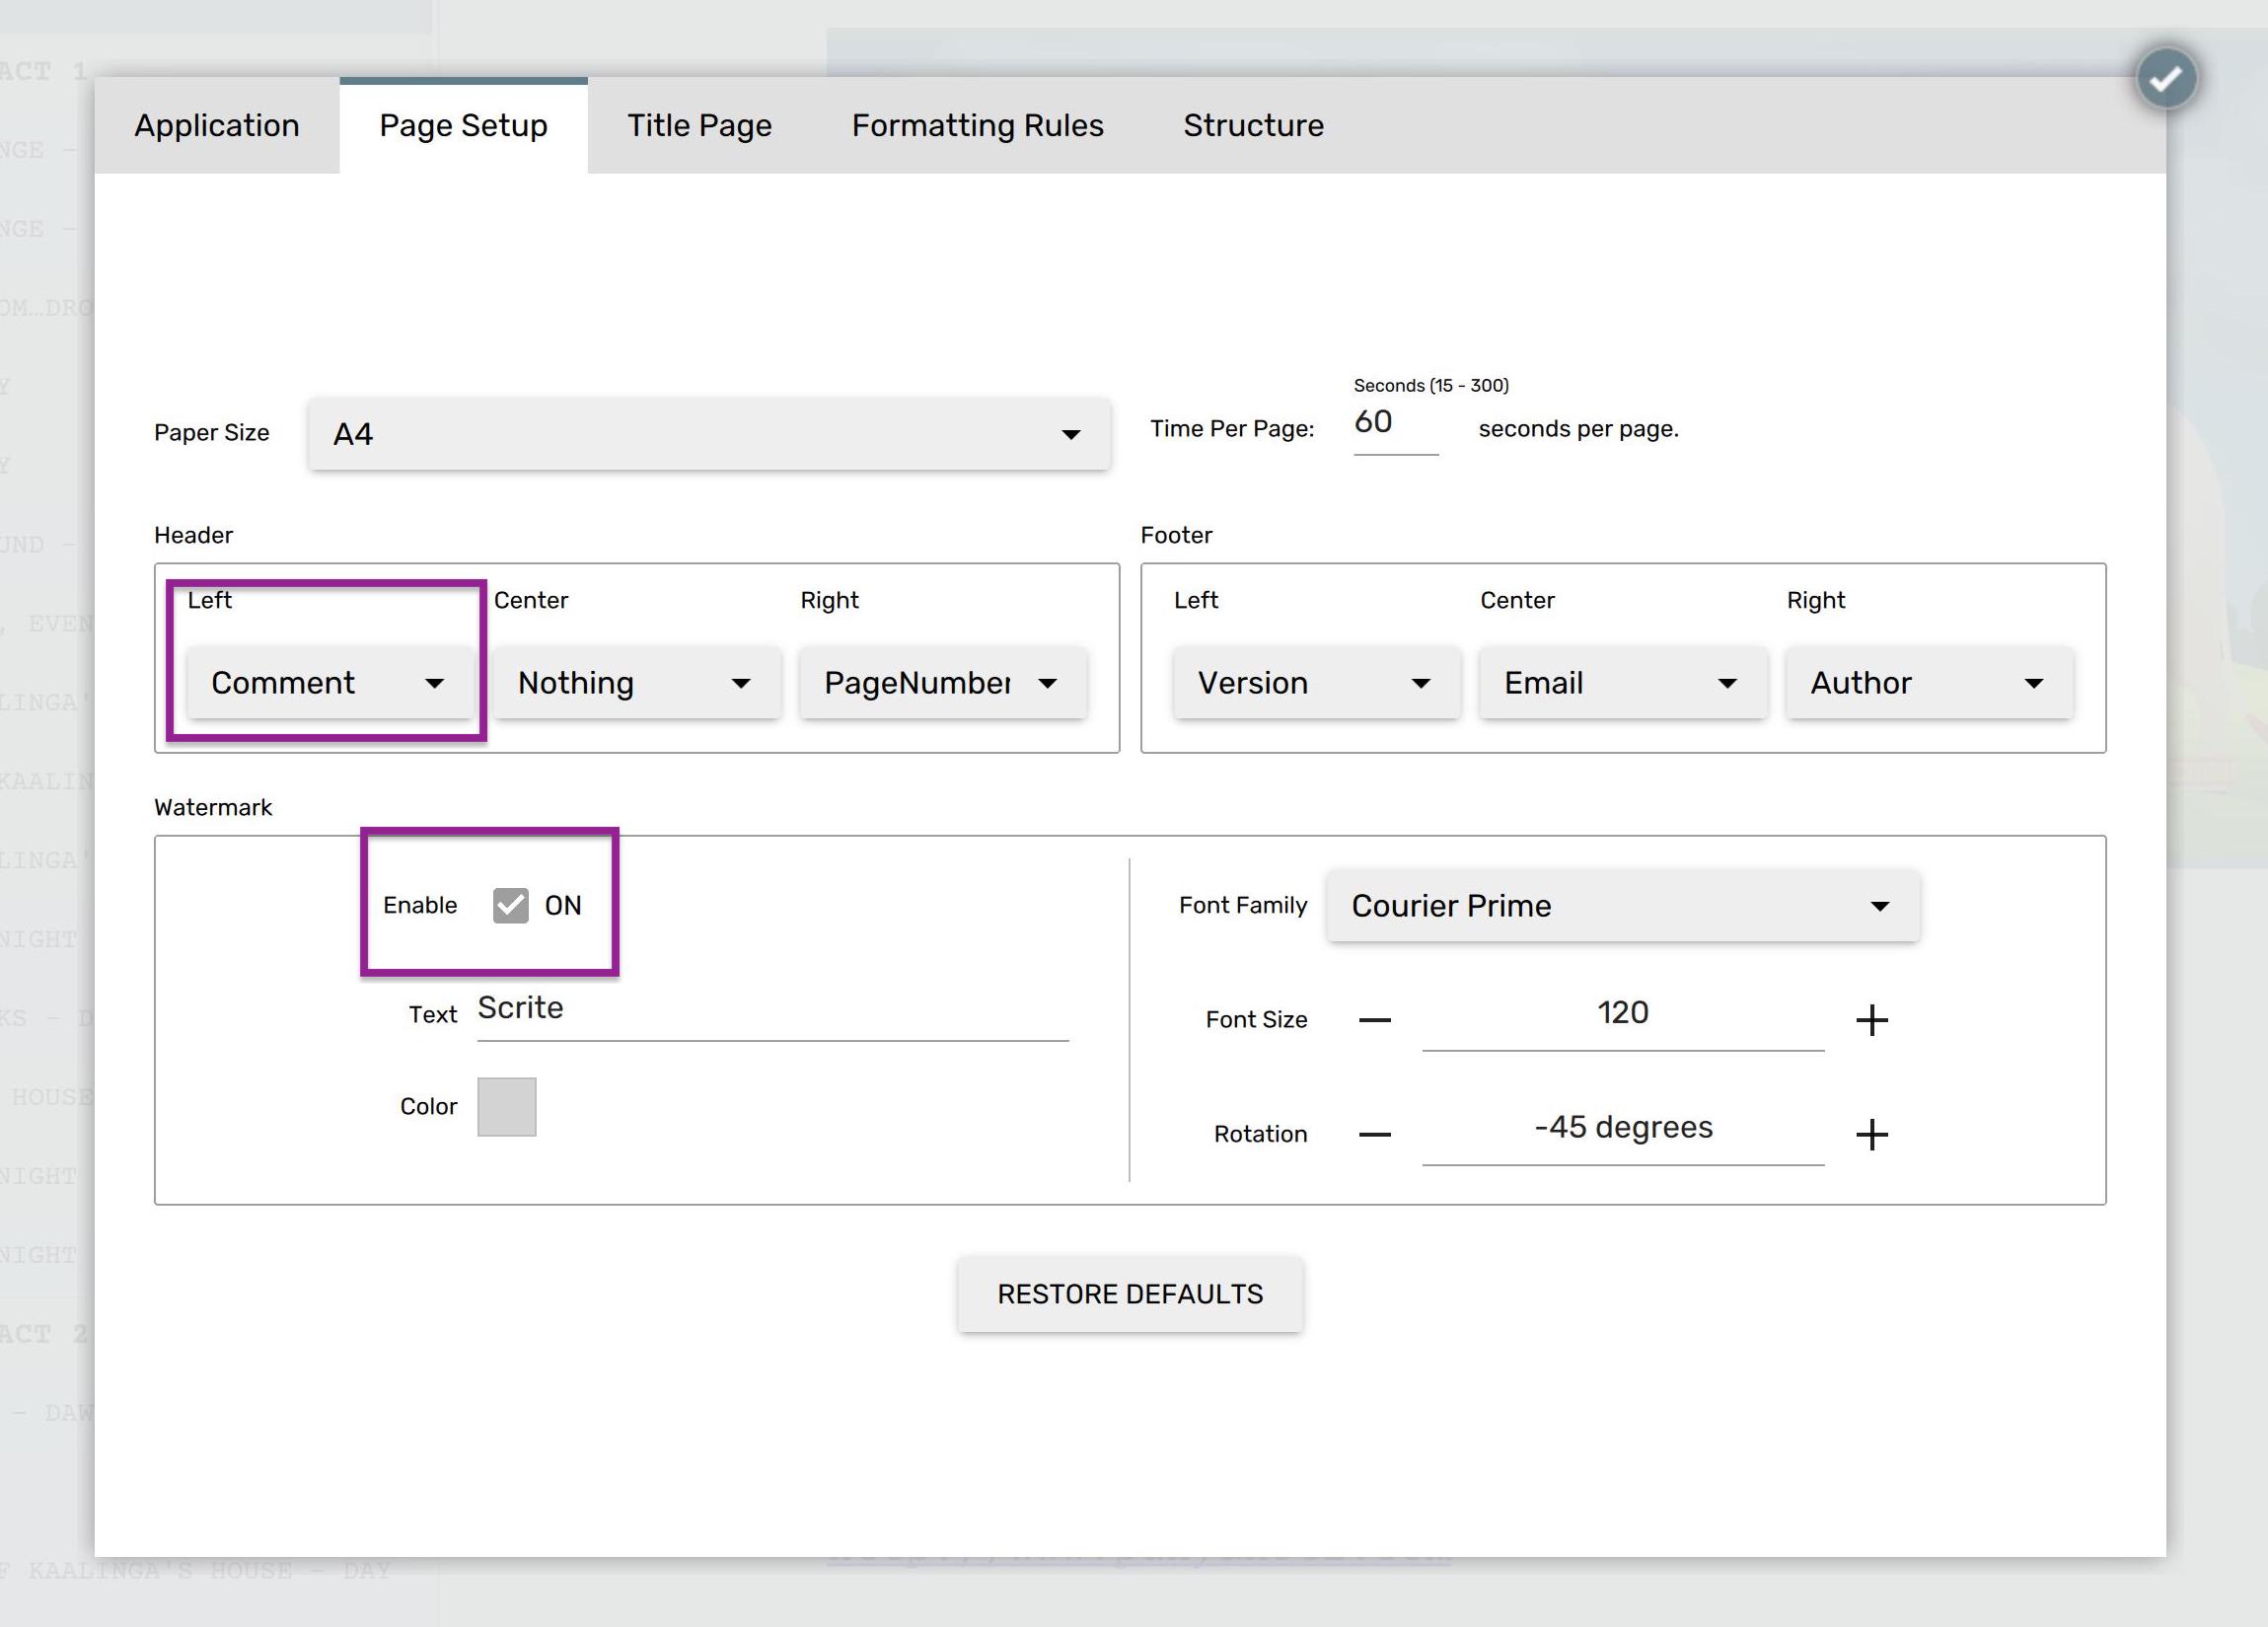

The default Watermark text is Scrite, but you can change it in the Adobe PDF Export dialog box or by specifying a system wide global value in Settings > Page Setup.
Comments can be specified in the Adobe PDF Export dialog box.
Export To Final Draft
TODO
Export To Fountain
TODO
Export To HTML
TODO
Export To ODT / Word Format
TODO
Export To Text Format
TODO
What’s Next?
In upcoming articles, we will talk about capturing notes, generating reports, exporting to FDX and other formats, using the Scrited Tab and more. We are still putting together articles for these topics, however in the meantime may we invite you to read the following posts?