We assume that you have downloaded Scrite and have now launched the app with an intention to start writing. This guide walks you through the UI until you create your first really simple screenplay.
Table Of Contents
What Scrite is NOT?
Before we dive into Scrite, its UI and features, we feel it is important to establish what Scrite is NOT.
Scrite does not aspire to mimic the functionality provided by other screenwriting apps. As such Scrite doesnt aim to be a drop-in-replacement for other apps like Final Draft, Celtx, Writer Duet, Highland, Arc Studio Pro, Studio Binder and so on. If you are a writer who has already been using those apps, you may find the UI of Scrite a bit challenging at first. But once you get the basic philosophy of Scrite, you will find it so much easier to use the app.
UI is NOT Page Centric
For a long time, screenwriters used the mechanical typewriter to type their screenplays. Screenplays are formatted in a specific way largely because it inherits the tabbing constructs possible with the typewriter. Each page of a typed screenplay roughly translates to 1 minute of screen time.

When computers came along, screenwriting apps attempted to mimic the typewriter experience on desktops and laptops. Over time, they successfully added far more than just replicating the typewriter experience; however at their core they all essentially remained page-centric in their UI. And for the most part rightly so. Page count is an important metric, it roughly determines screen-time. Story structures (like Save The Cat for example) are also page centric.
UI is Scene Centric
Scrite is not built around the same page-centric design. We consider that the most fundamental unit of a film is a scene, therefore Scrite’s UI is scene centric. We overlay several features from page-centric apps even through the app itself is scene centric. This is one of the reasons why certain features are presented in a different way than rest of the apps, but once you get to know their logic they all become really simple to use.

First thing to do in Scrite
When you launch Scrite, the first thing you will notice is that there is a blank page.
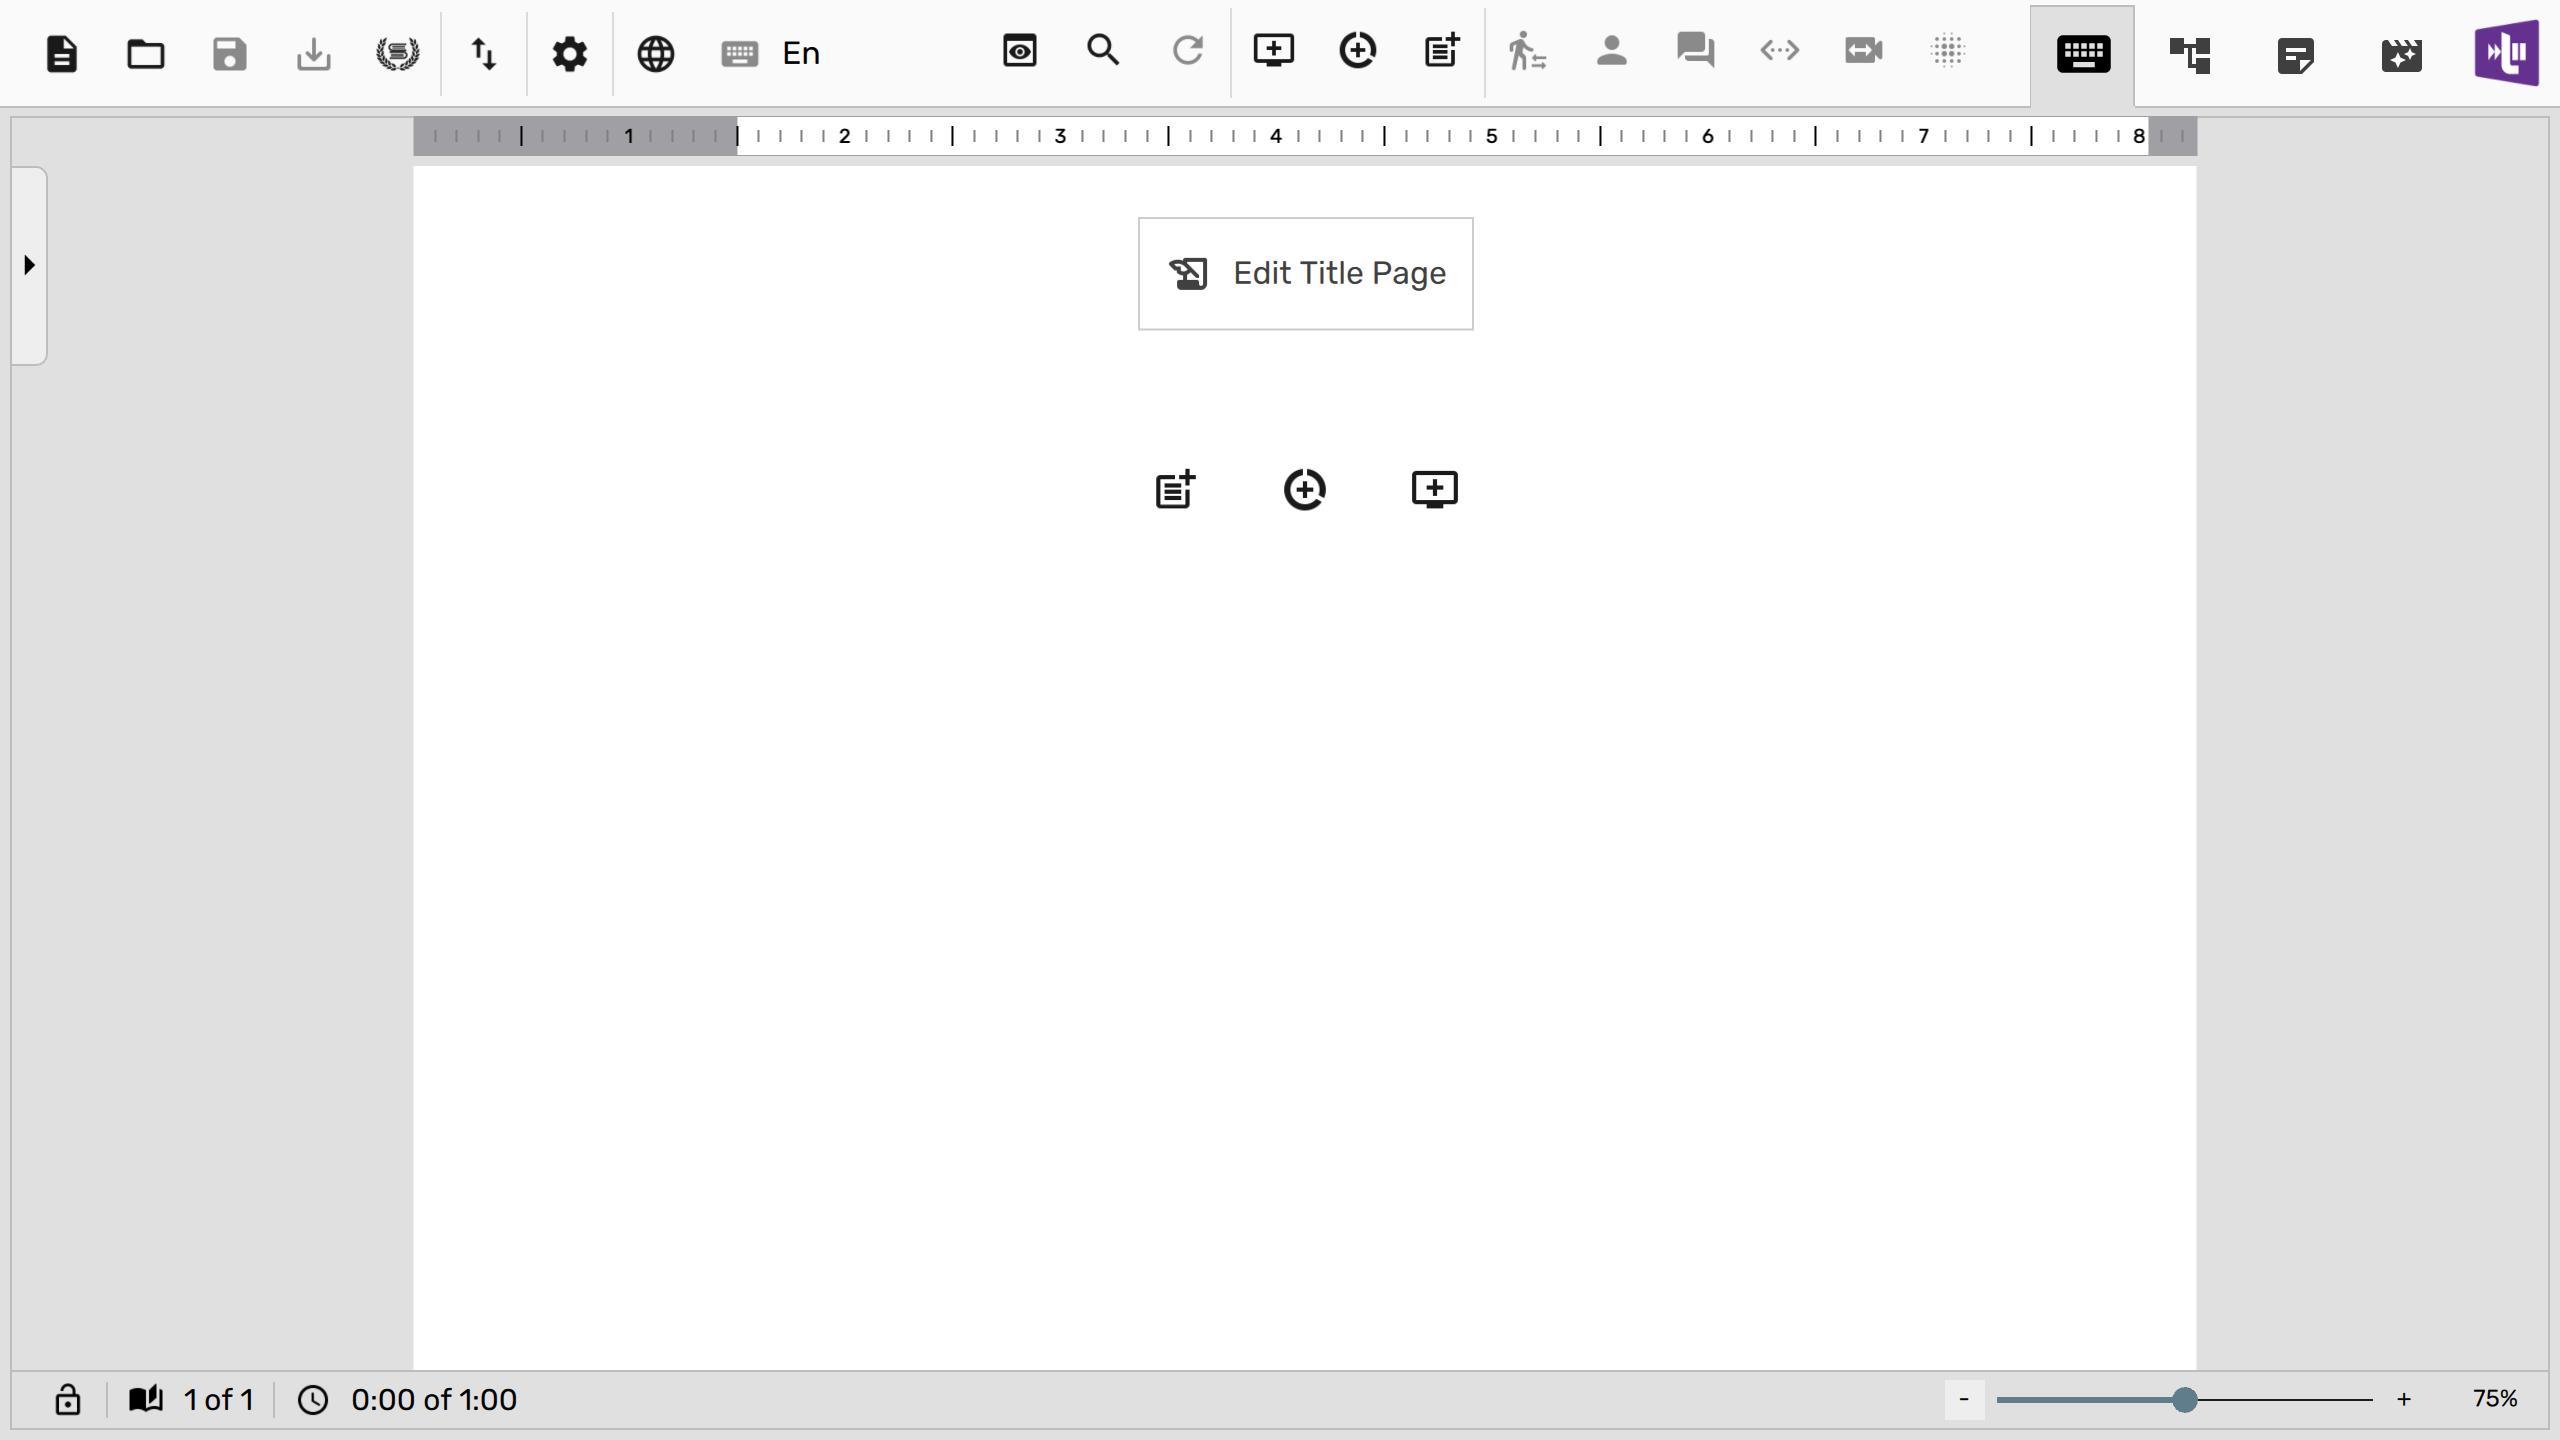
However, in order to write anything; you will have to create a scene.
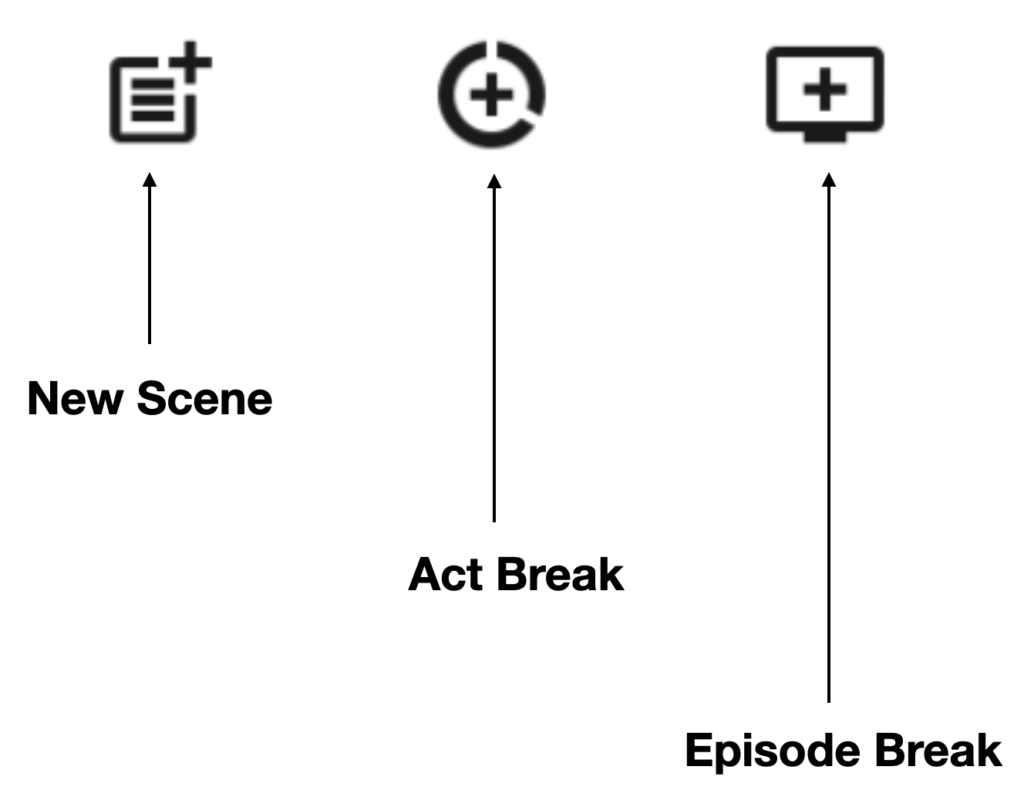
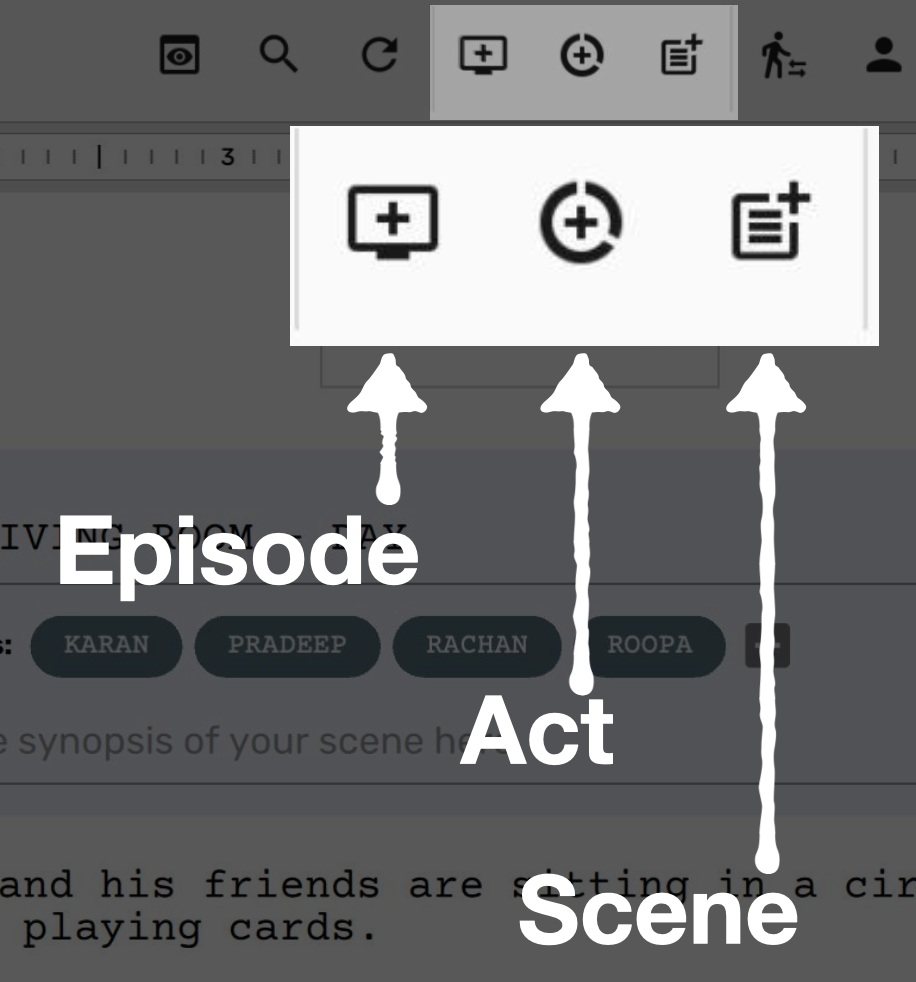
To add a new scene, you can click on the “New Scene” button in the page area or on the toolbar. Shown in the diagram above are other buttons for adding act and episode breaks. You can also use the keyboard shortcut Ctrl+Shift+N (or ⌘+Shift+N on macOS).
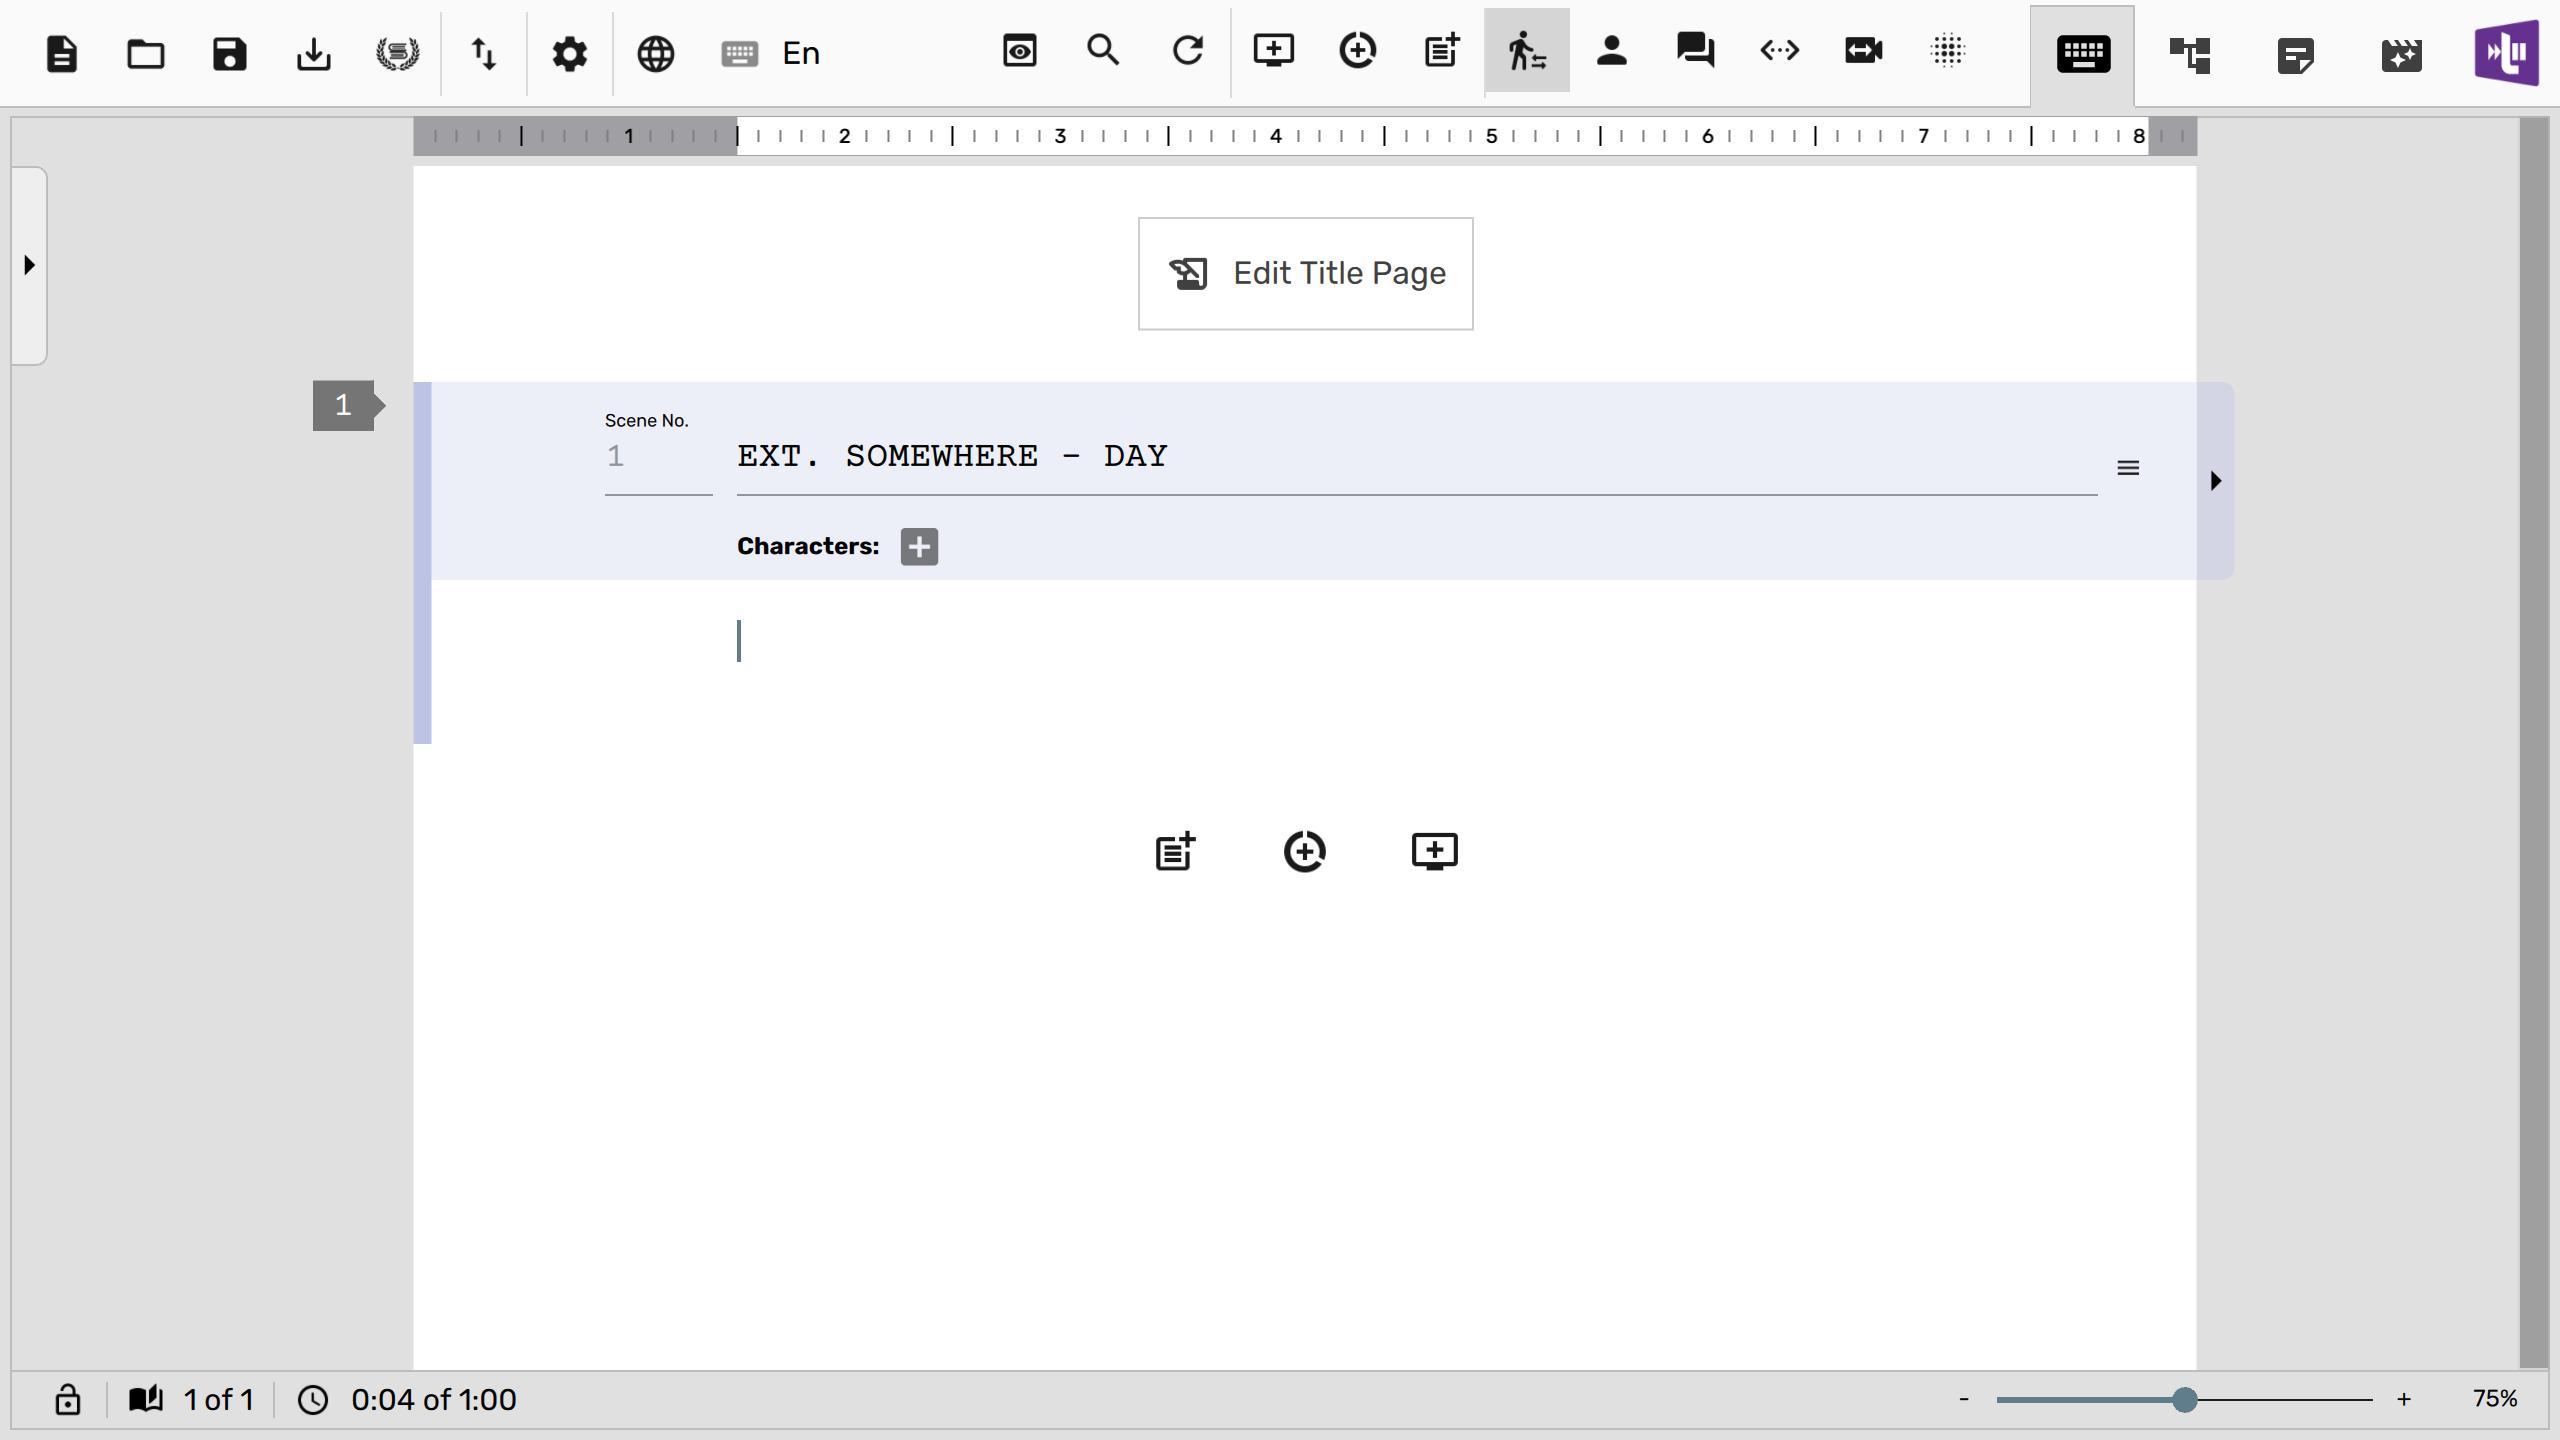
Scrite will add a new scene with a default scene heading and cursor blinking in the scene content area of that scene.
Saving Files

New files are unnamed and unsaved. Scrite allows you to work on your screenplay until you actually decide to save it.
While we do have auto-save, it kicks in only if enabled and after a file has been saved atleast once and is in a directory which can be written into.
Until you save your work, Scrite does not keep a copy of it saved in stealth mode anywhere on your computer. A new file until saved remains only in your computer RAM and not on a disk file.
To save a file, you simply have to click on the save icon  , select a folder and provide a file name. Scrite files are saved with extension .scrite.
You can load files by either clicking on the open icon  in the toolbar or dragging and dropping a .scrite file (from Windows Explorer, Finder, Konqueror or Nautilus) on to the Scrite window.

Infact you can drag and drop files in any format for which Scrite has an importer. As of writing Scrite is capable of importing screenplays from Final Draft (.fdx), Fountain (.fountain) and HTML files generated using Celtx Desktop apps. So dragging and dropping a .fdx, .fountain and .html will cause Scrite to import and show it. Ofcourse, you will have to save your changes into a .scrite file or export it supported file formats in order to capture all changes made to the screenplay once it is imported.
Editing the Scene Heading
You can click on the Scene Heading or use keyboard shortcut Ctrl+Zero (⌘+Zero) to move cursor to the scene heading and edit it.
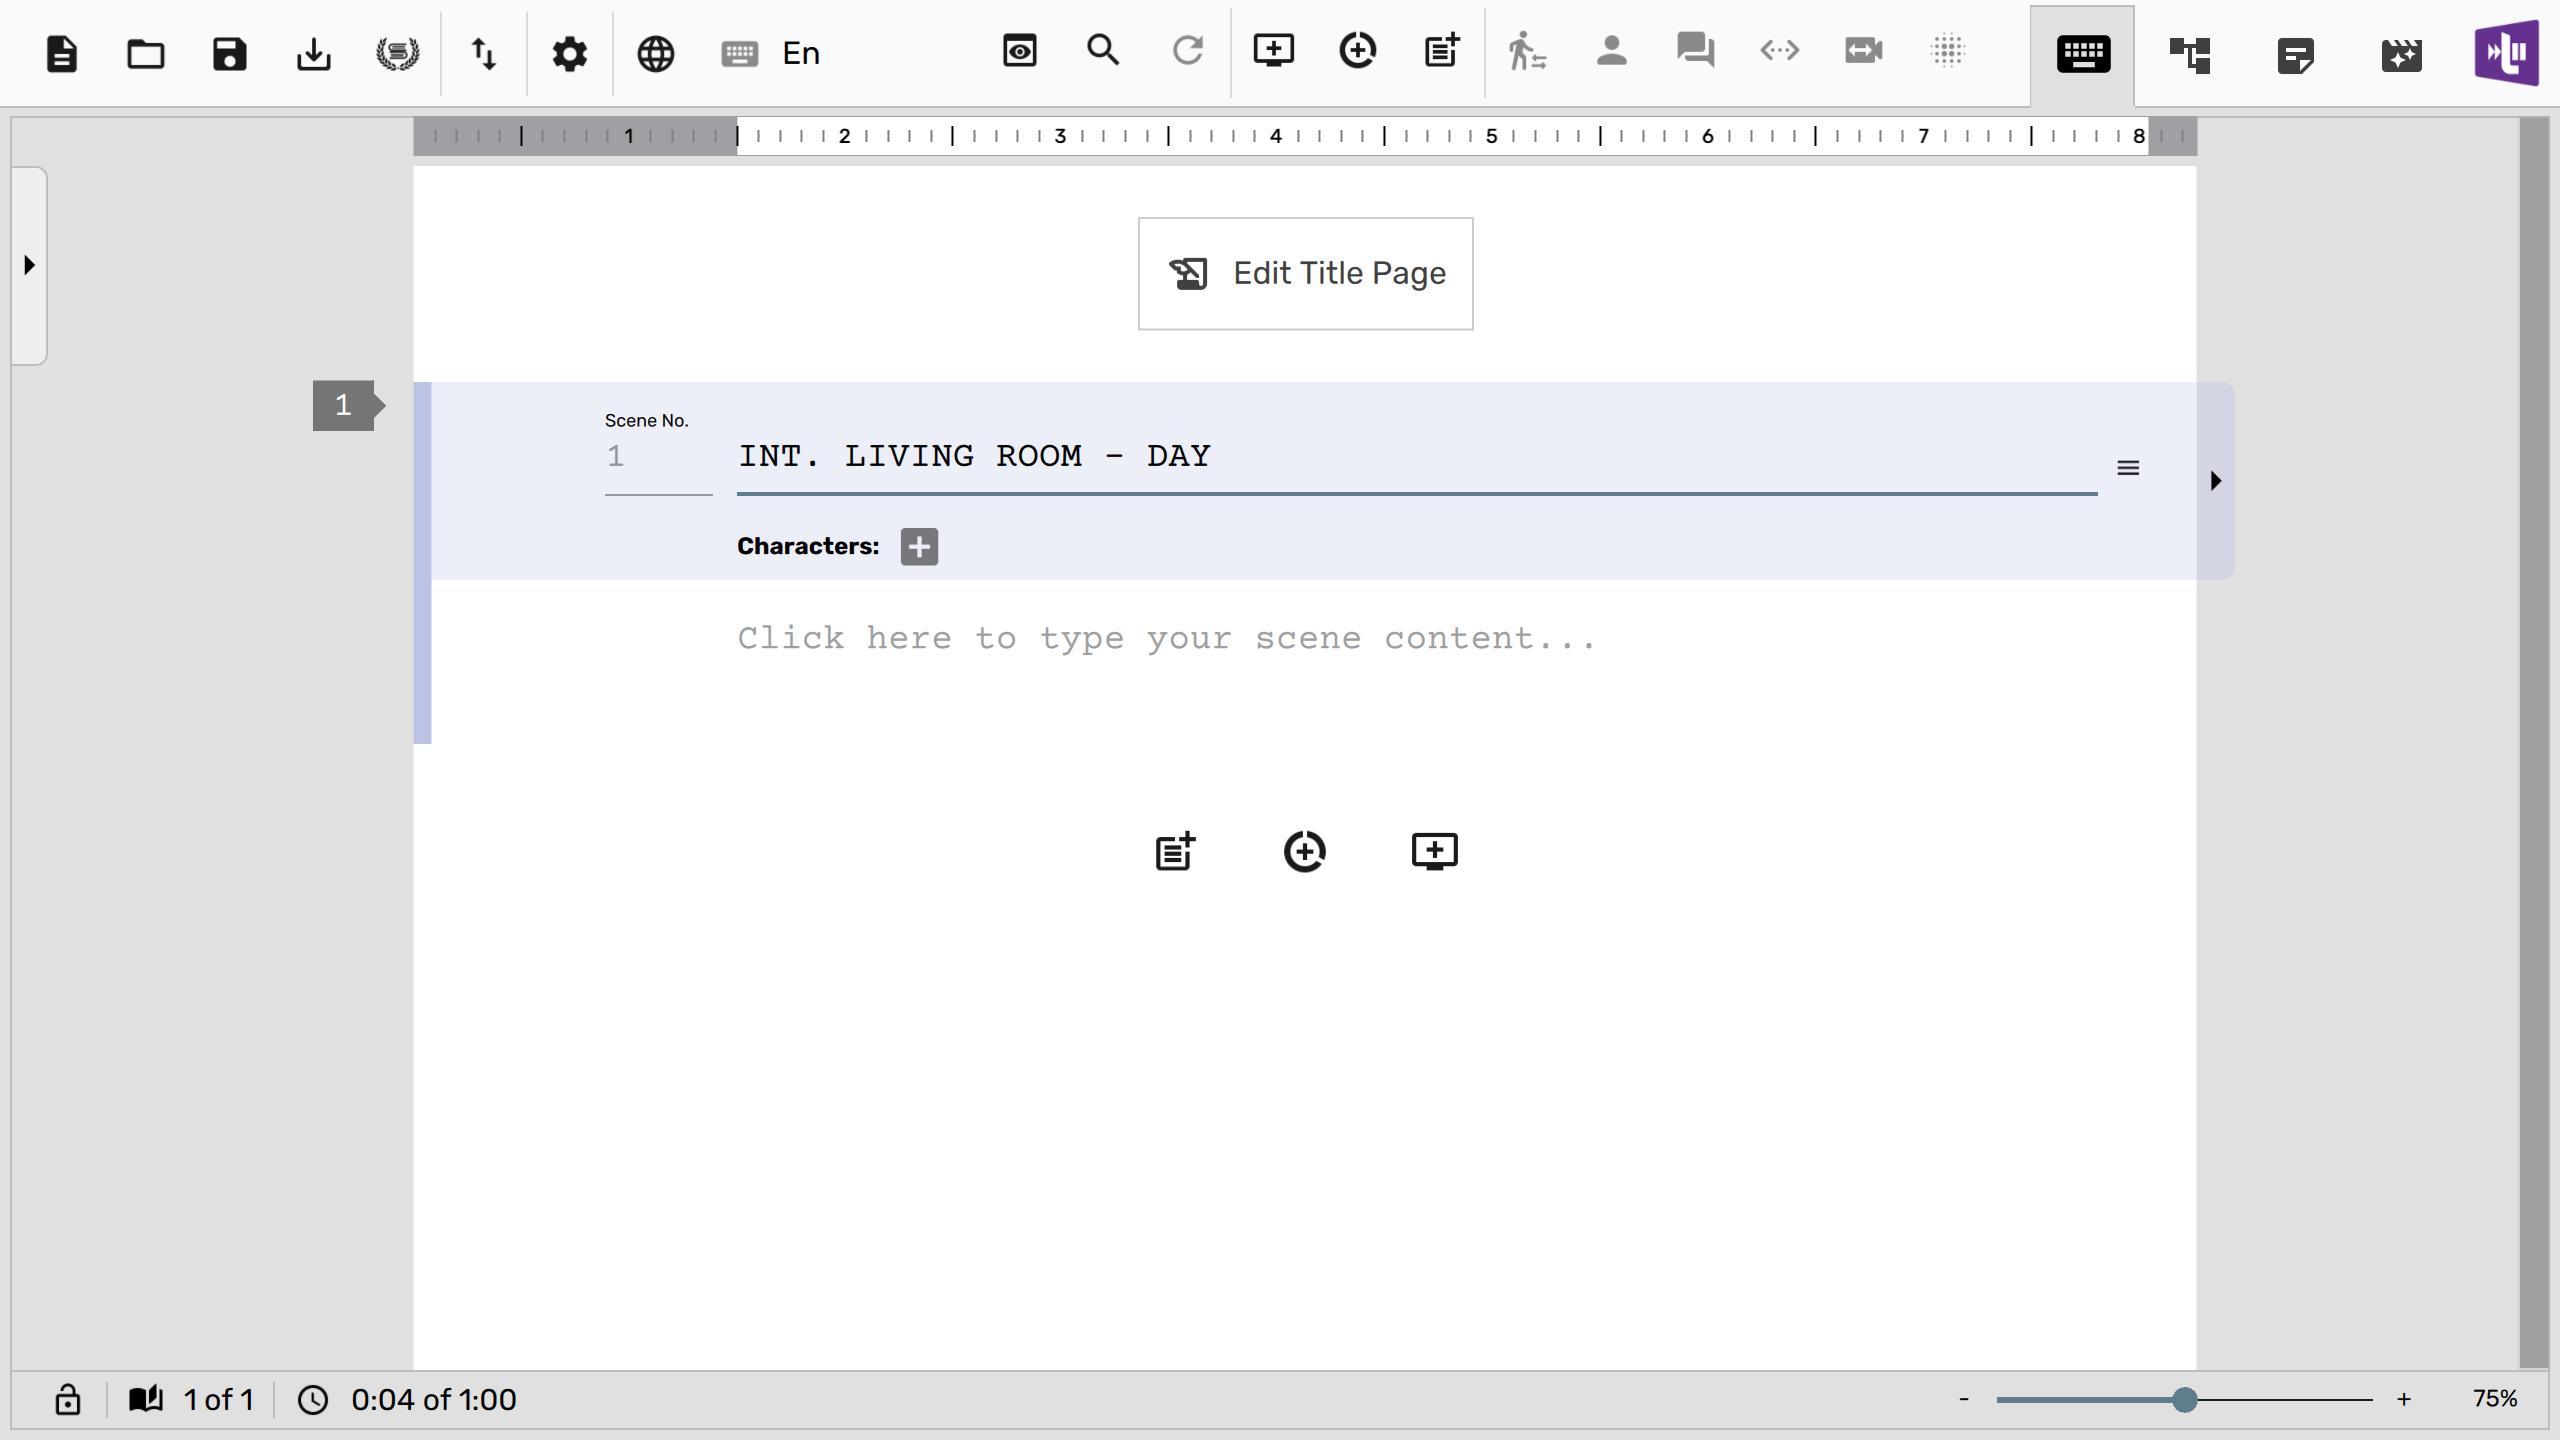
When you are done, you can hit Enter to switch cursor to the scene content area.
Here is the first difference between Scrite and other apps. While other apps provide a way to mark any paragraph as a scene heading, Scrite requires you to create a scene explicitly and assign a scene heading to it. Later on in a future article, we will show you how (and why) you can create scenes without a scene heading.
Also notice how the Scene heading area has a color to it and it also shows characters list. Infact, you can configure Scrite to show you the scene synopsis as well.
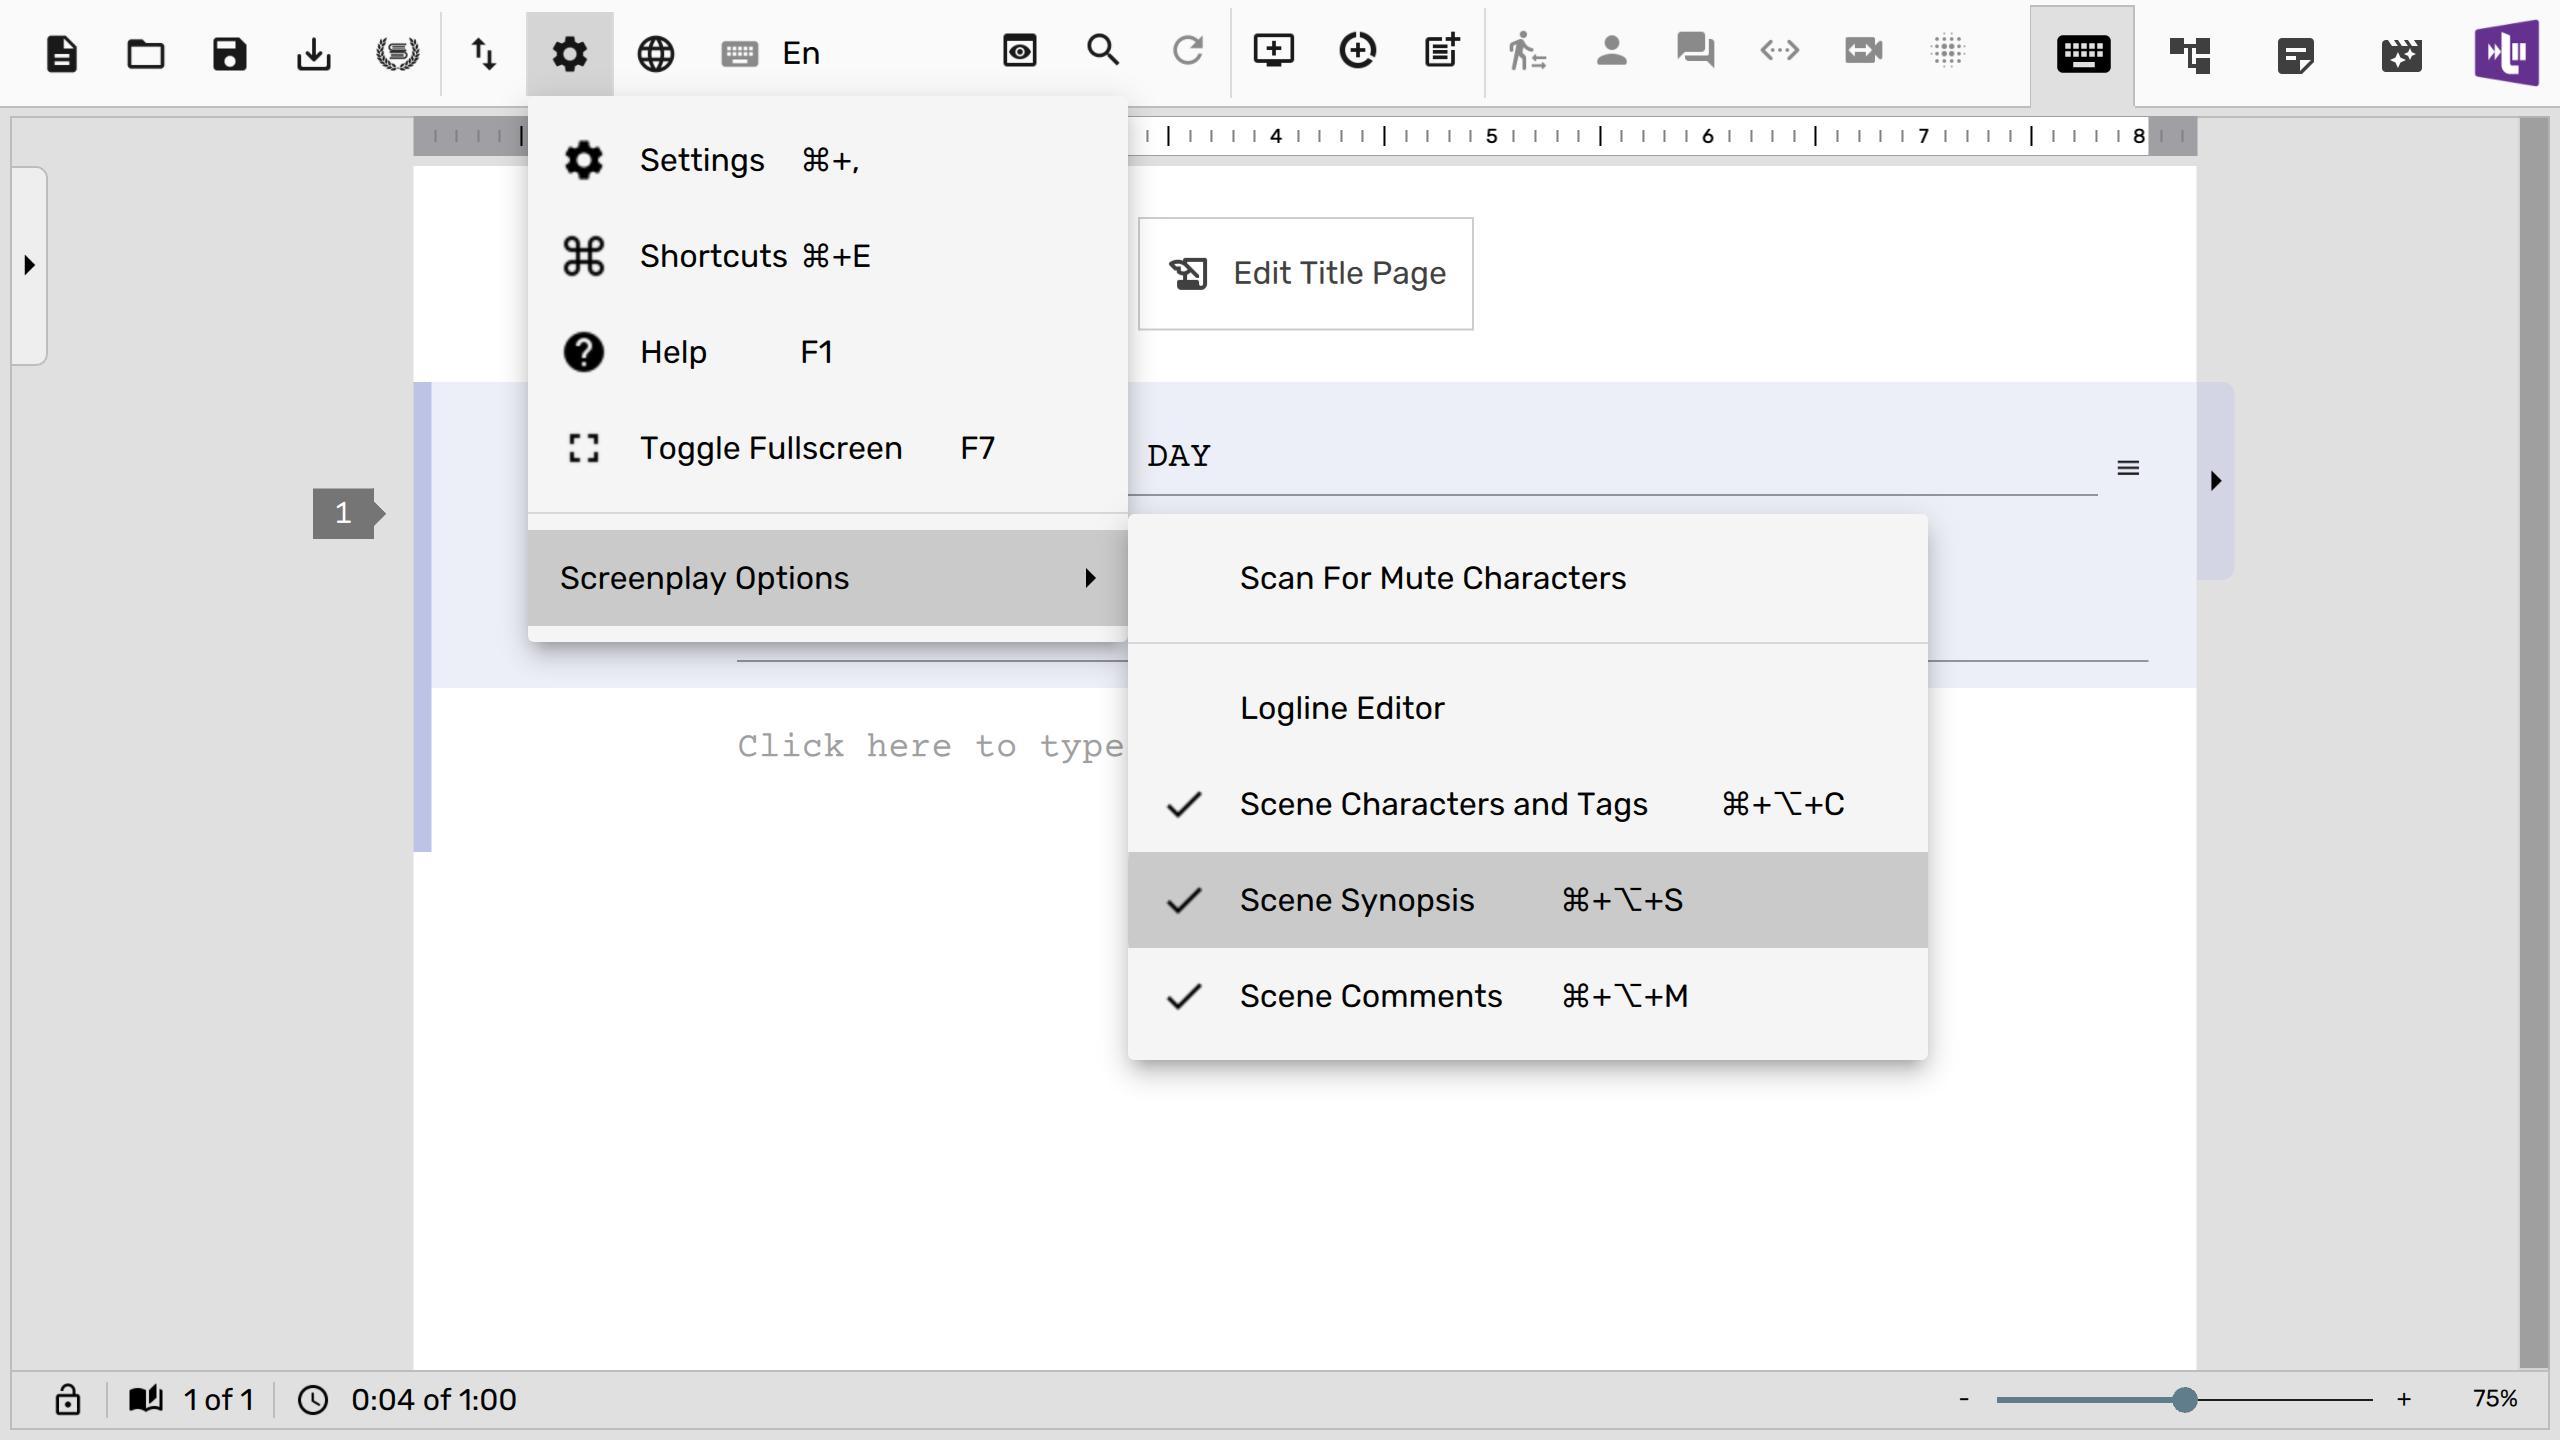
Once you check the “Scene Synopsis” option, you will notice that a new area now shows up in the scene heading where you can type the synopsis of your scene.
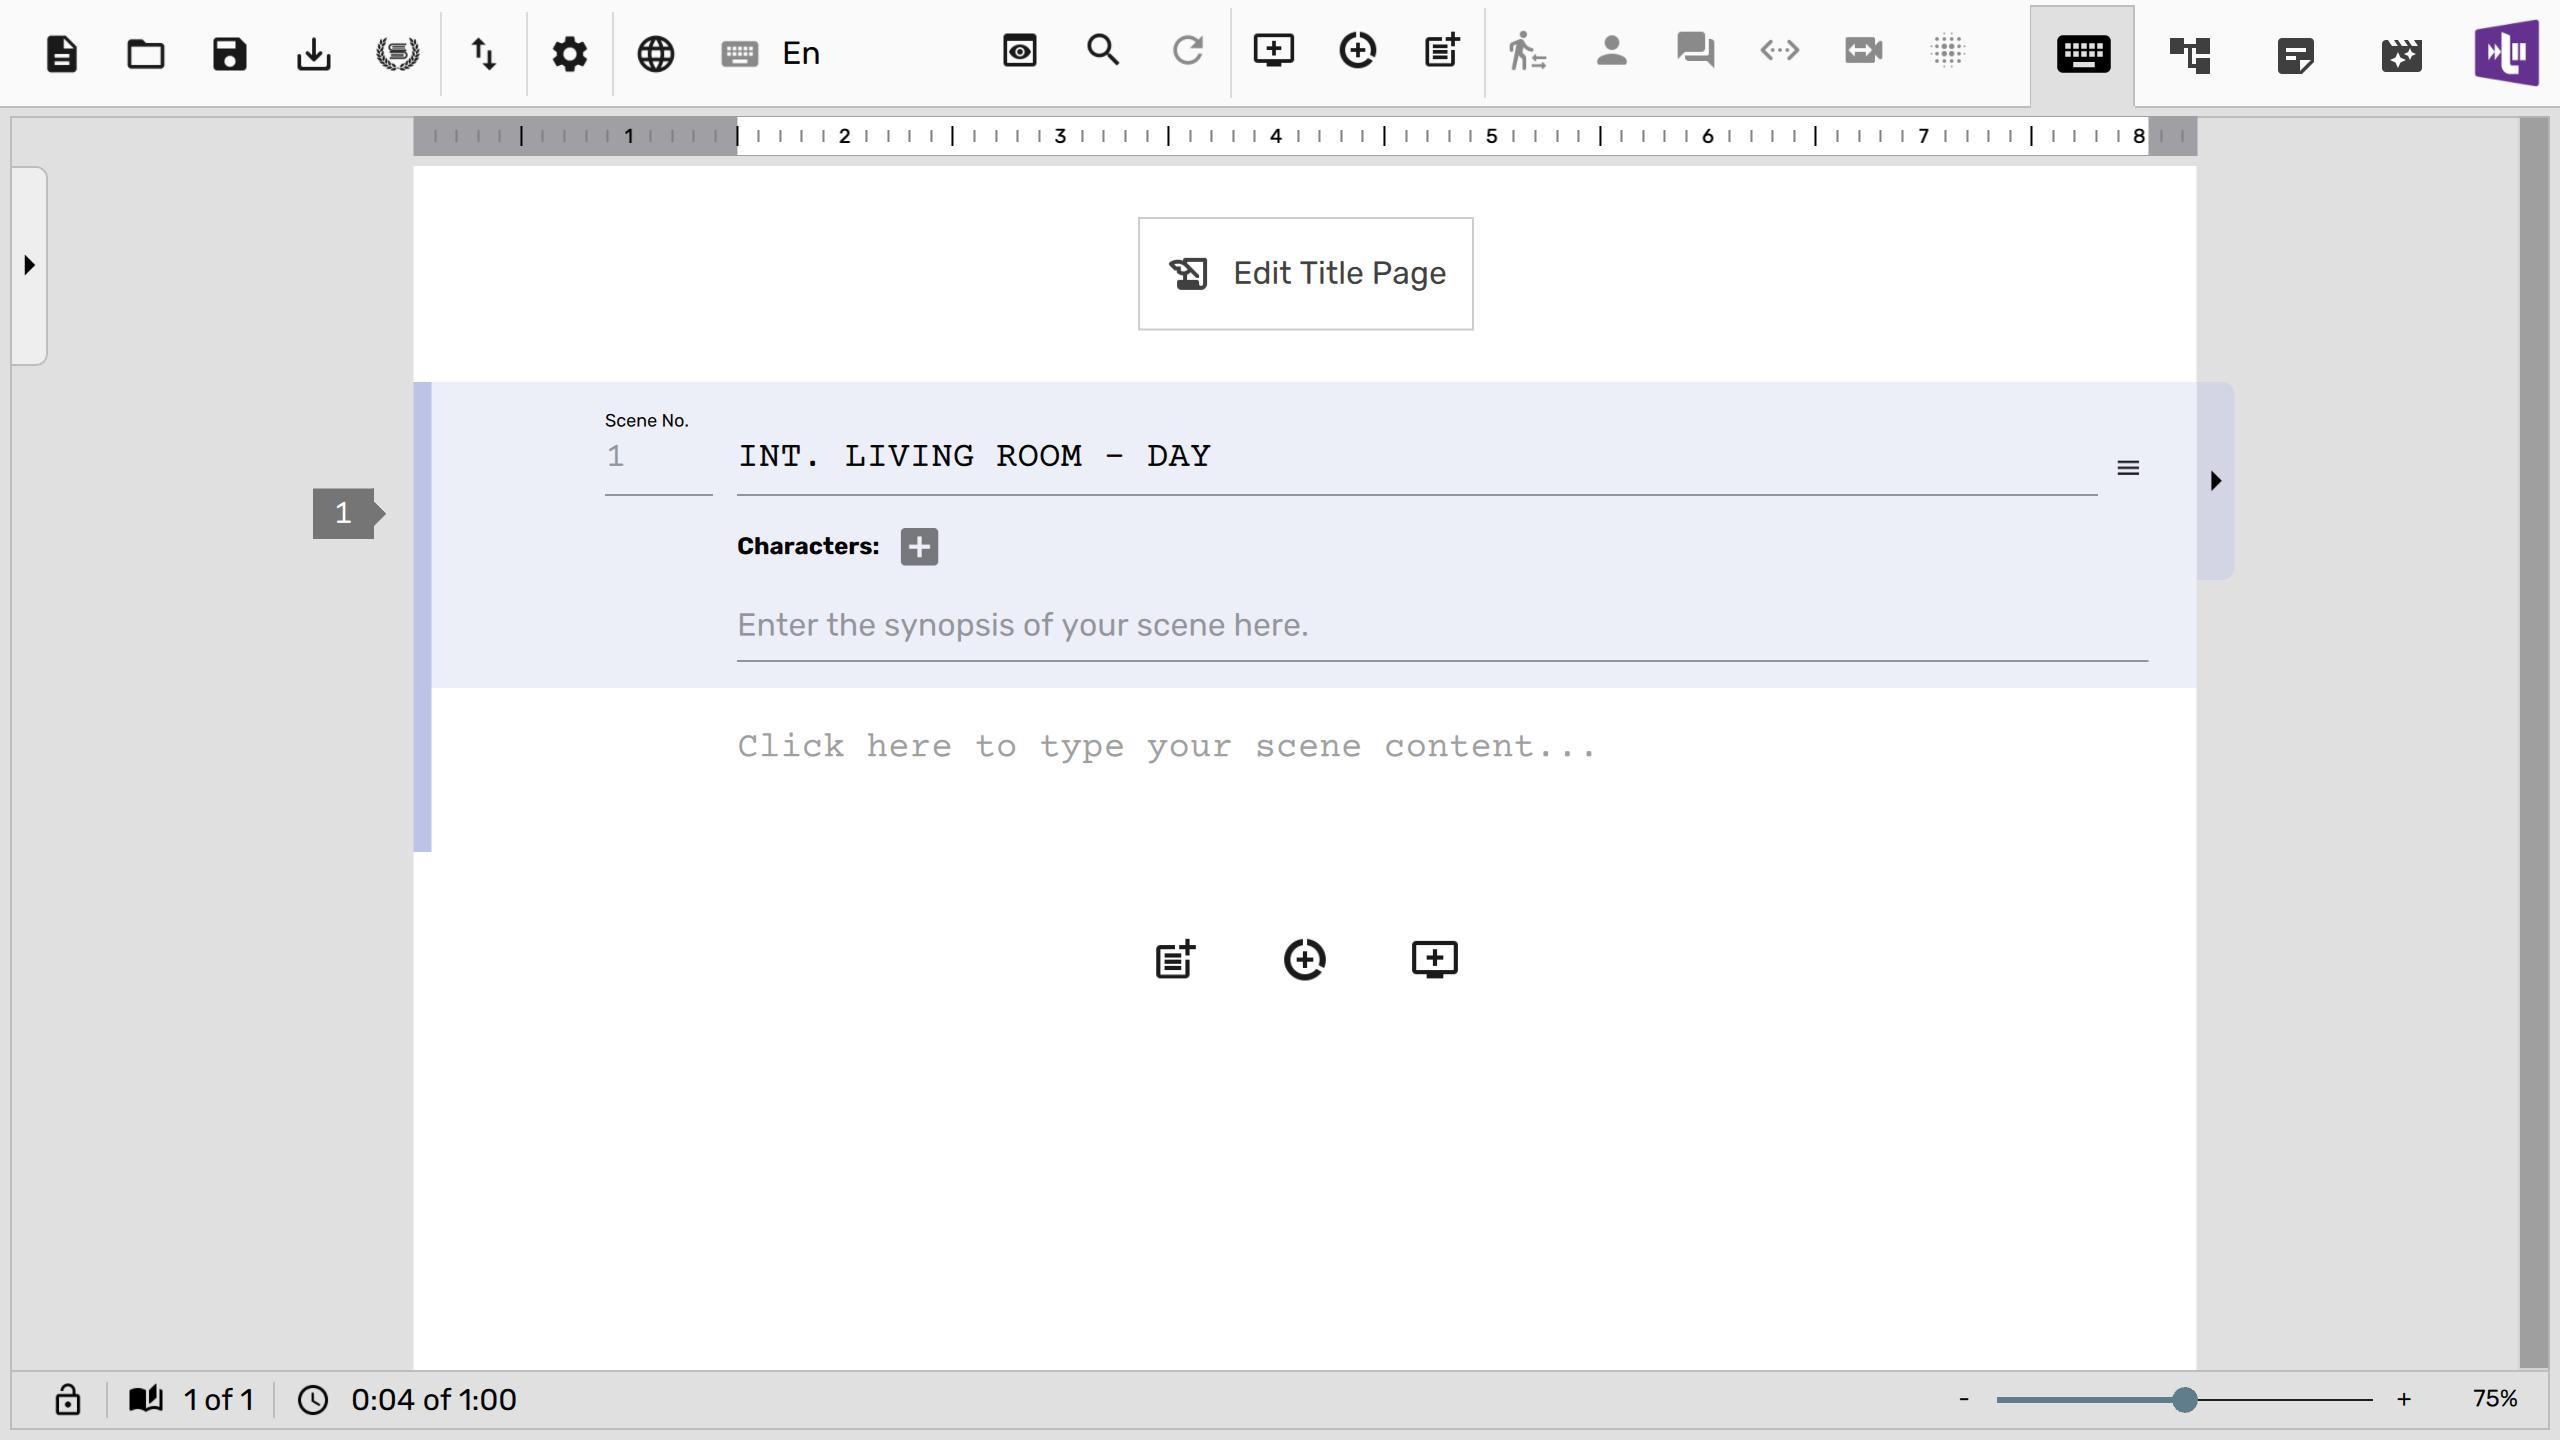
The Synopsis field is where you can type a short description of what you think should happen in this scene. When you export your screenplay to PDF, the synopsis is not exported by default; although you can toggle that option explicitly if you want.
Typing Scene Content
While writing your scene content, you probably want to format your action, character, dialogue, parenthetical, shot and transition paragraphs. Scrite has a button for each paragraph type on the toolbar as shown below.
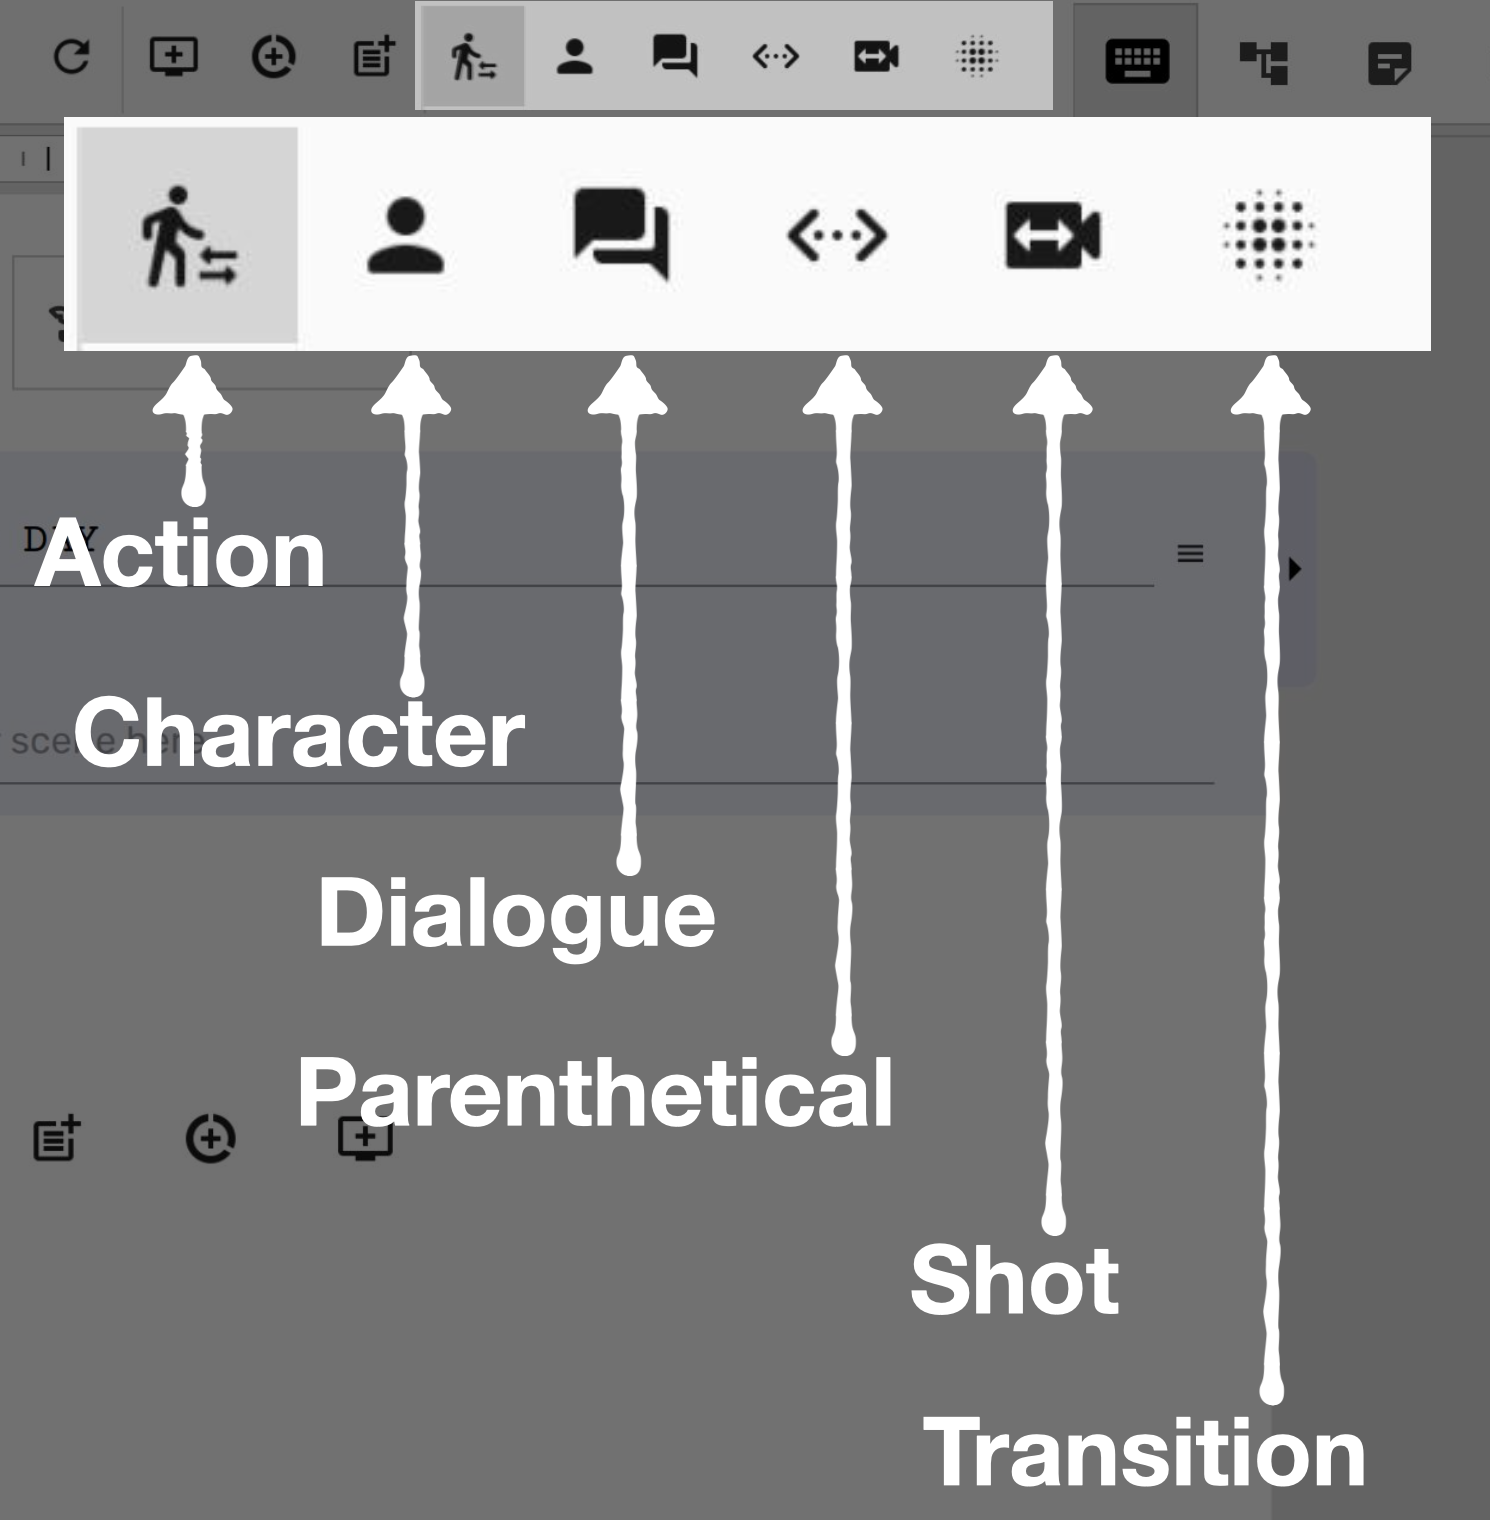
While editing you can also use keyboard shortcuts as outlined in the table below to switch between various paragraph types.
| Paragraph Type | Windows, Linux | macOS |
| Action | Ctrl+1 | ⌘+1 |
| Character | Ctrl+2 | ⌘+2 |
| Dialogue | Ctrl+3 | ⌘+3 |
| Parenthetical | Ctrl+4 | ⌘+4 |
| Shot | Ctrl+5 | ⌘+5 |
| Transition | Ctrl+6 | ⌘+6 |
Infact, in most cases you can simply use the Tab key to switch to the paragraph type, of the current paragraph under the cursor, to the next most appropriate paragraph type.
Shown below is contents of a scene, with paragraphs properly formatted.
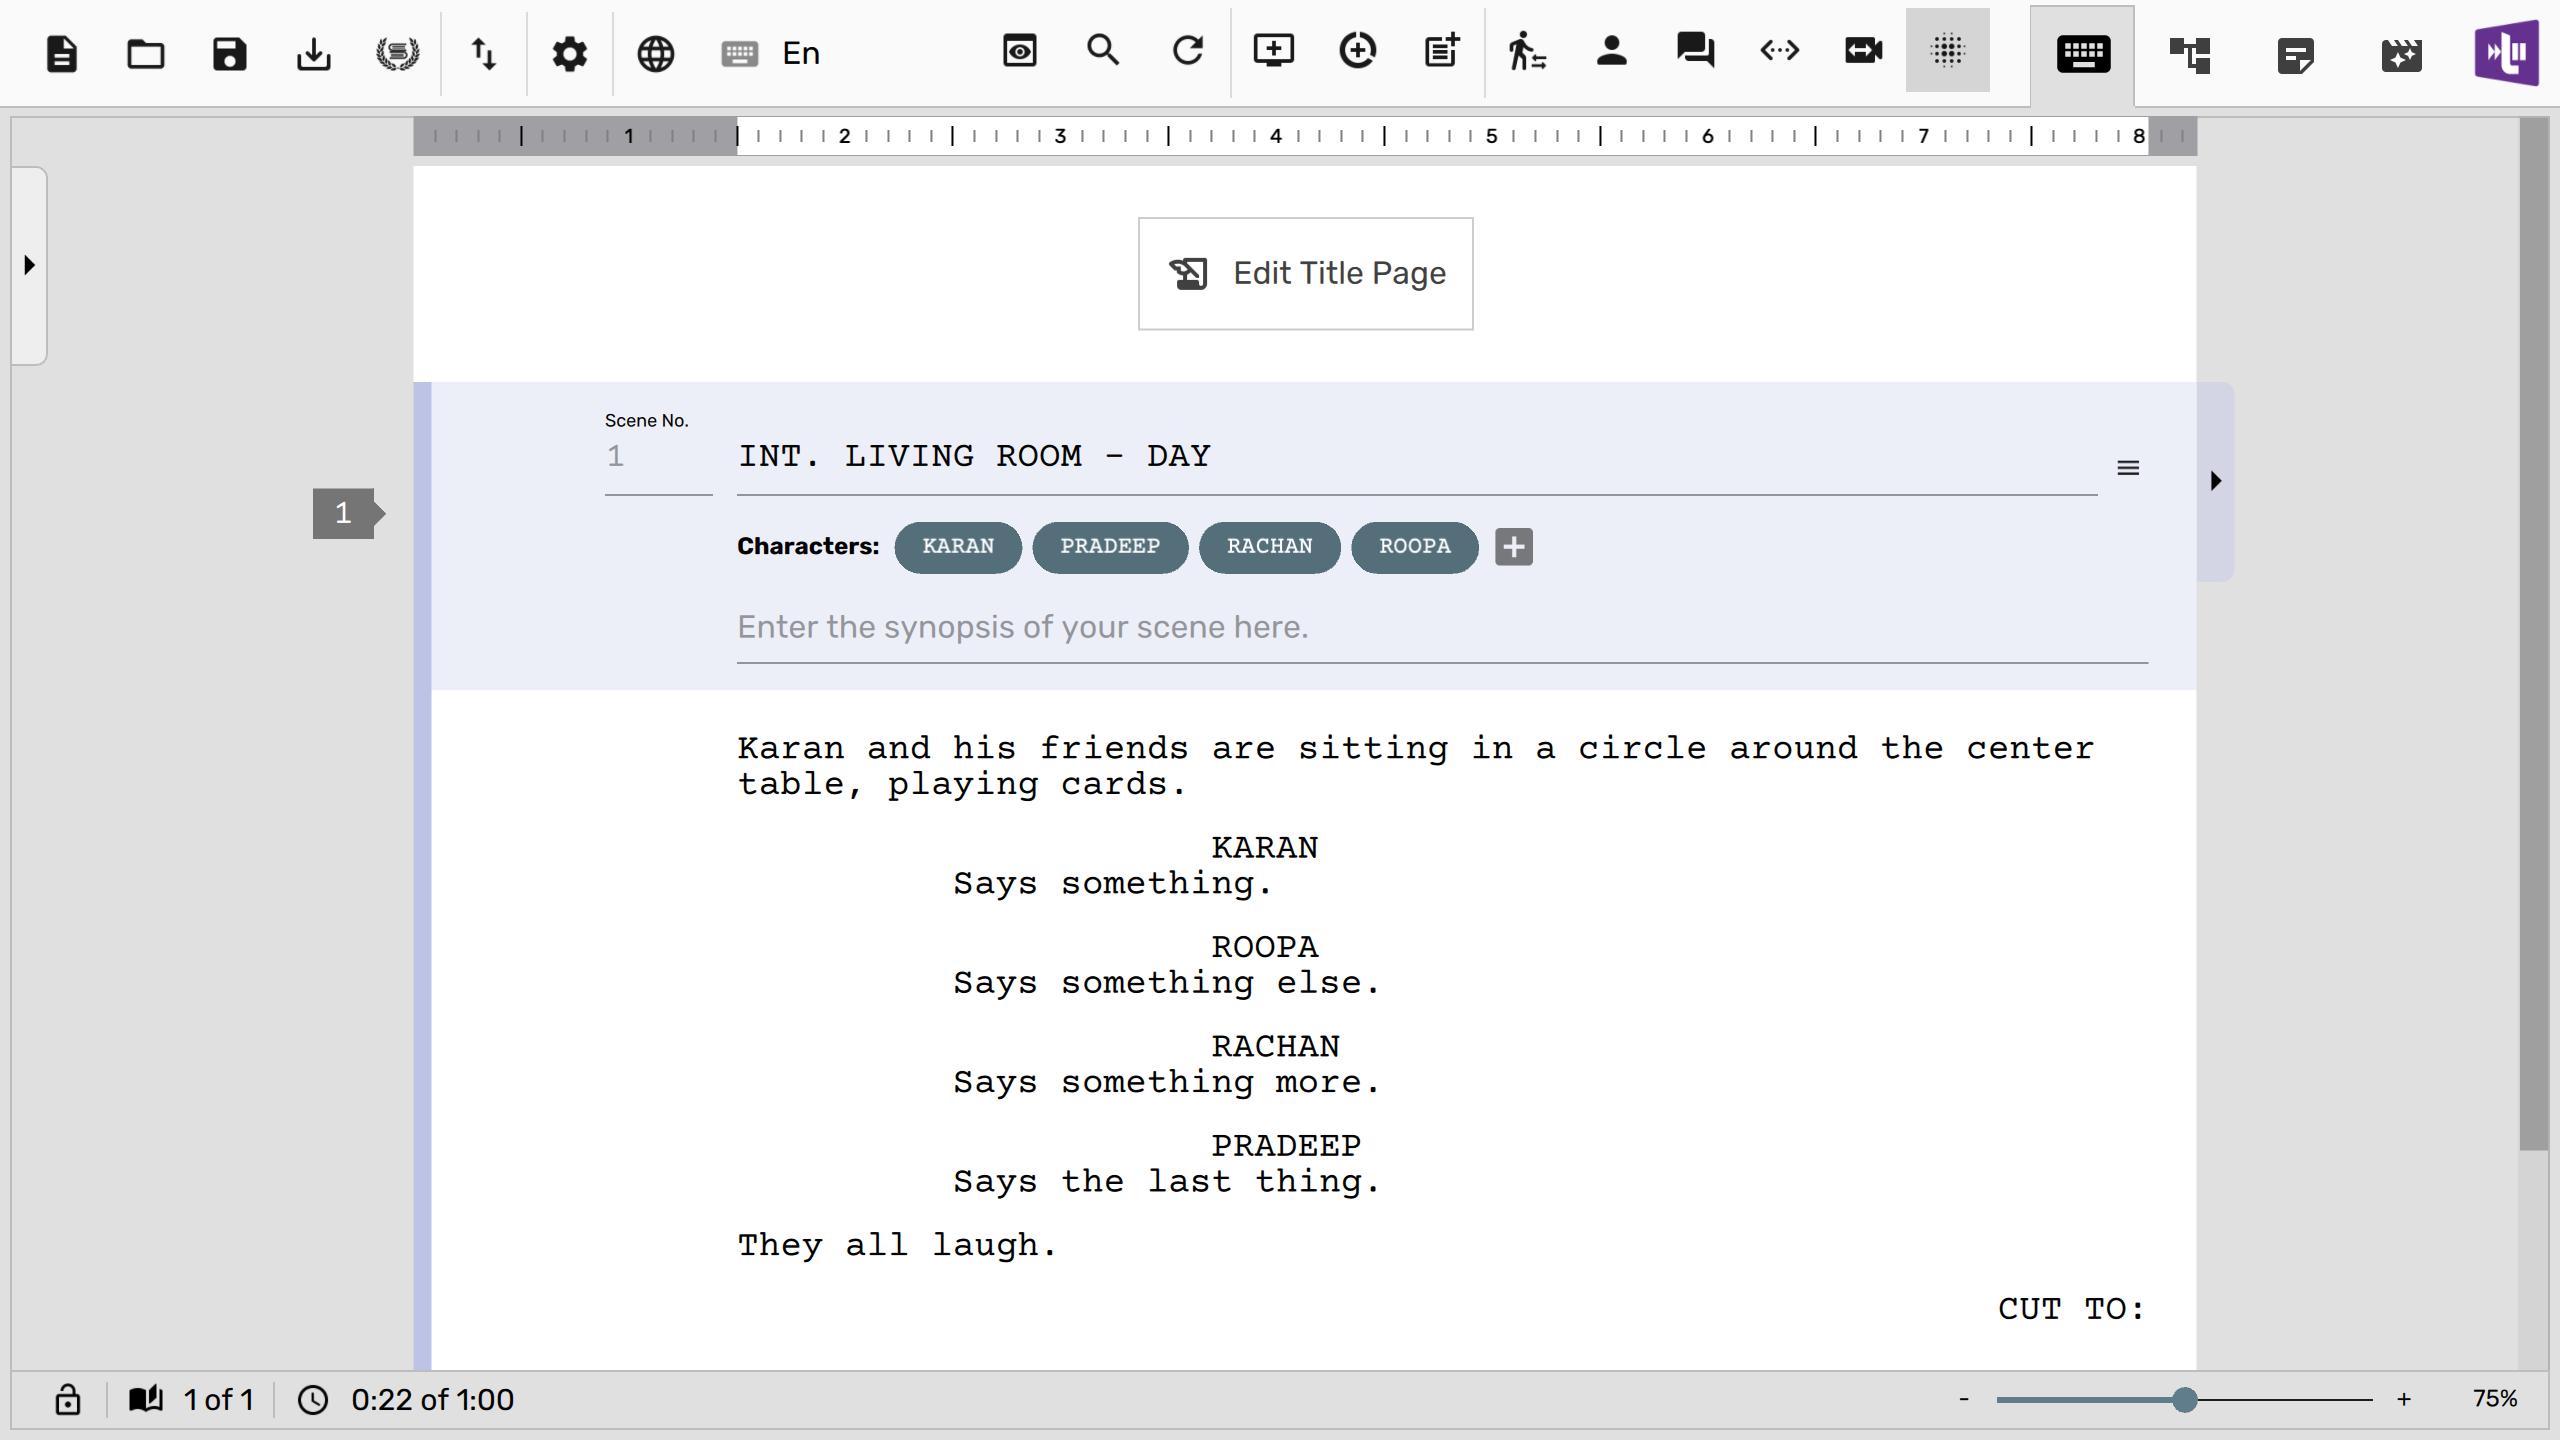
Notice how Scrite automatically aggregates characters in the scene and shows it in the character list below the scene heading. This comes in handy when you generate reports, about which we will be talking about in another article. However you can read about it already in the following posts:
PS: Screenshots in the posts linked above are from a previous version of Scrite. However the functionality remains as is to this date.
Adding More Scenes
We can keep creating more scenes and adding content to each of the scenes. To add a new scene, you can either click on the new scene button at the end of the page or on the toolbar as shown below.
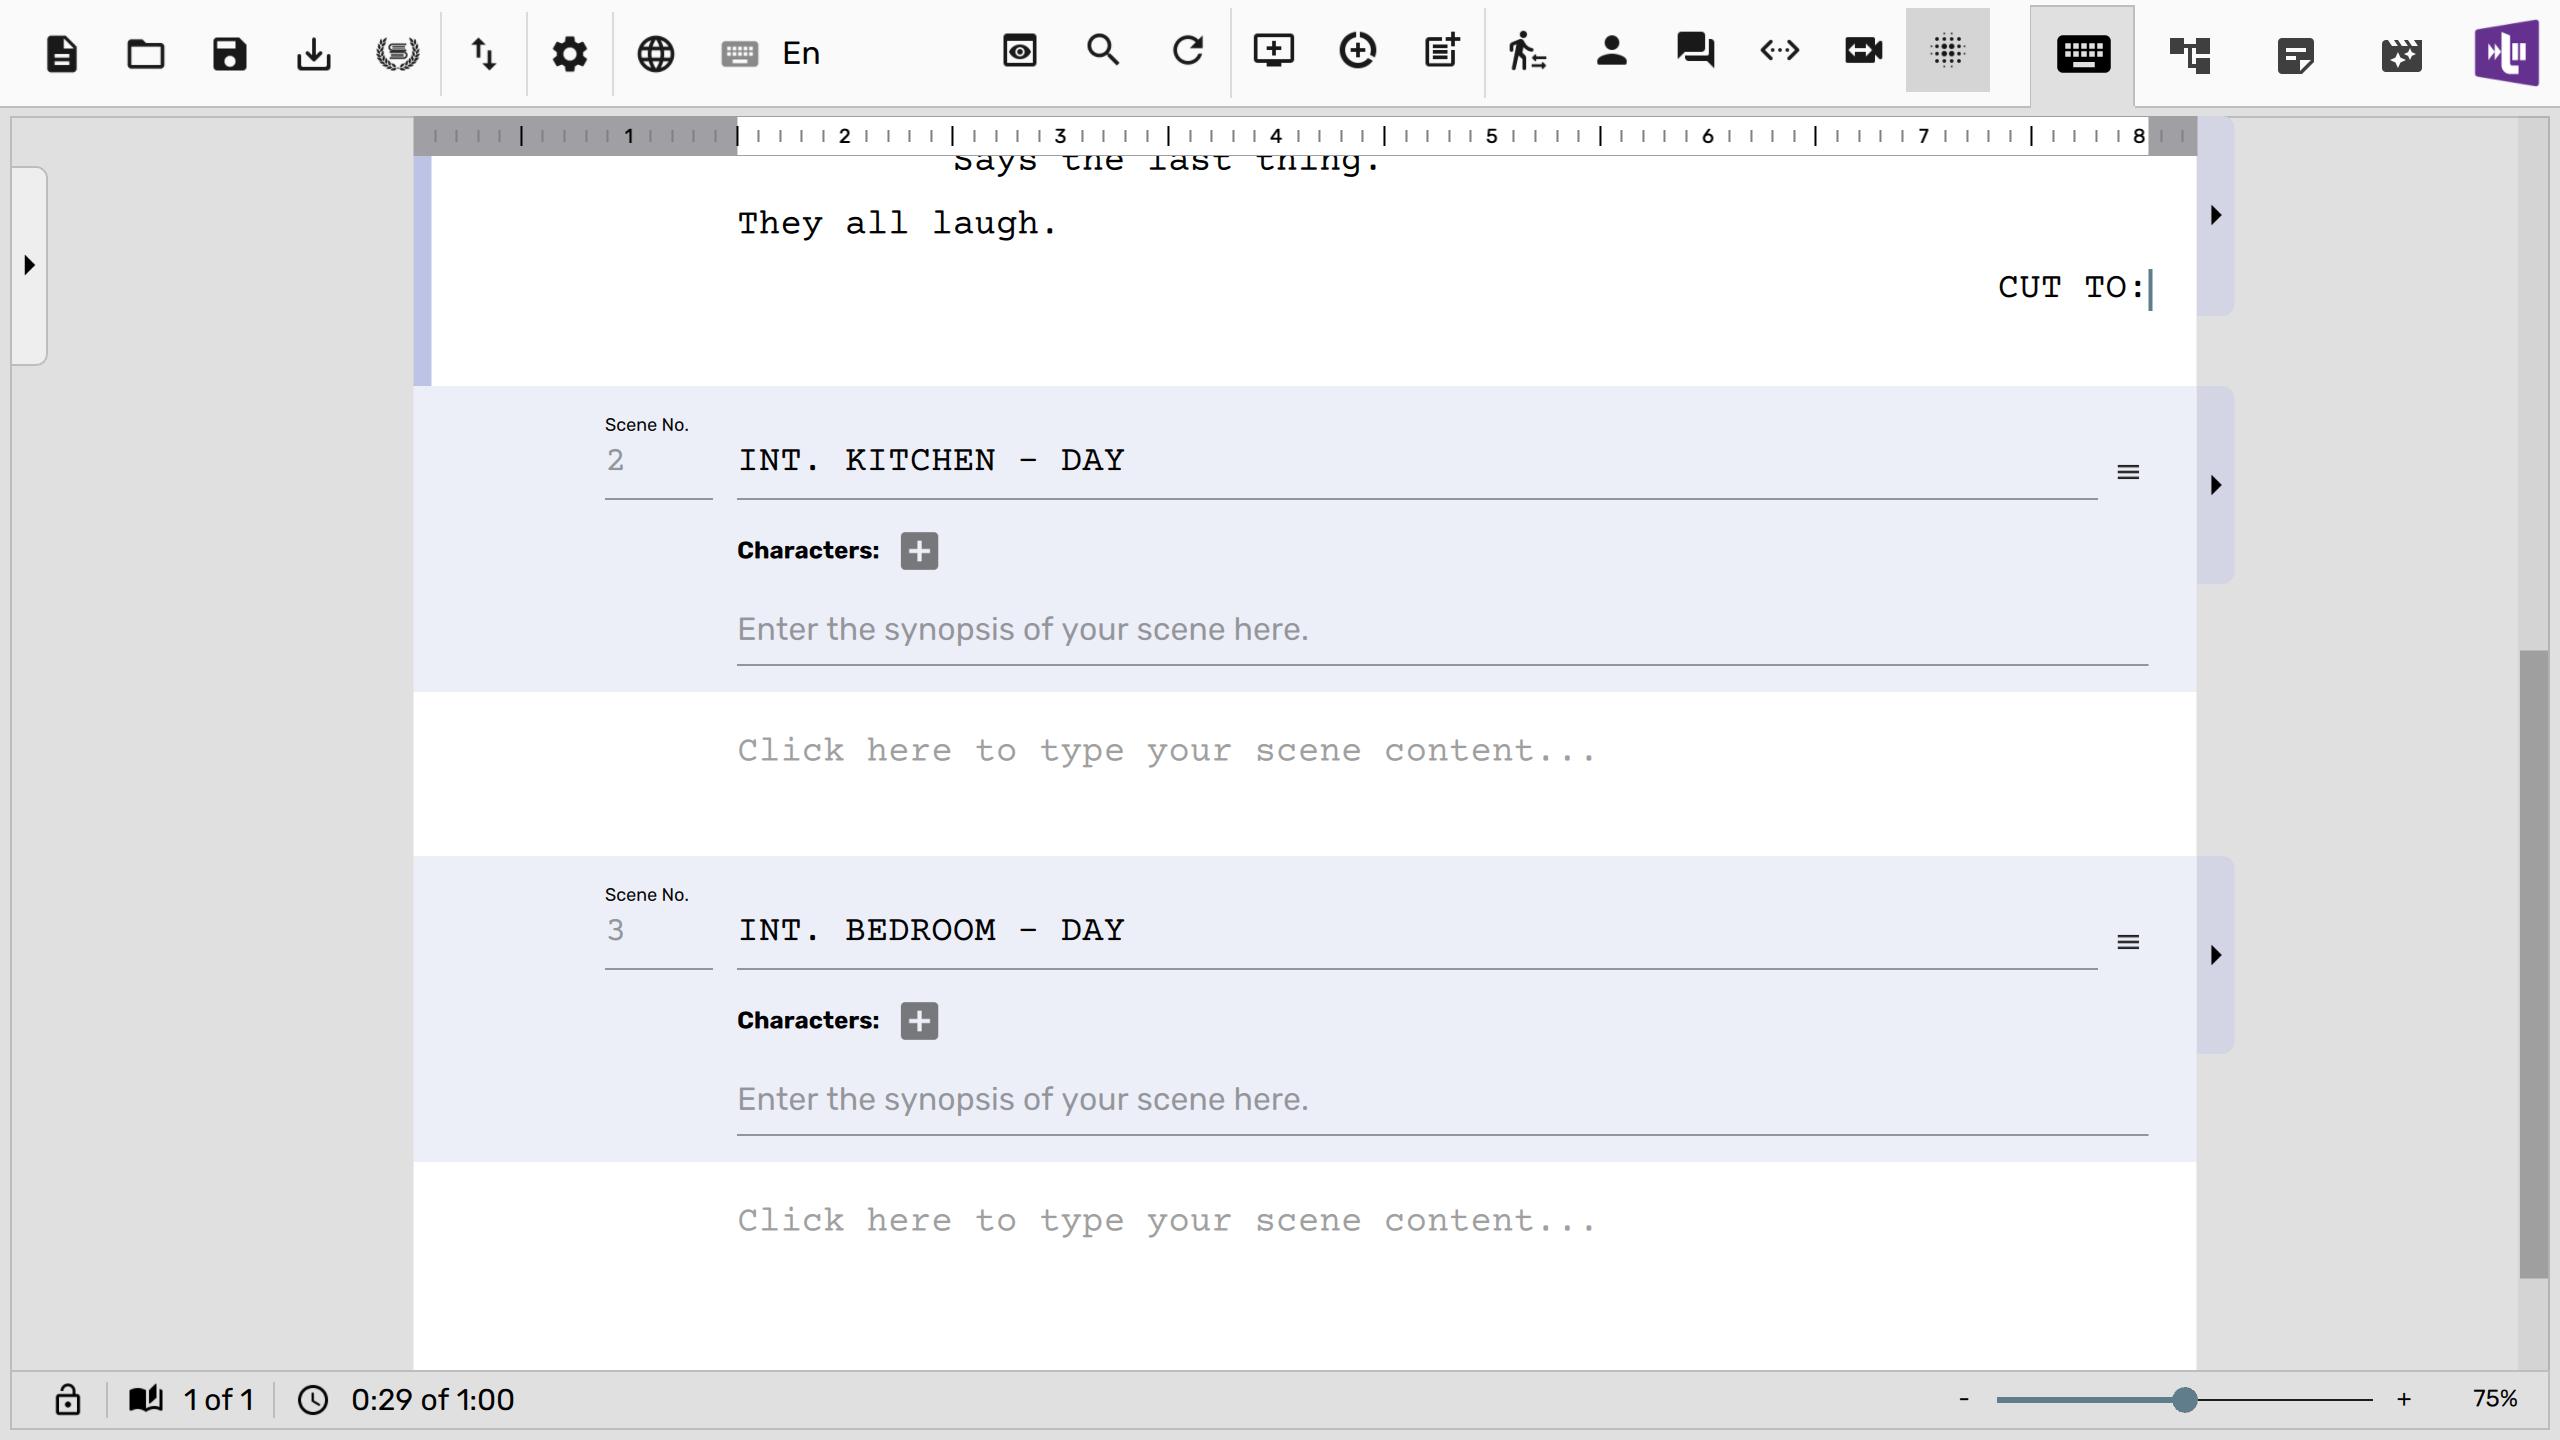
Shown below is a screenshot with two more scenes added.
Scene List Panel
You can click on the scene list panel button on the left edge to pull out a panel, in which all scenes in the screenplay are listed.
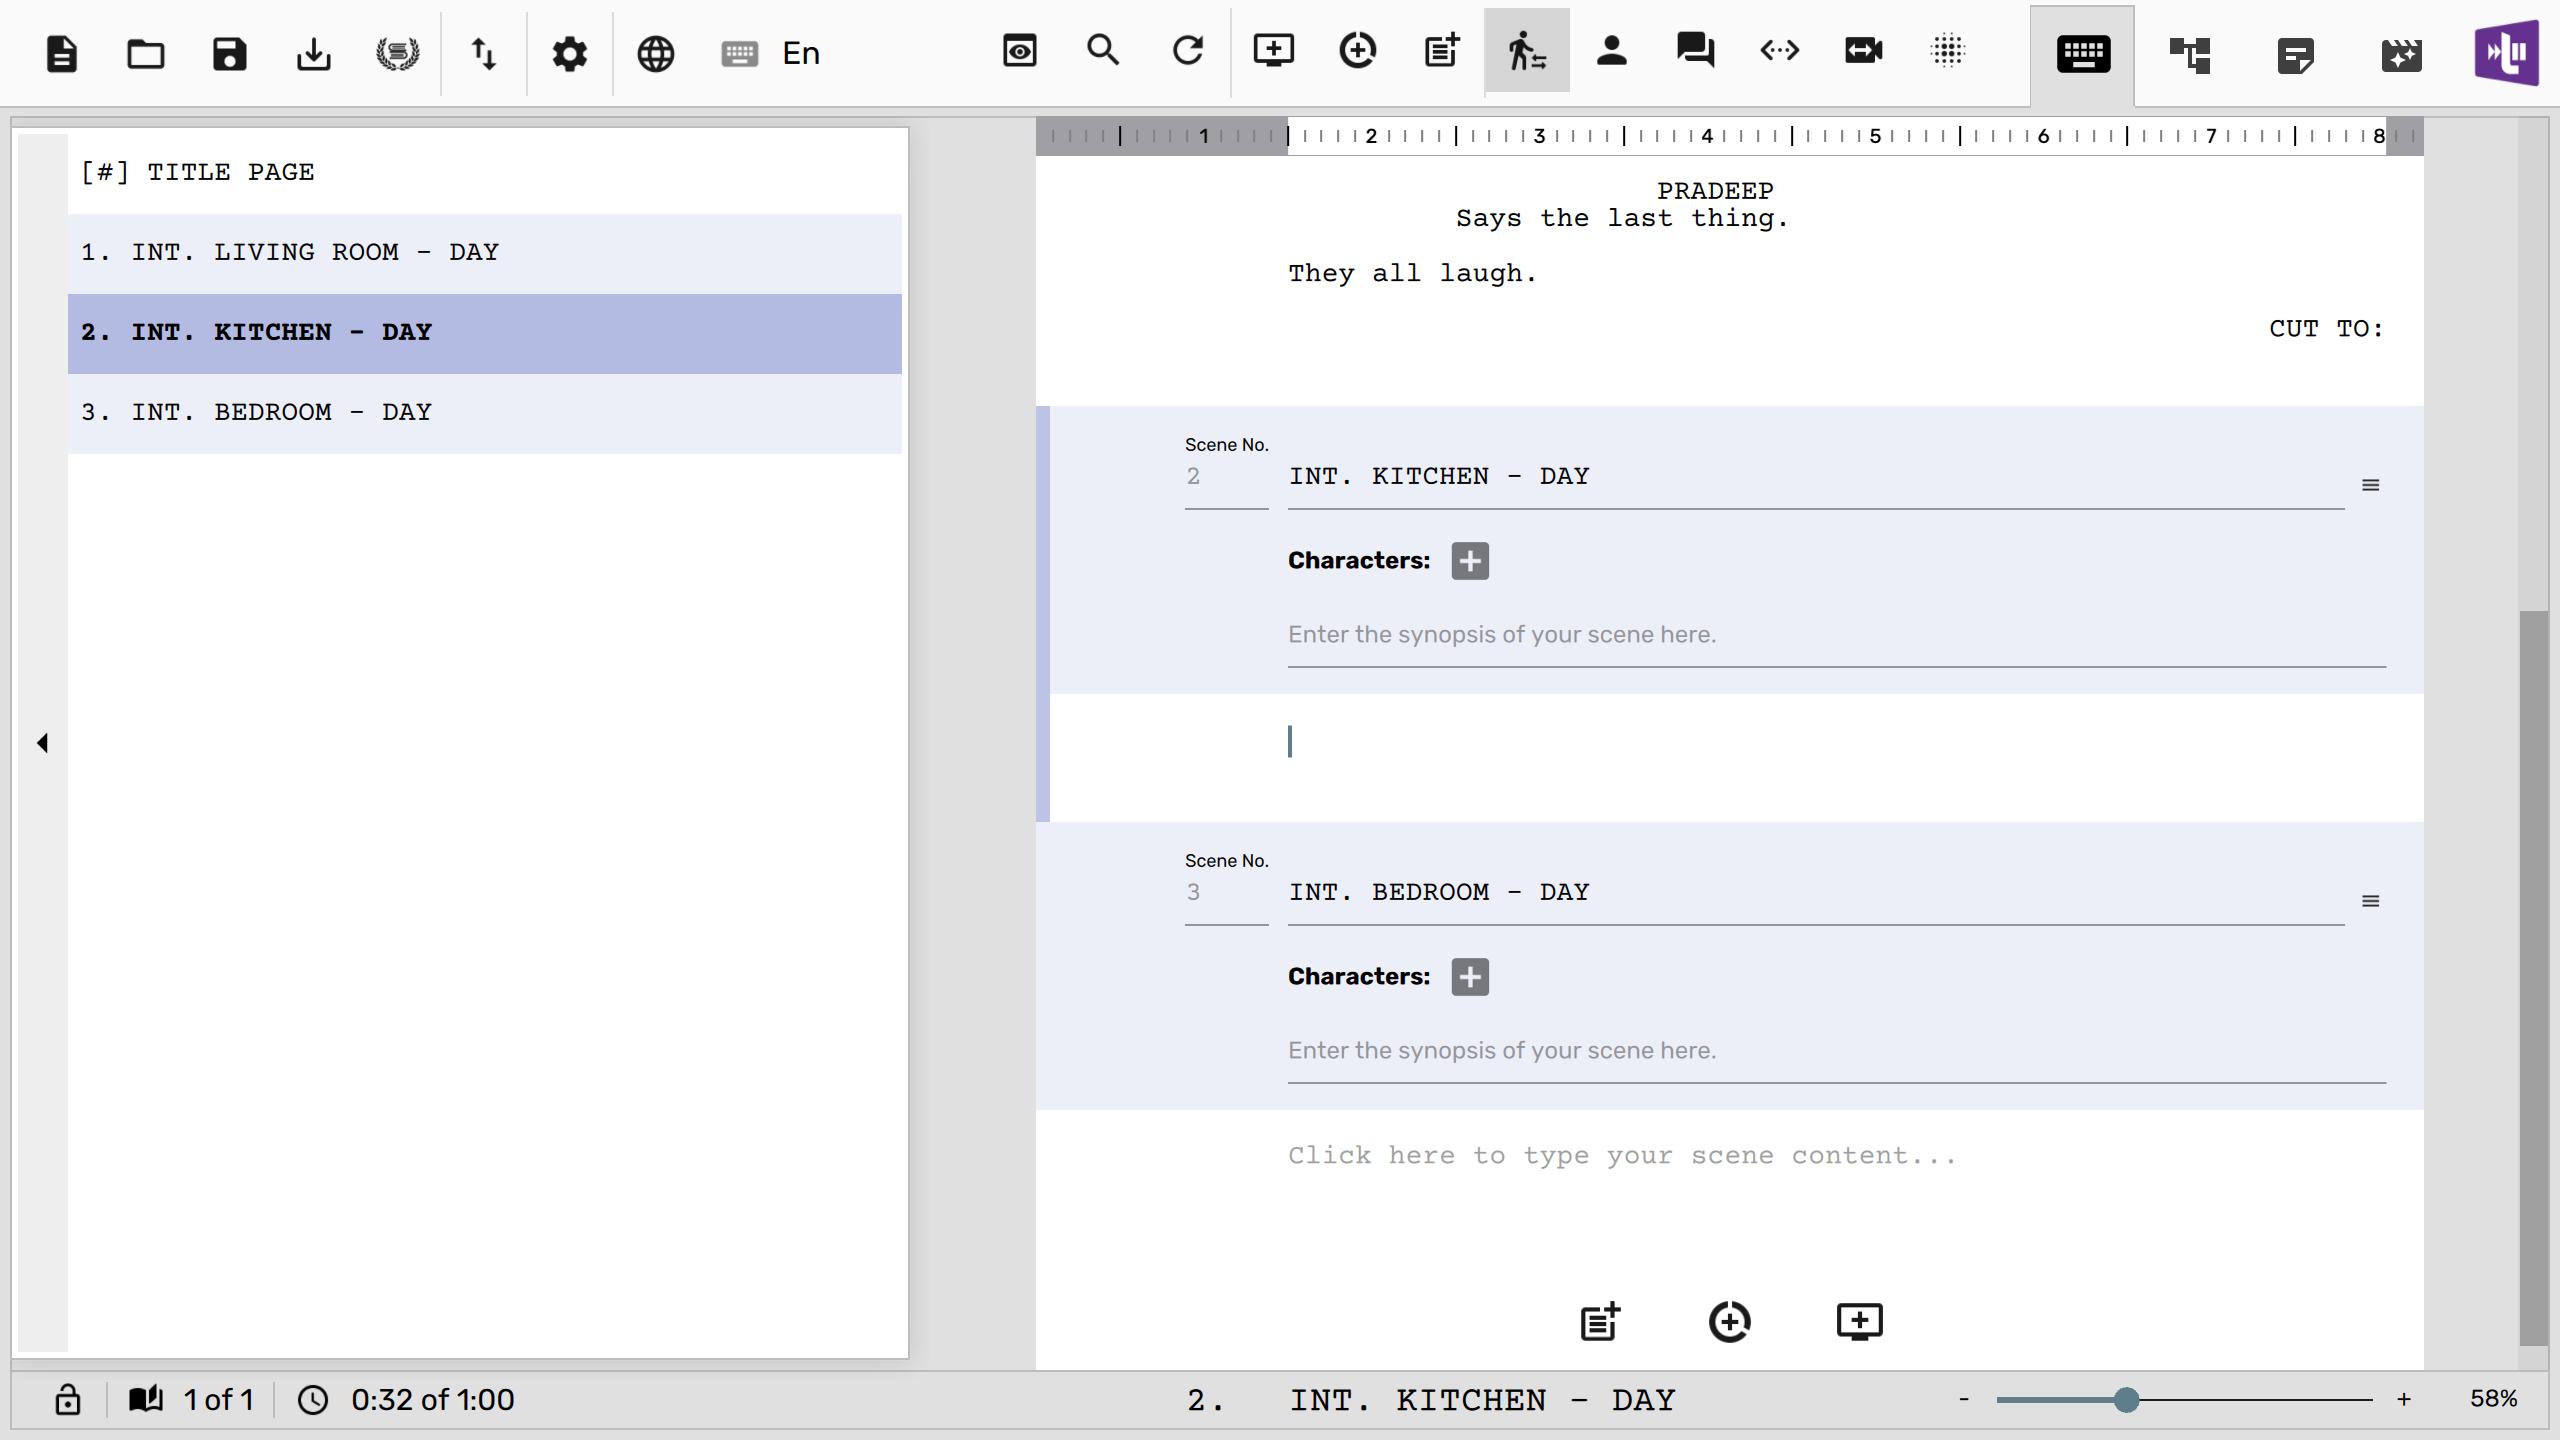
Clicking on a scene heading in the left causes Scrite to switch to that scene on the editor. You can even reorder scenes on the list by clicking on a scene and dragging it to another position in the screenplay.
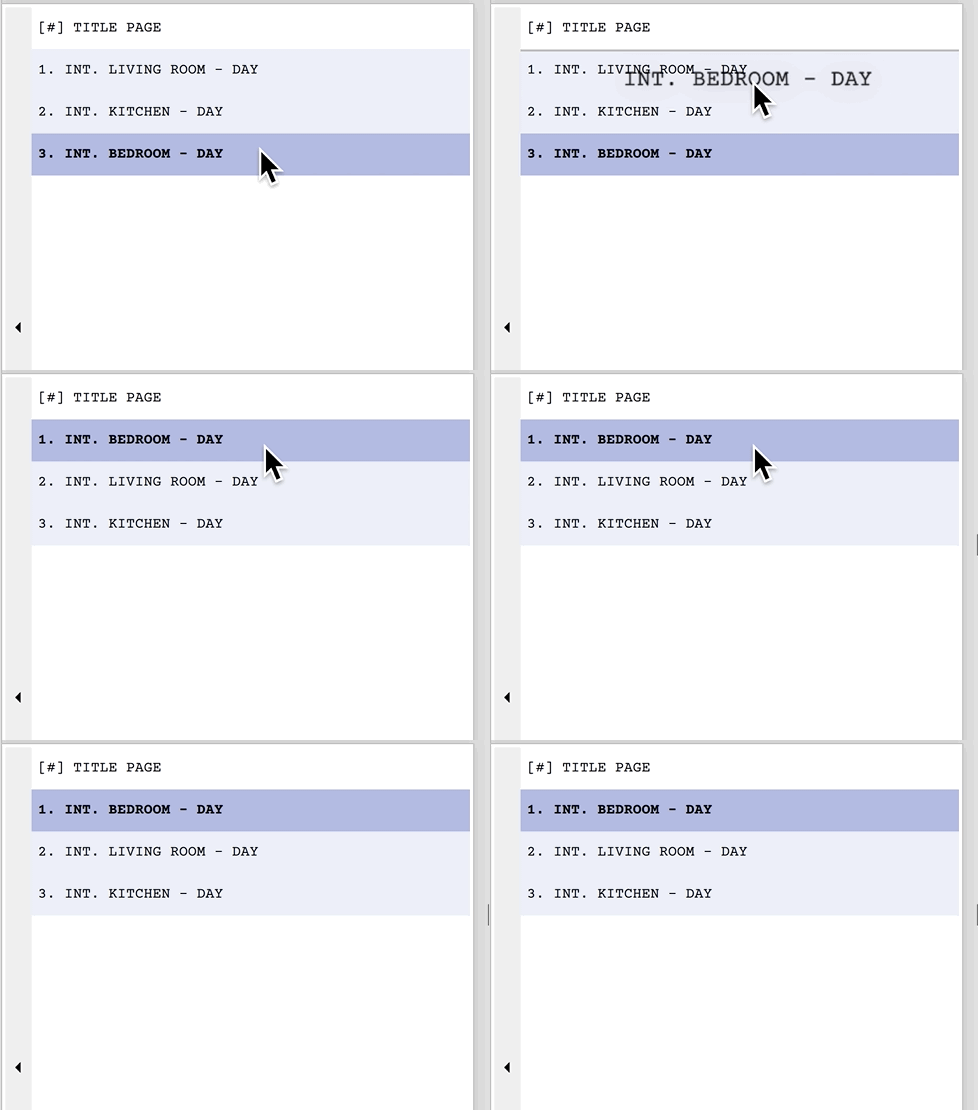
Shown below is how the screenplay looks after the bedroom scene is moved to become the first scene.
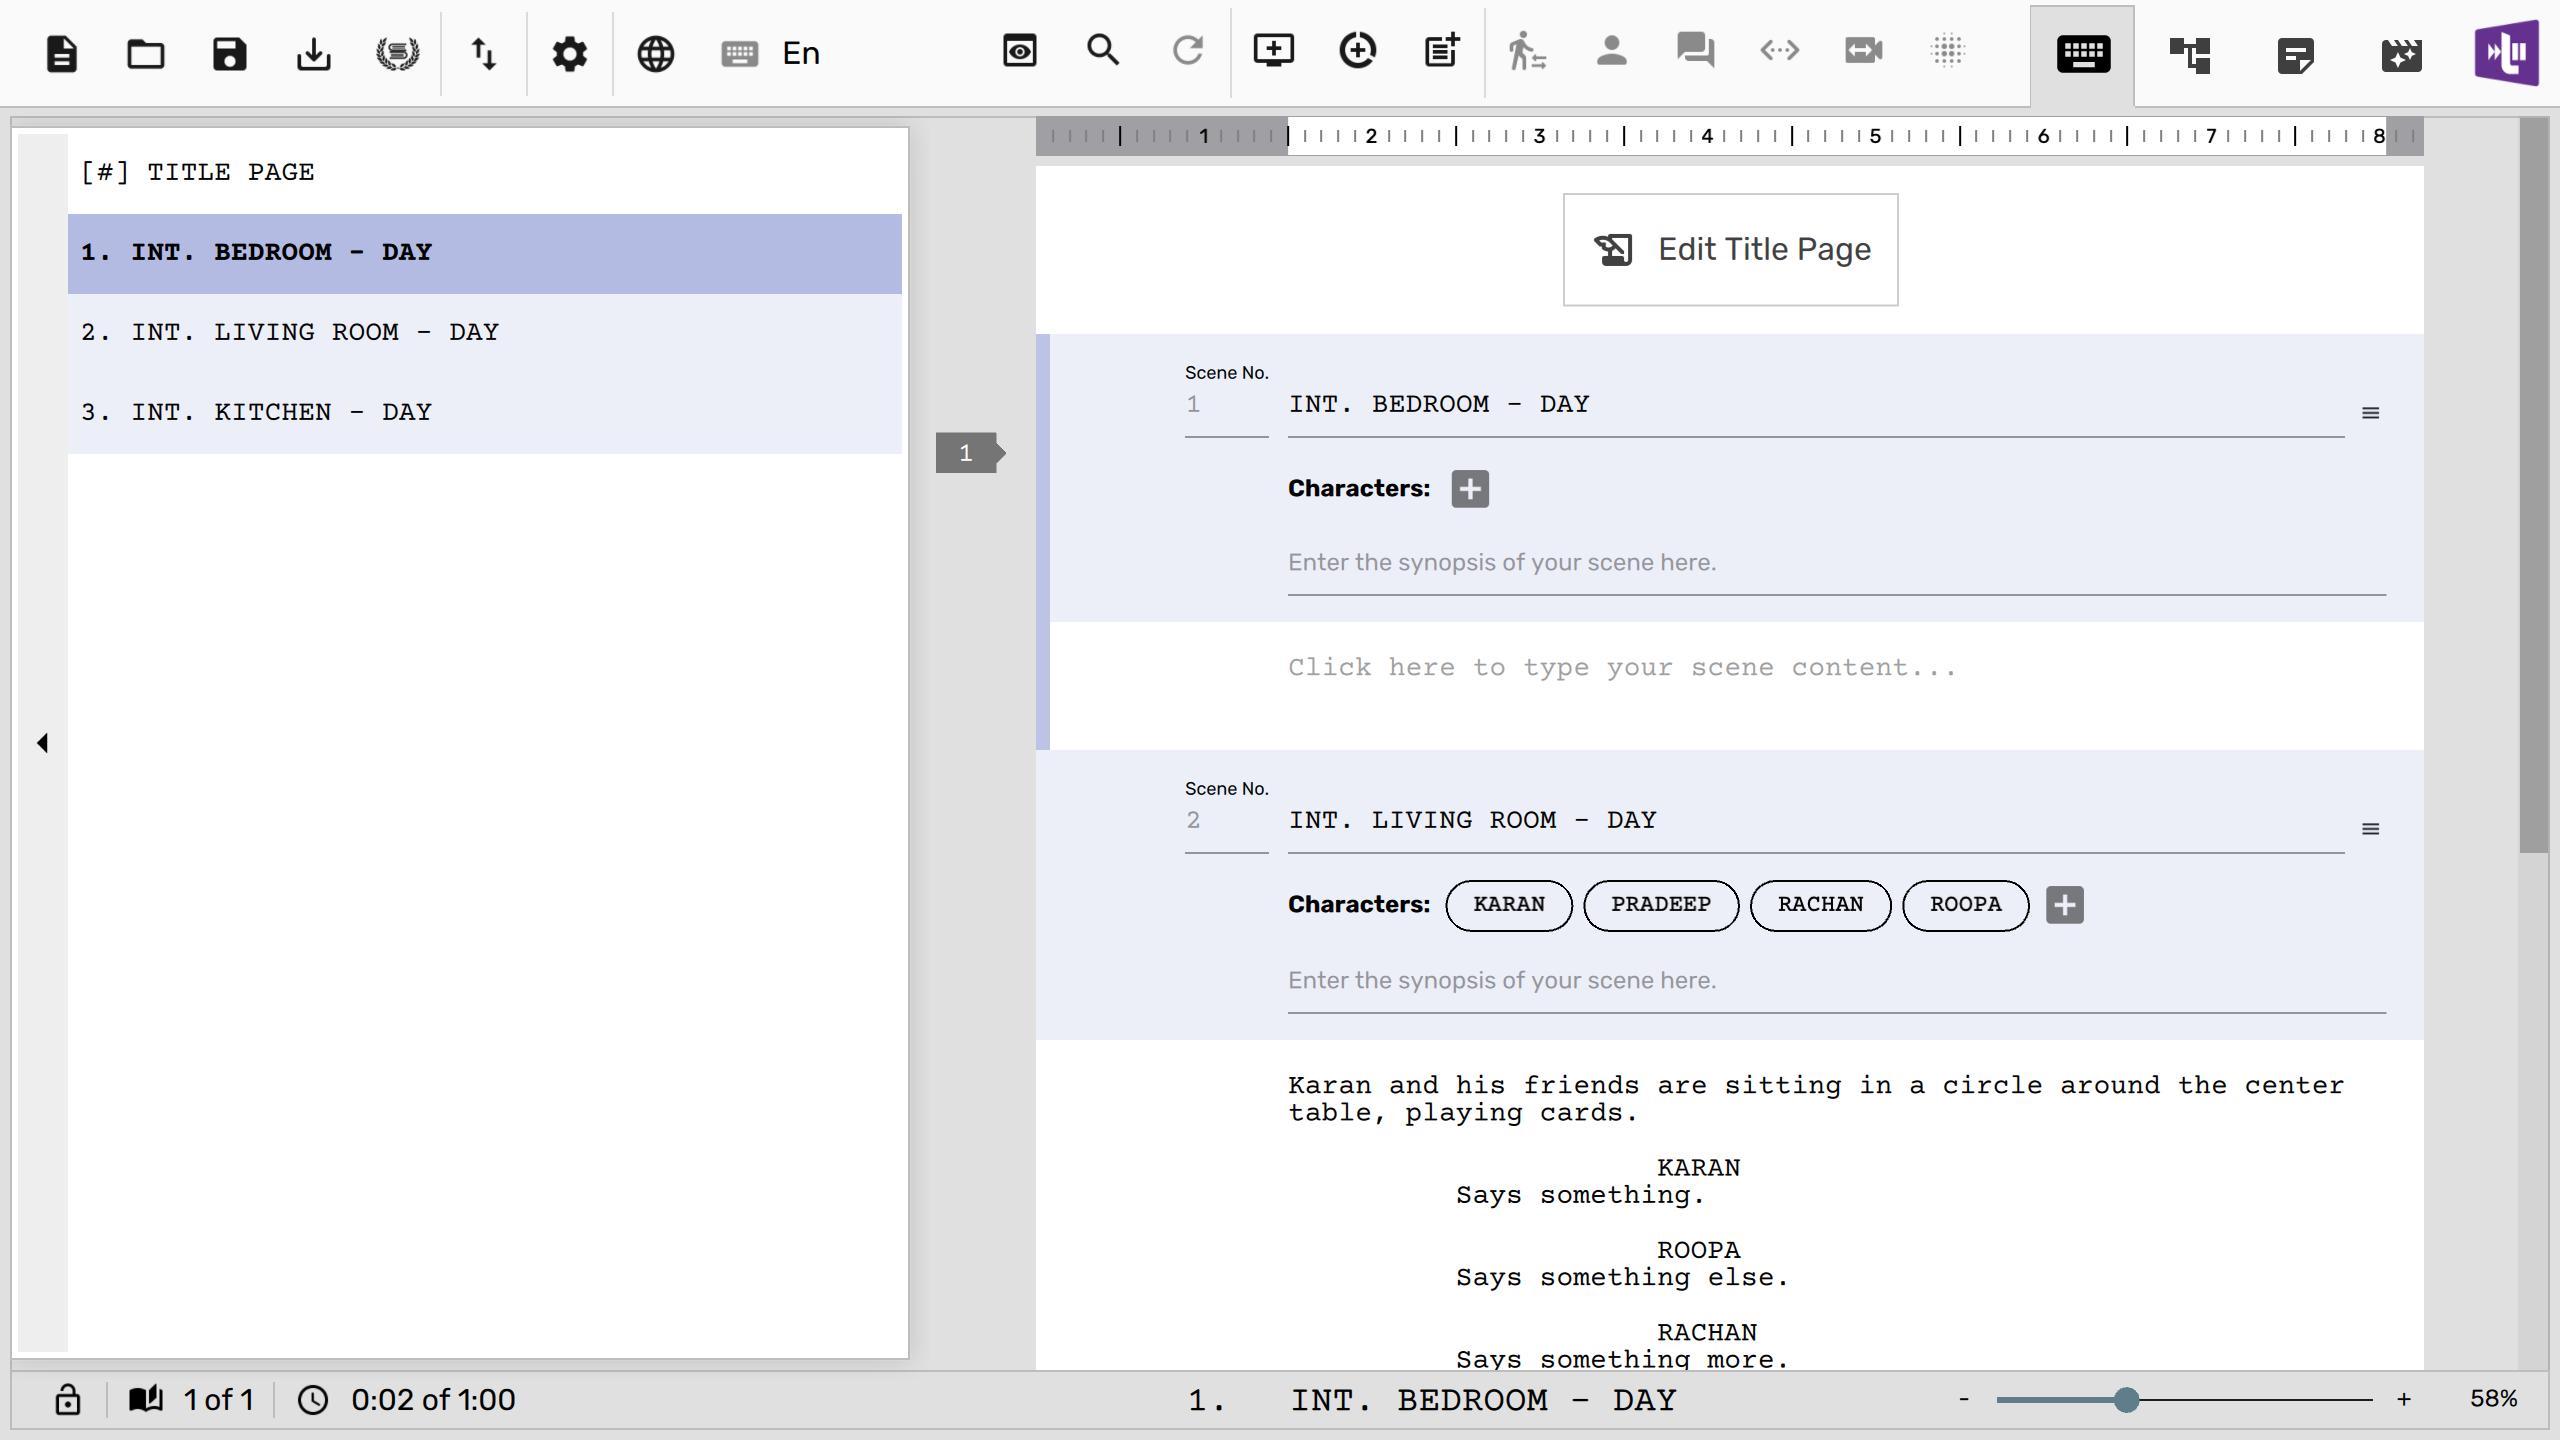
Distraction Free Writing
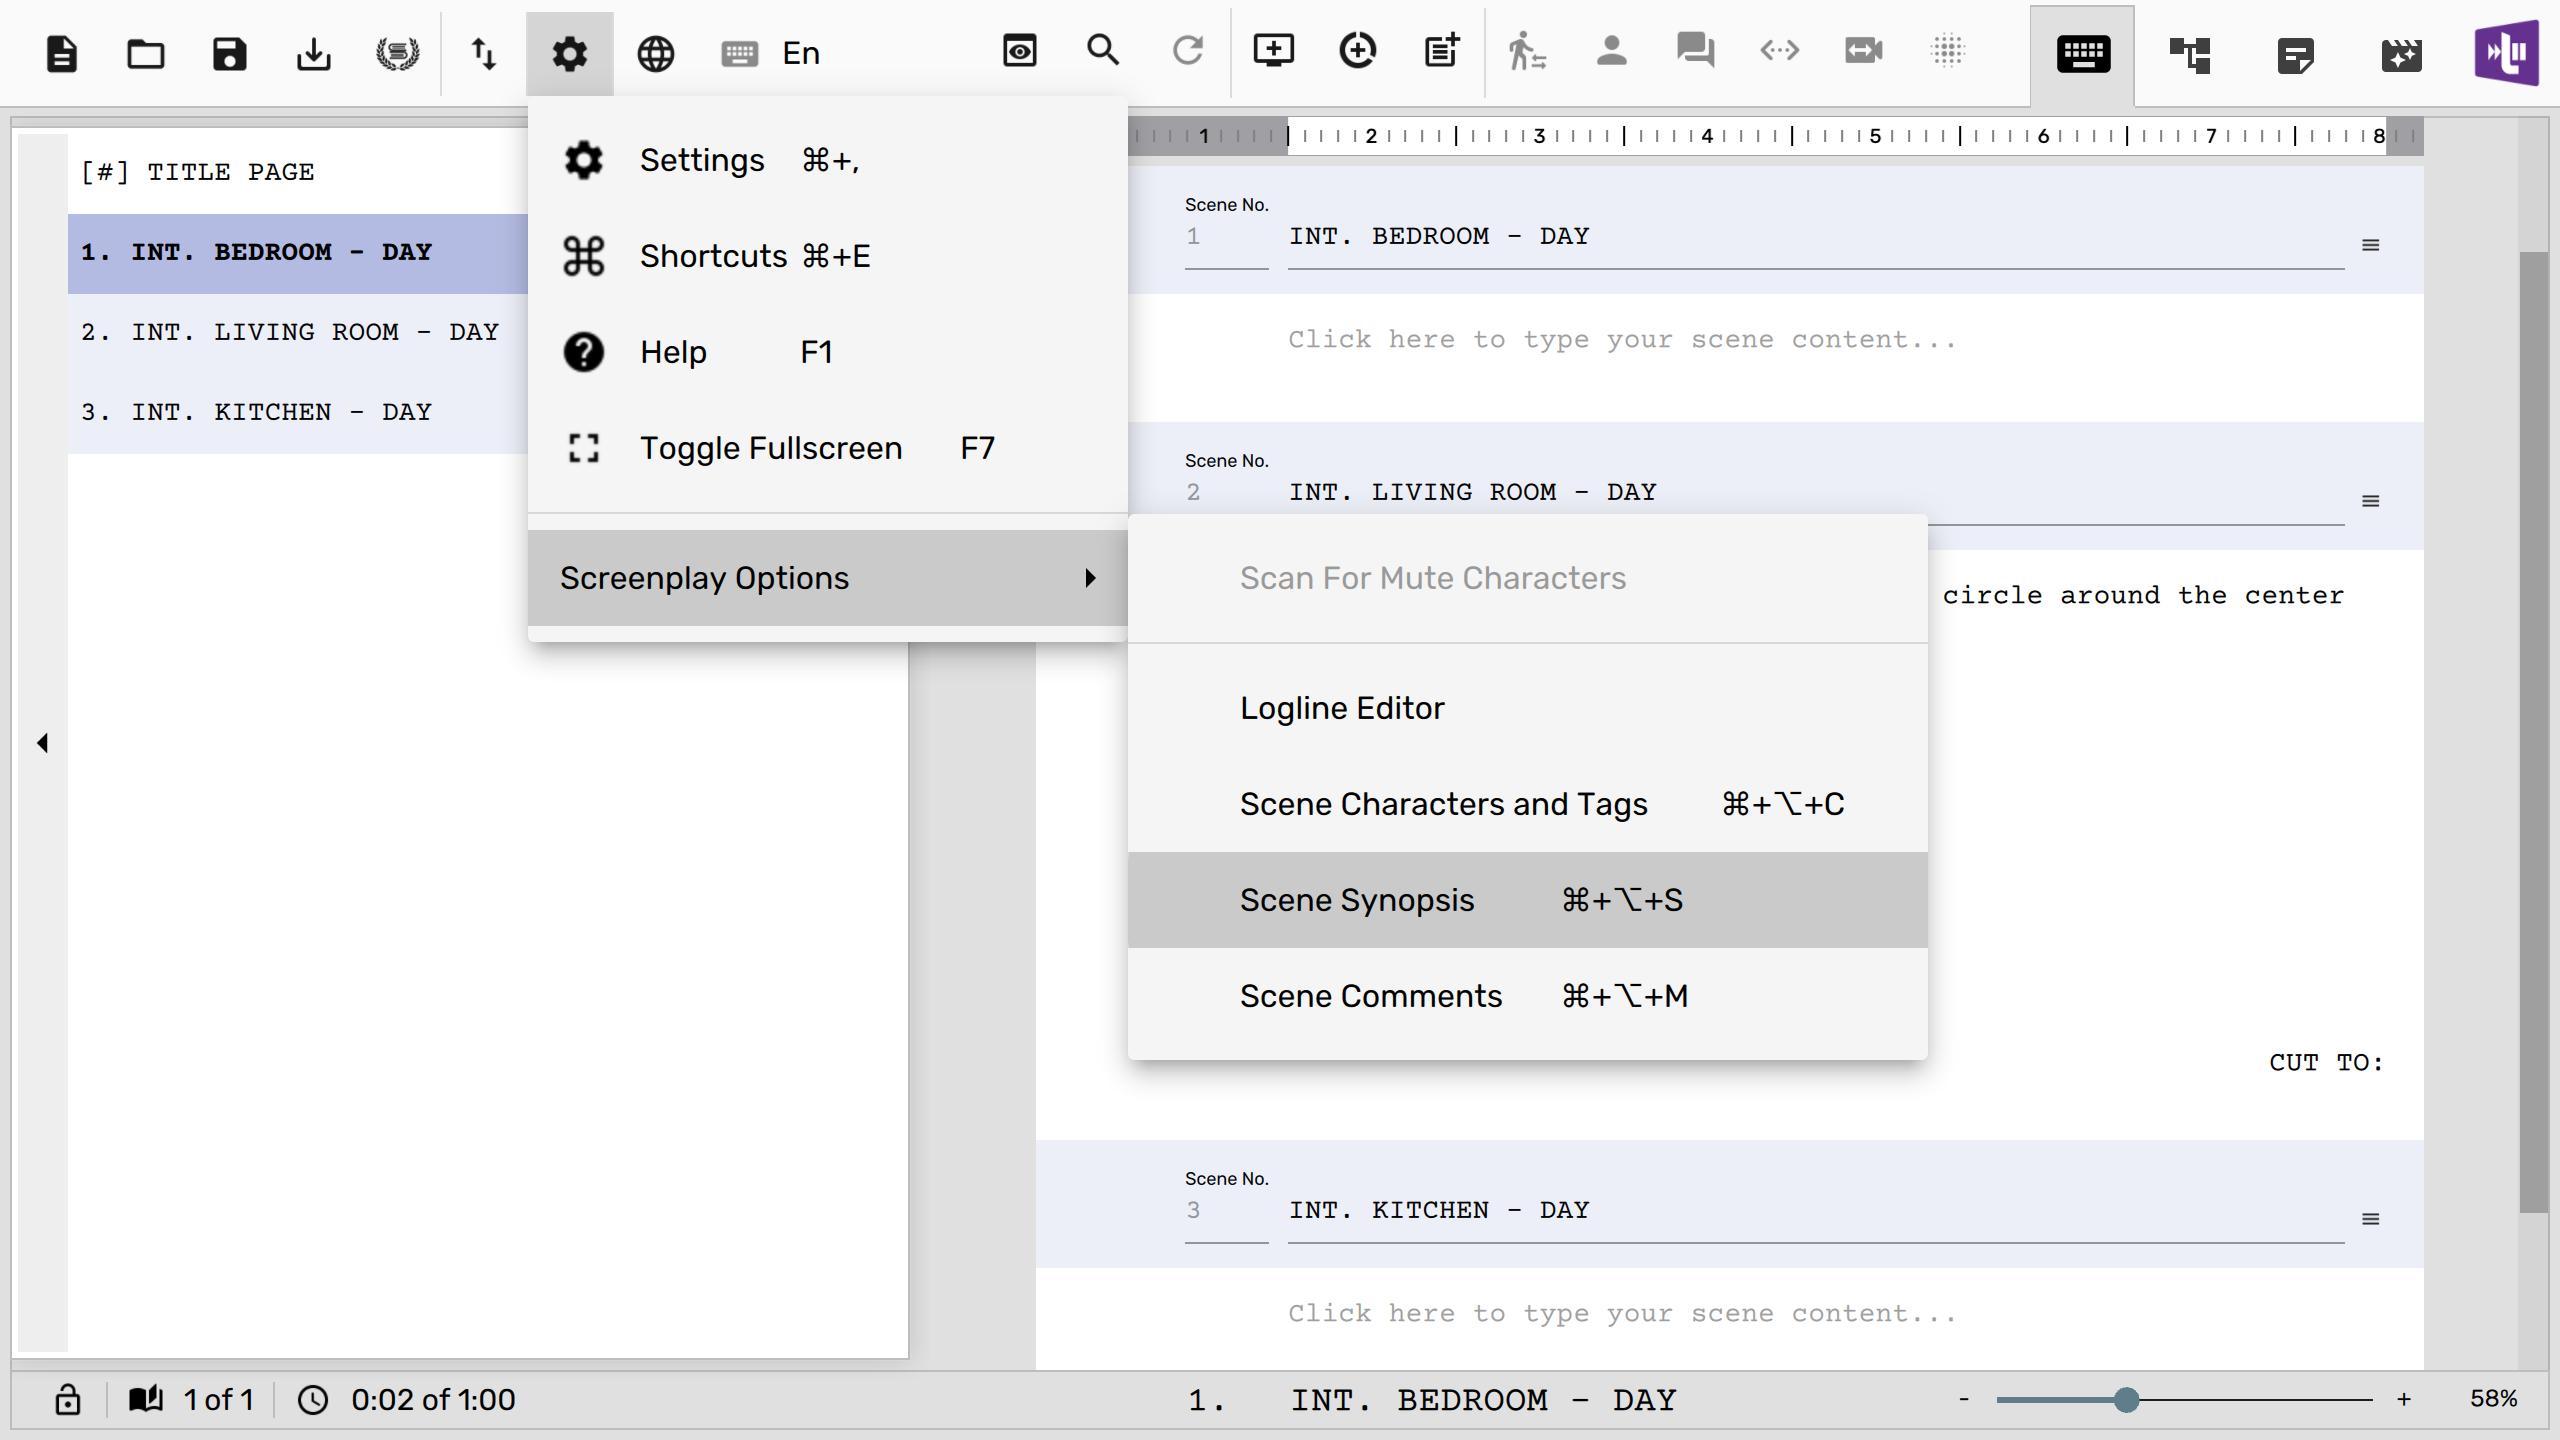
You can turn off scene character list and synopsis panels using the “Screenplay Options” menu.
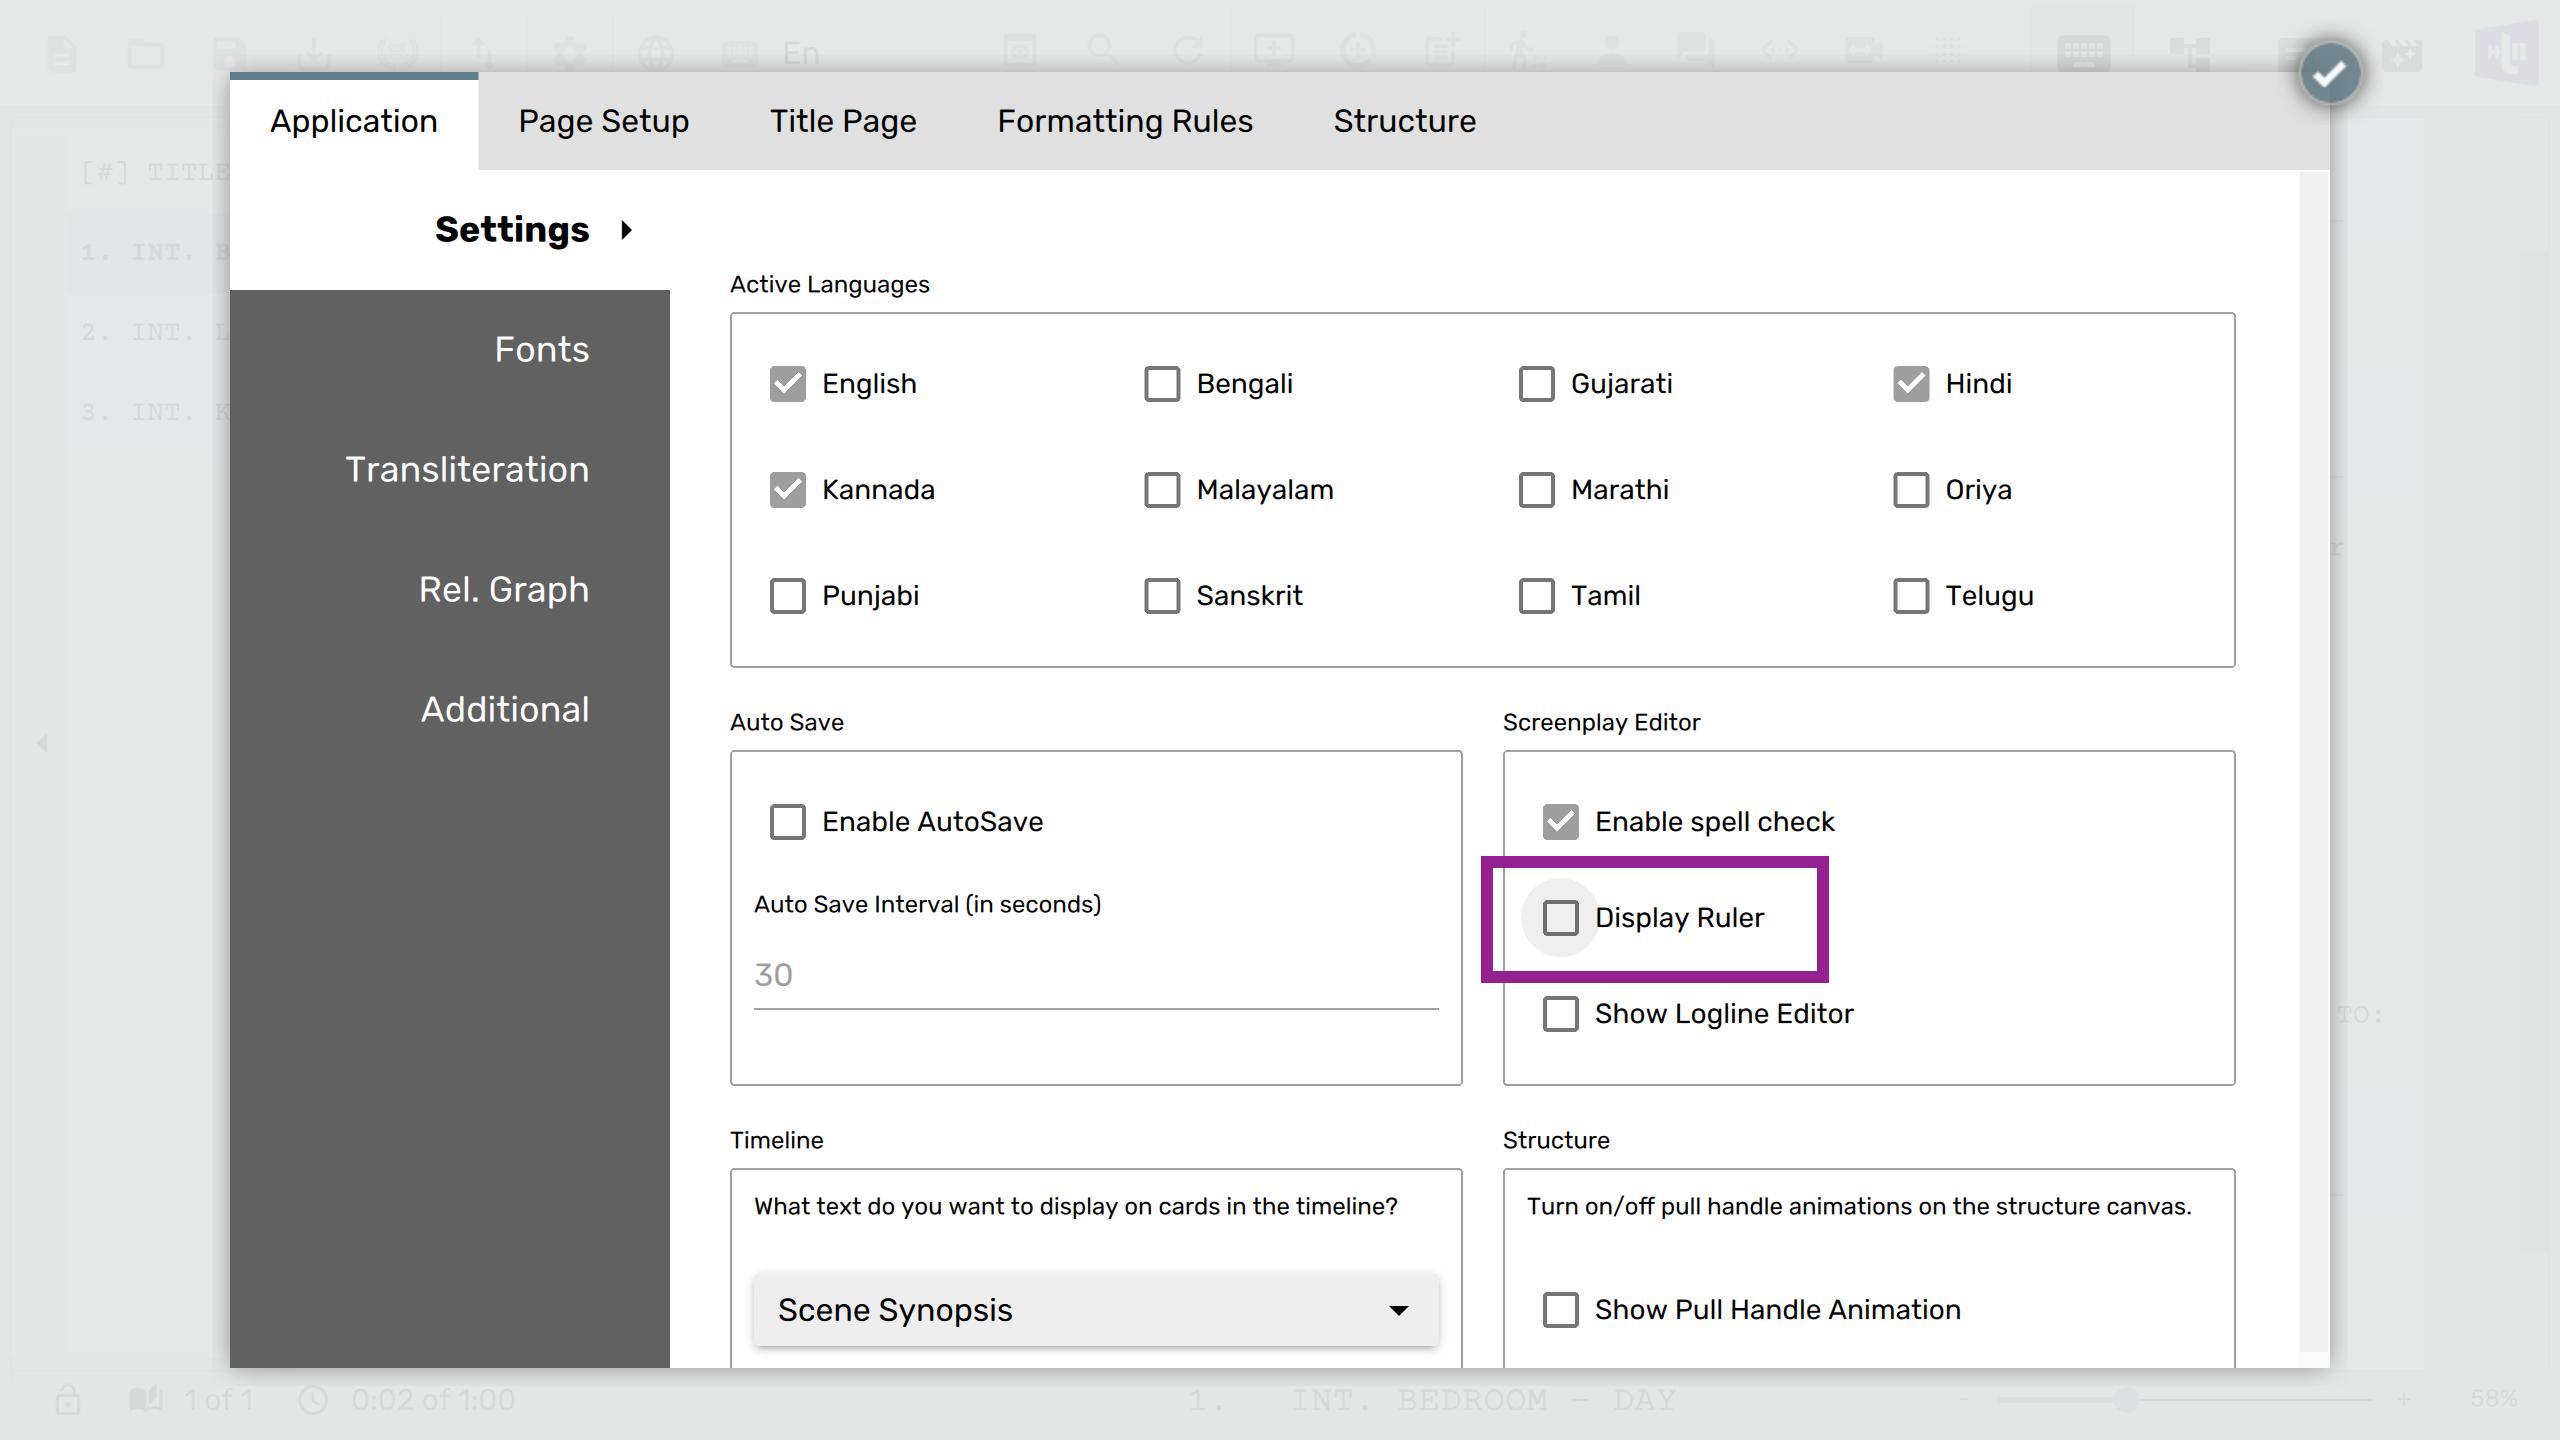
You can turn off the ruler in Settings
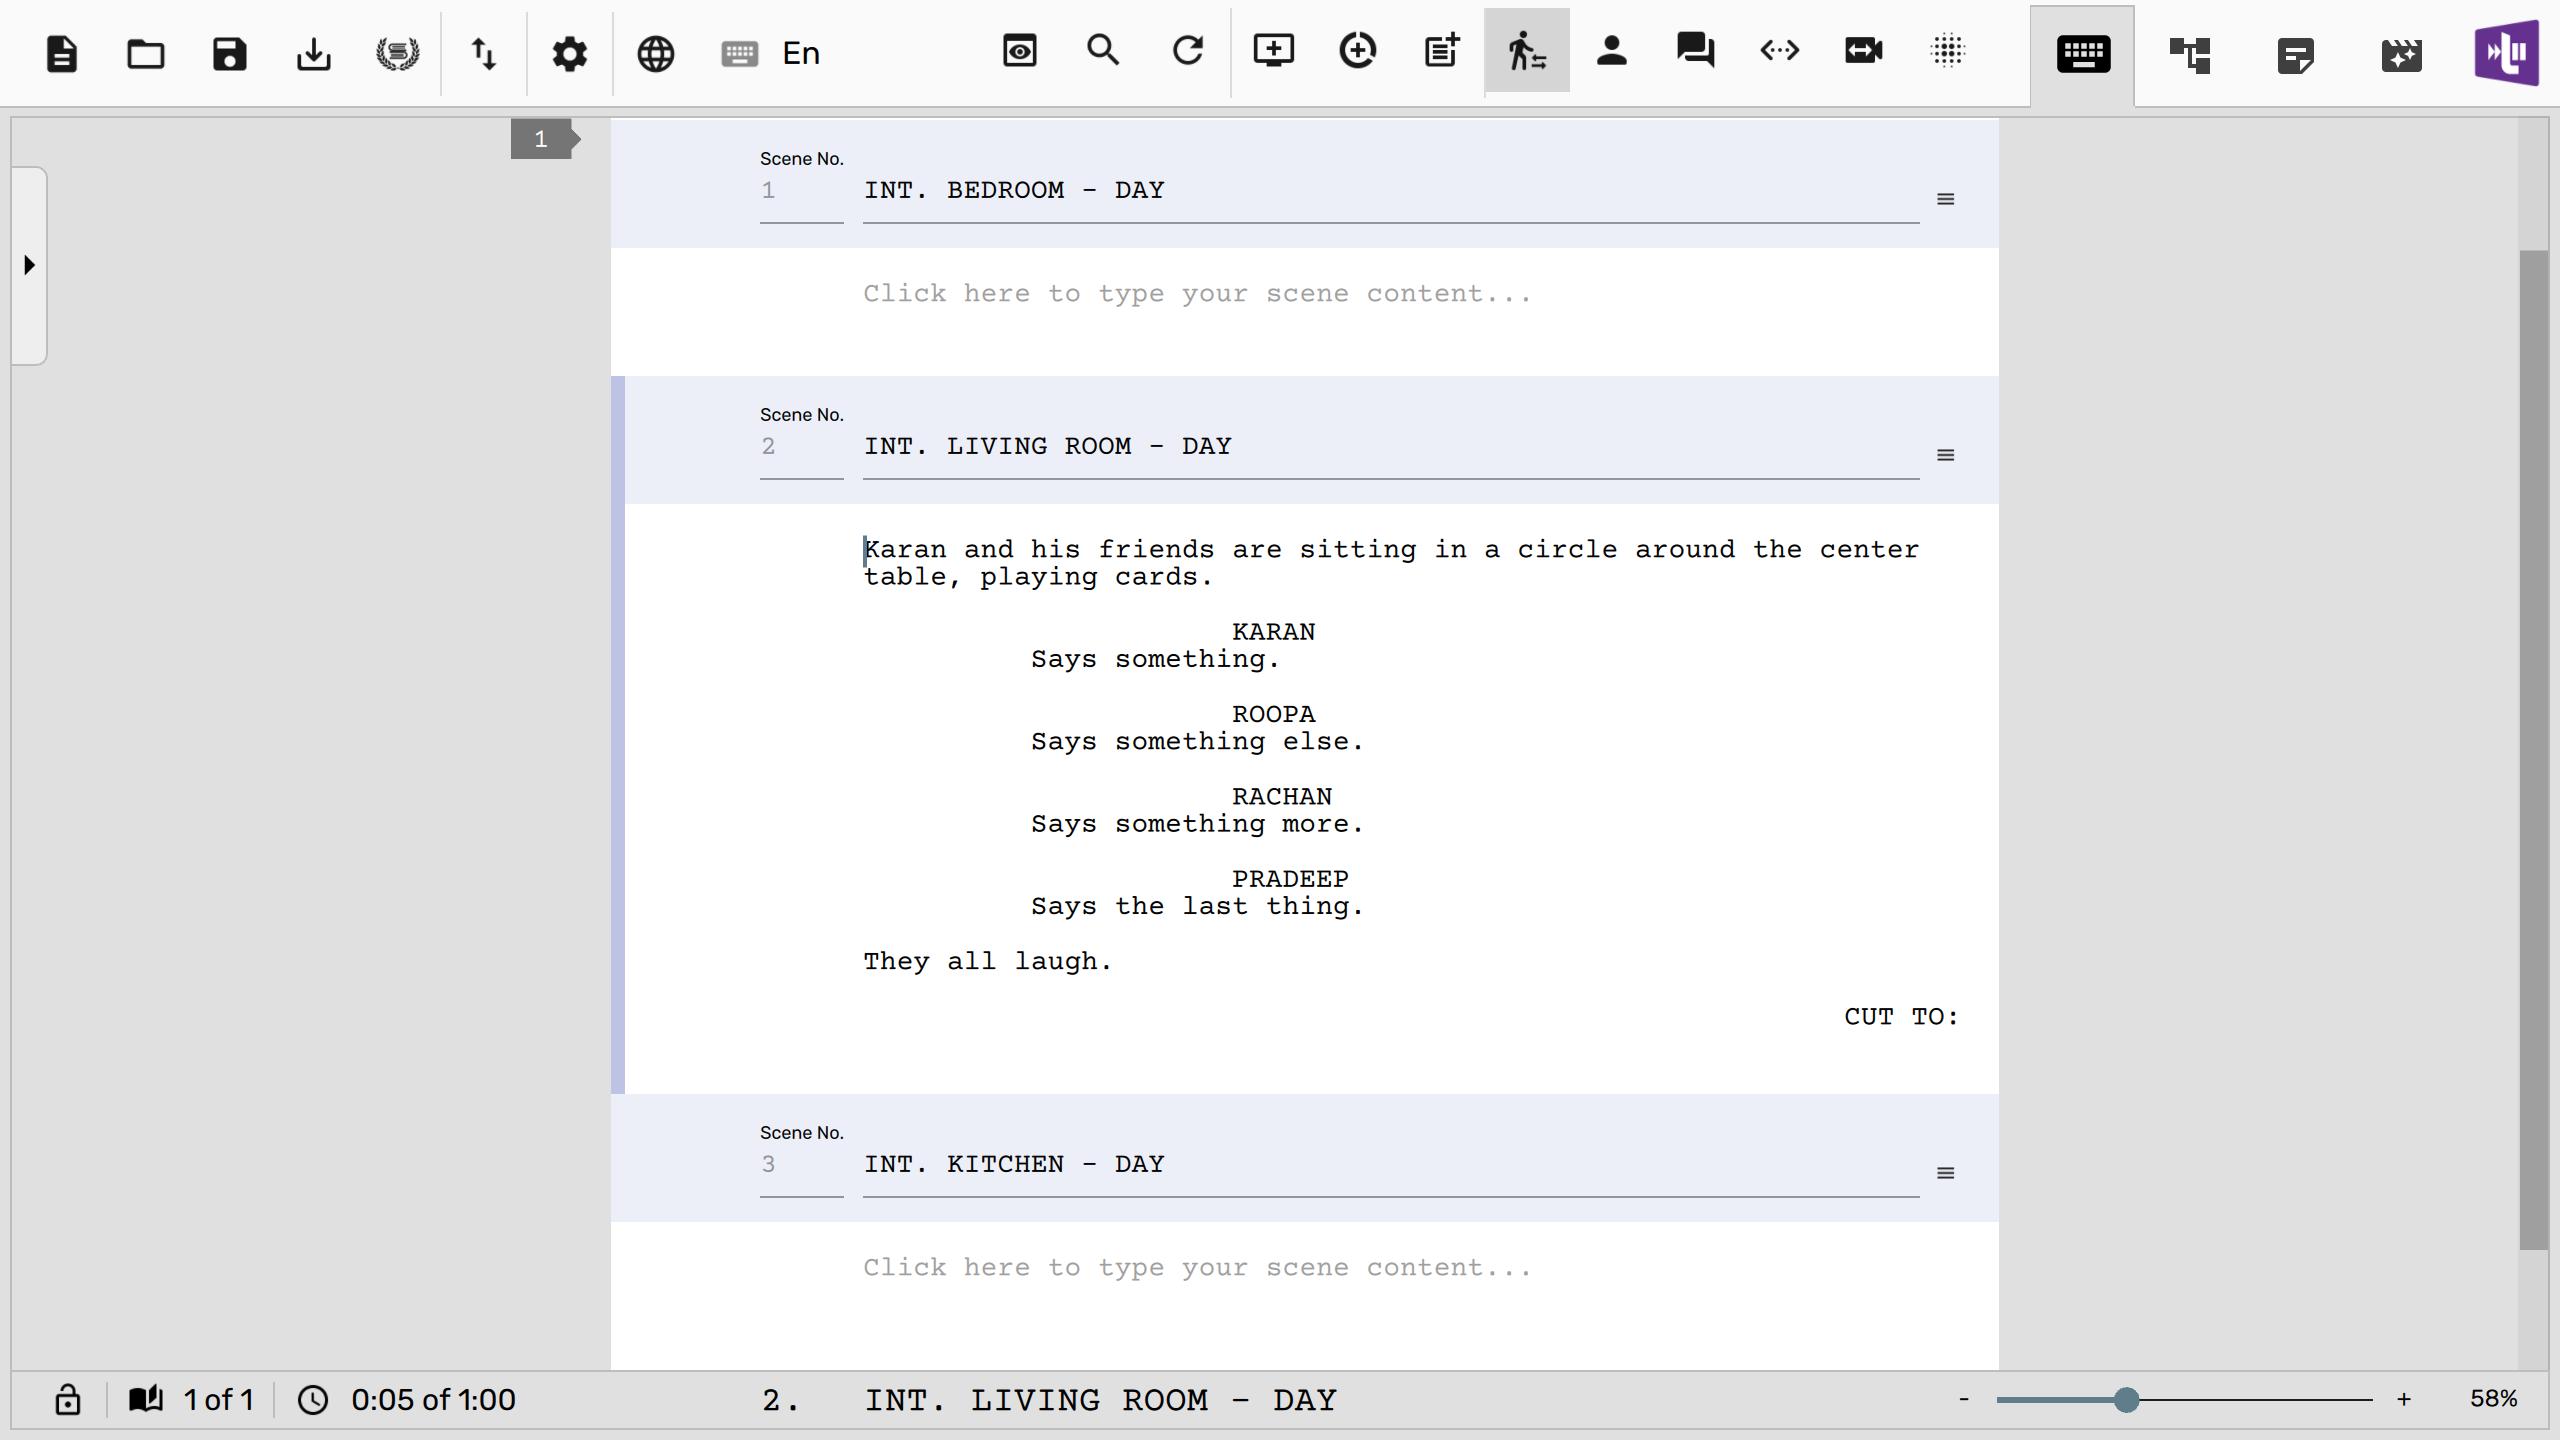
And finally, you can collapse the scene list panel on the left. You will now have a clean and distraction free writing area.
Editing The Title Page
You can click on the “Edit Title Page” button at the top of your screenplay to open a title page editor, where you can key in your title page fields. You can even attach a cover page image in here.
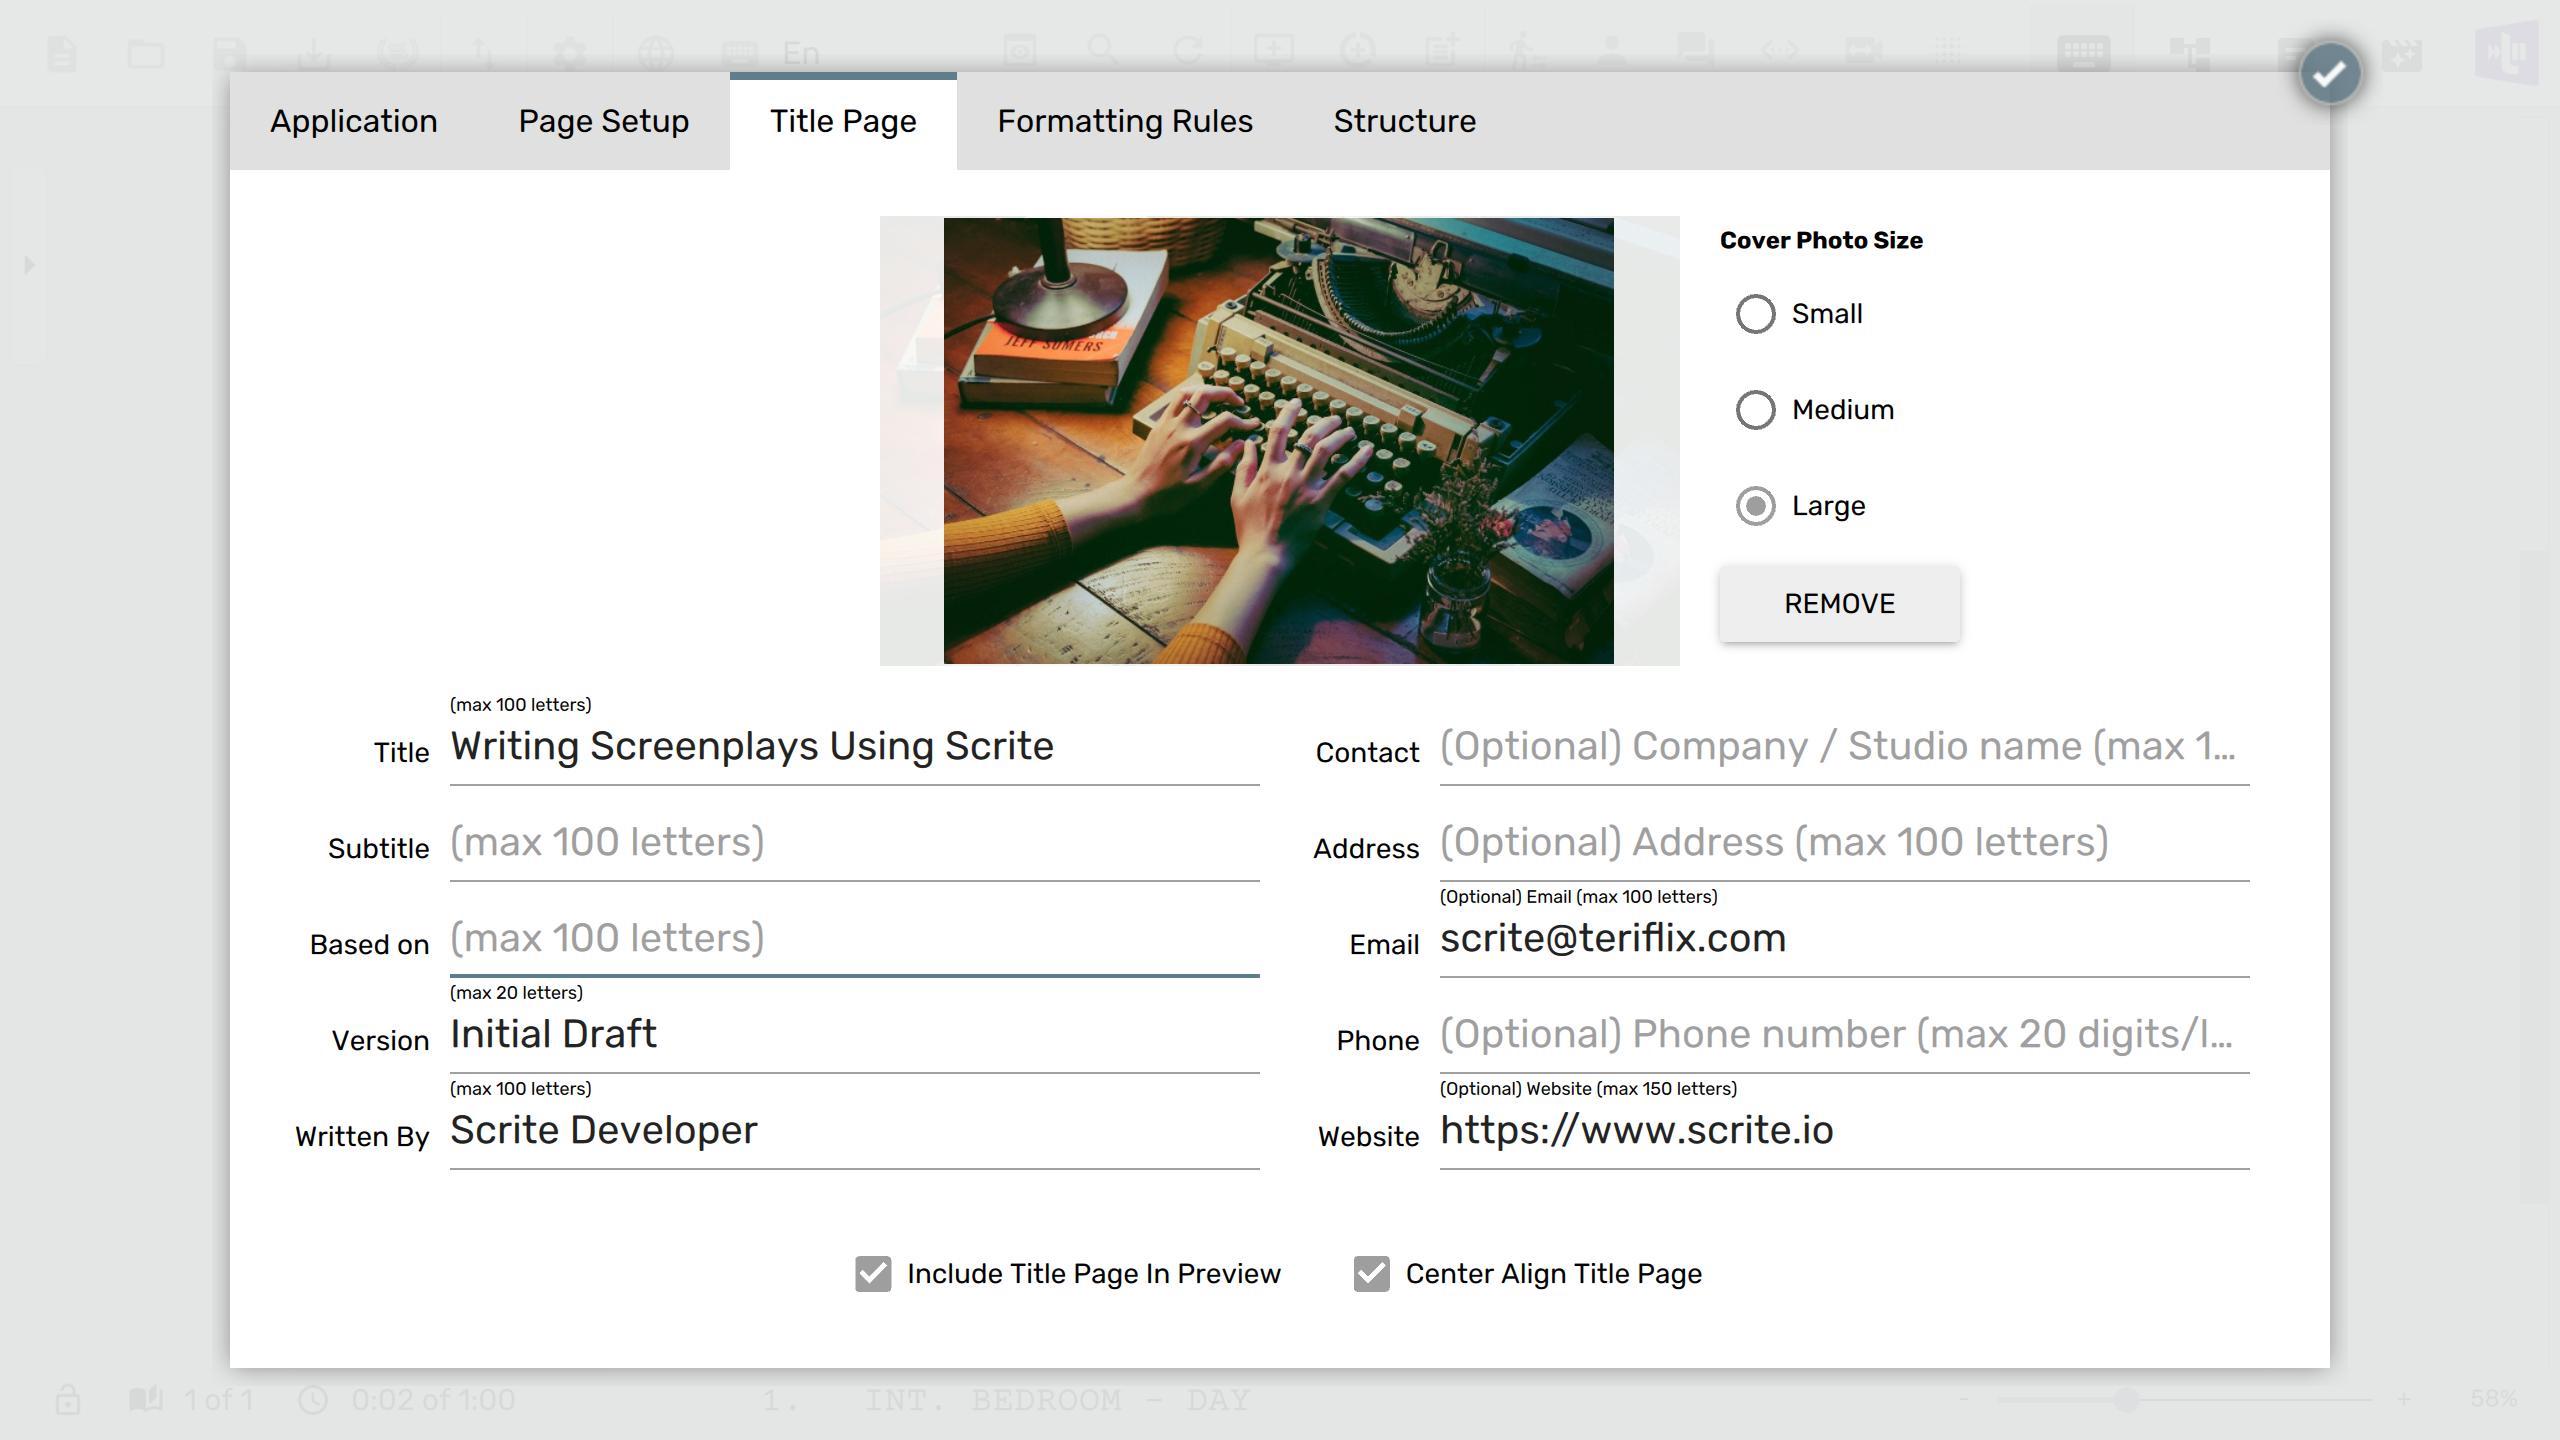
Once done, you can click on the check icon on the top right of the dialog box to apply the changes and close the dialog box.
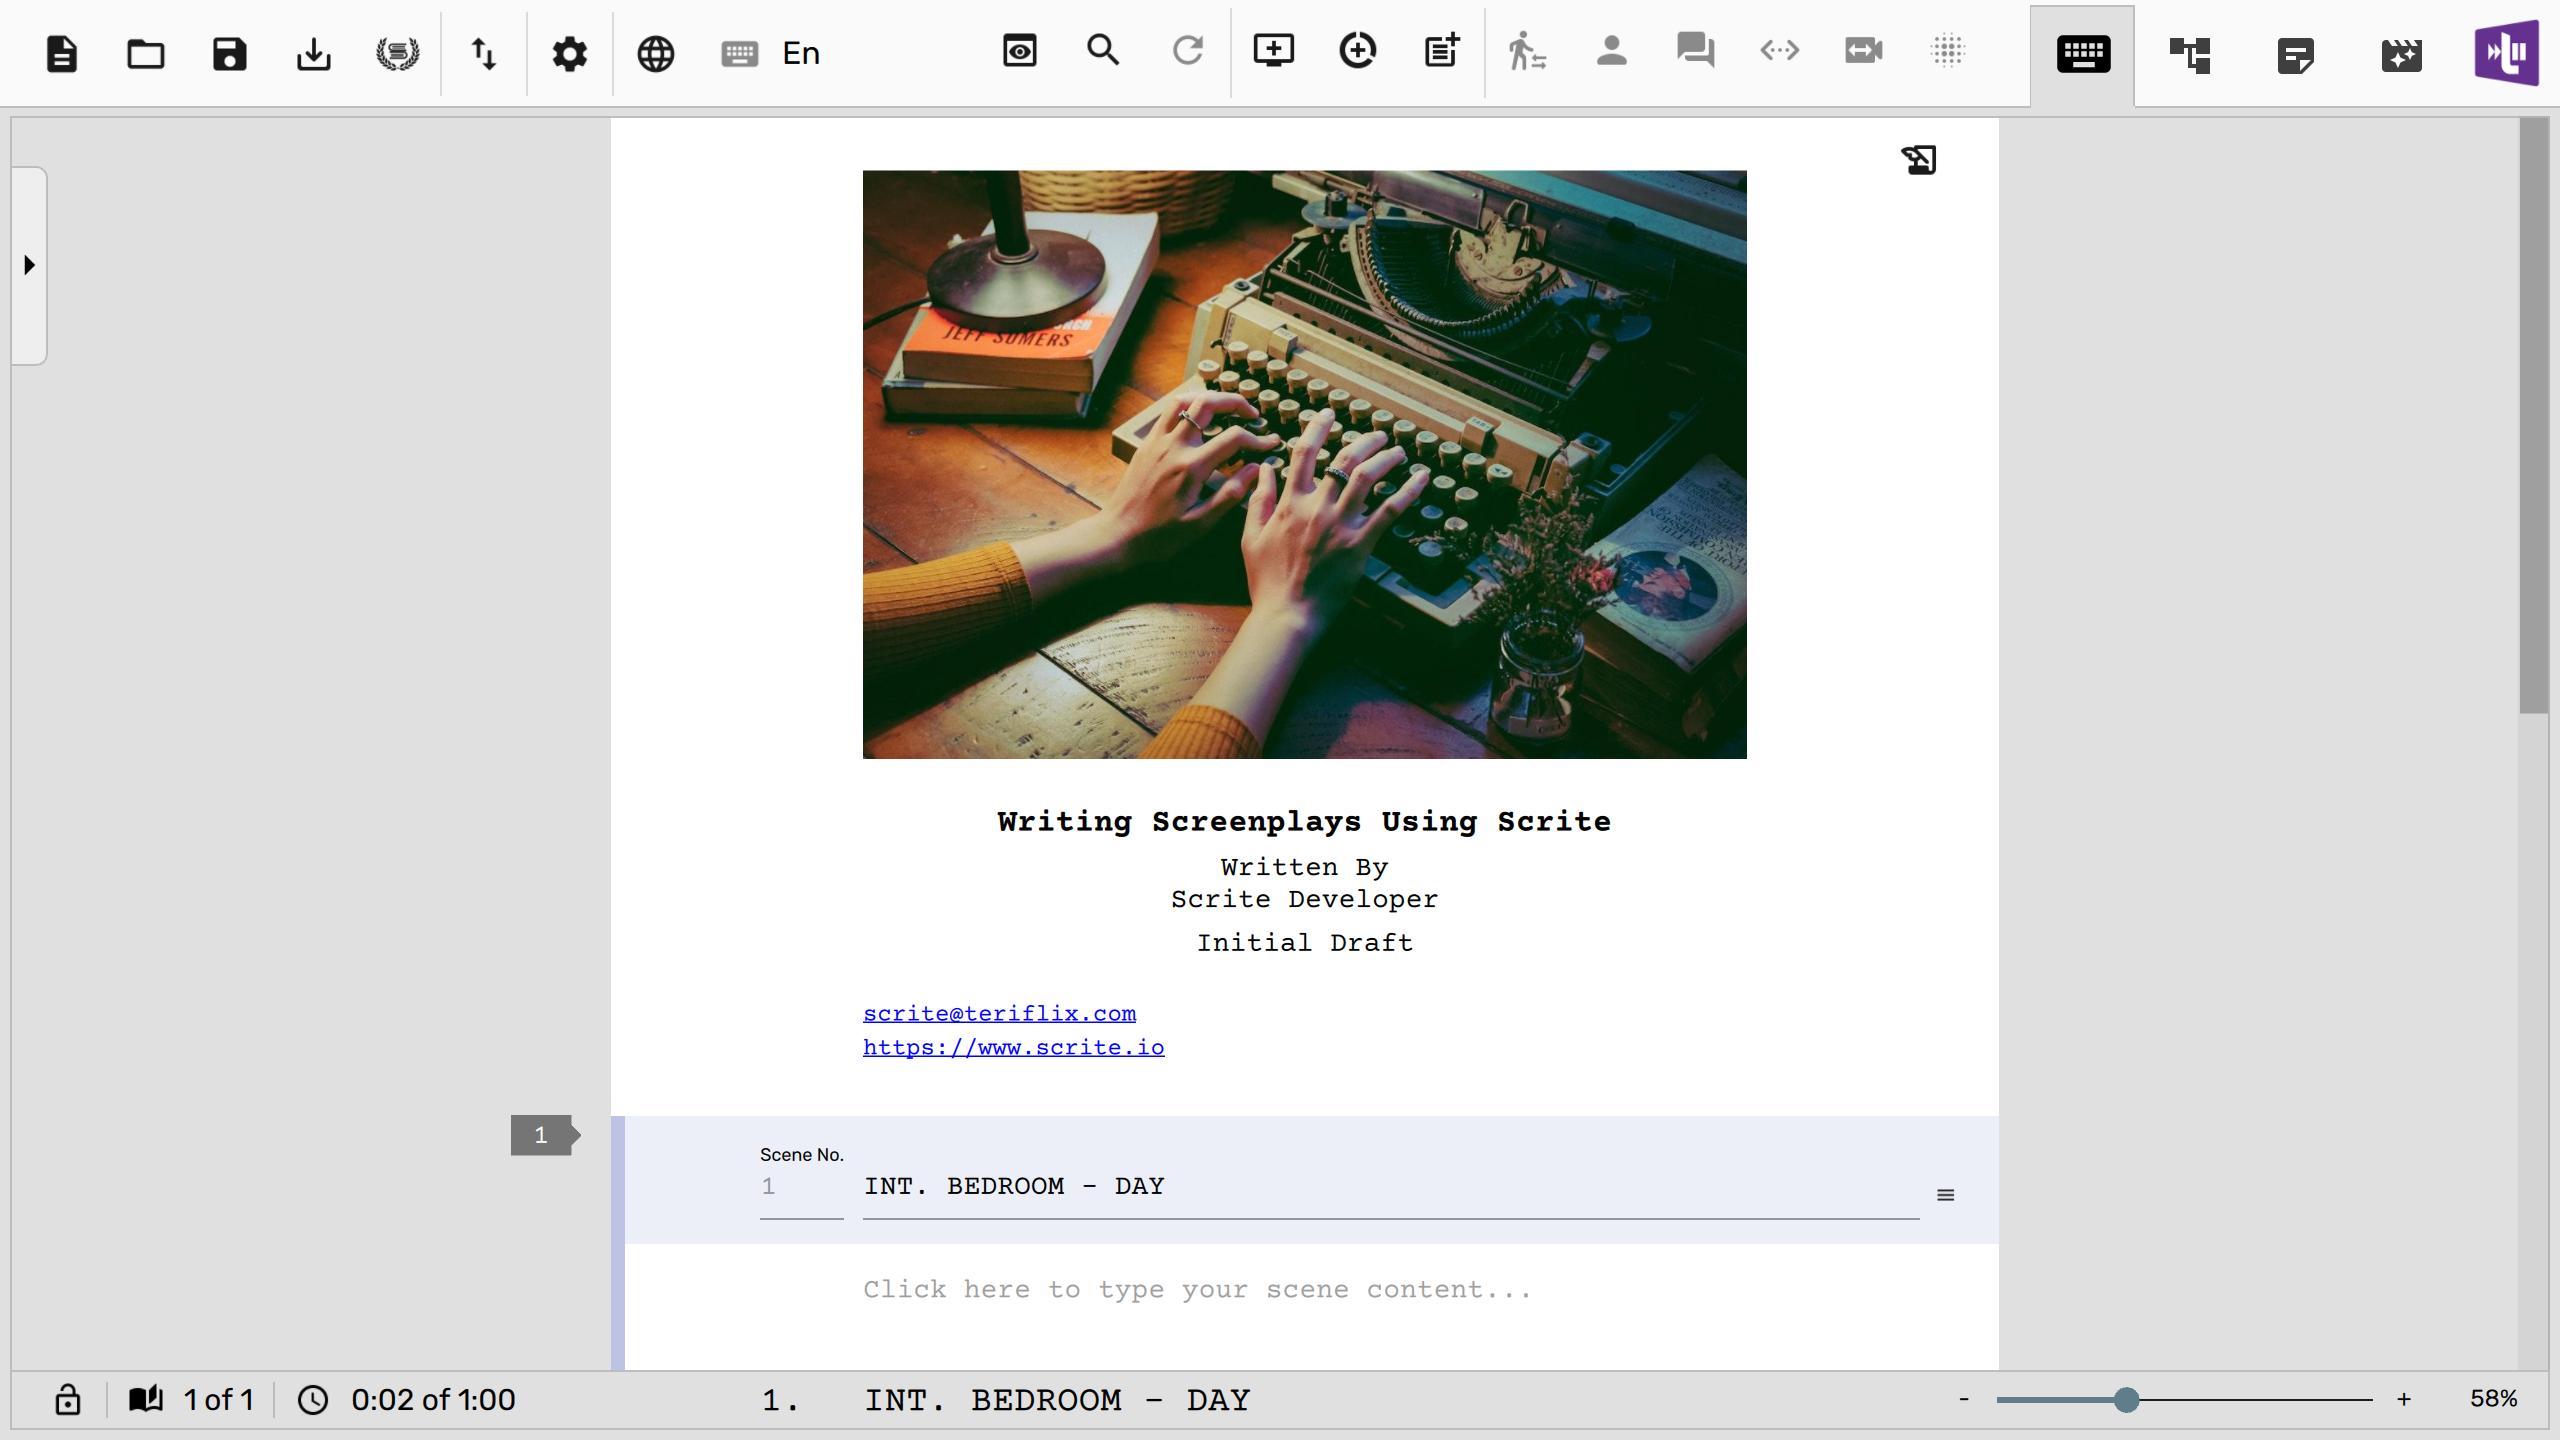
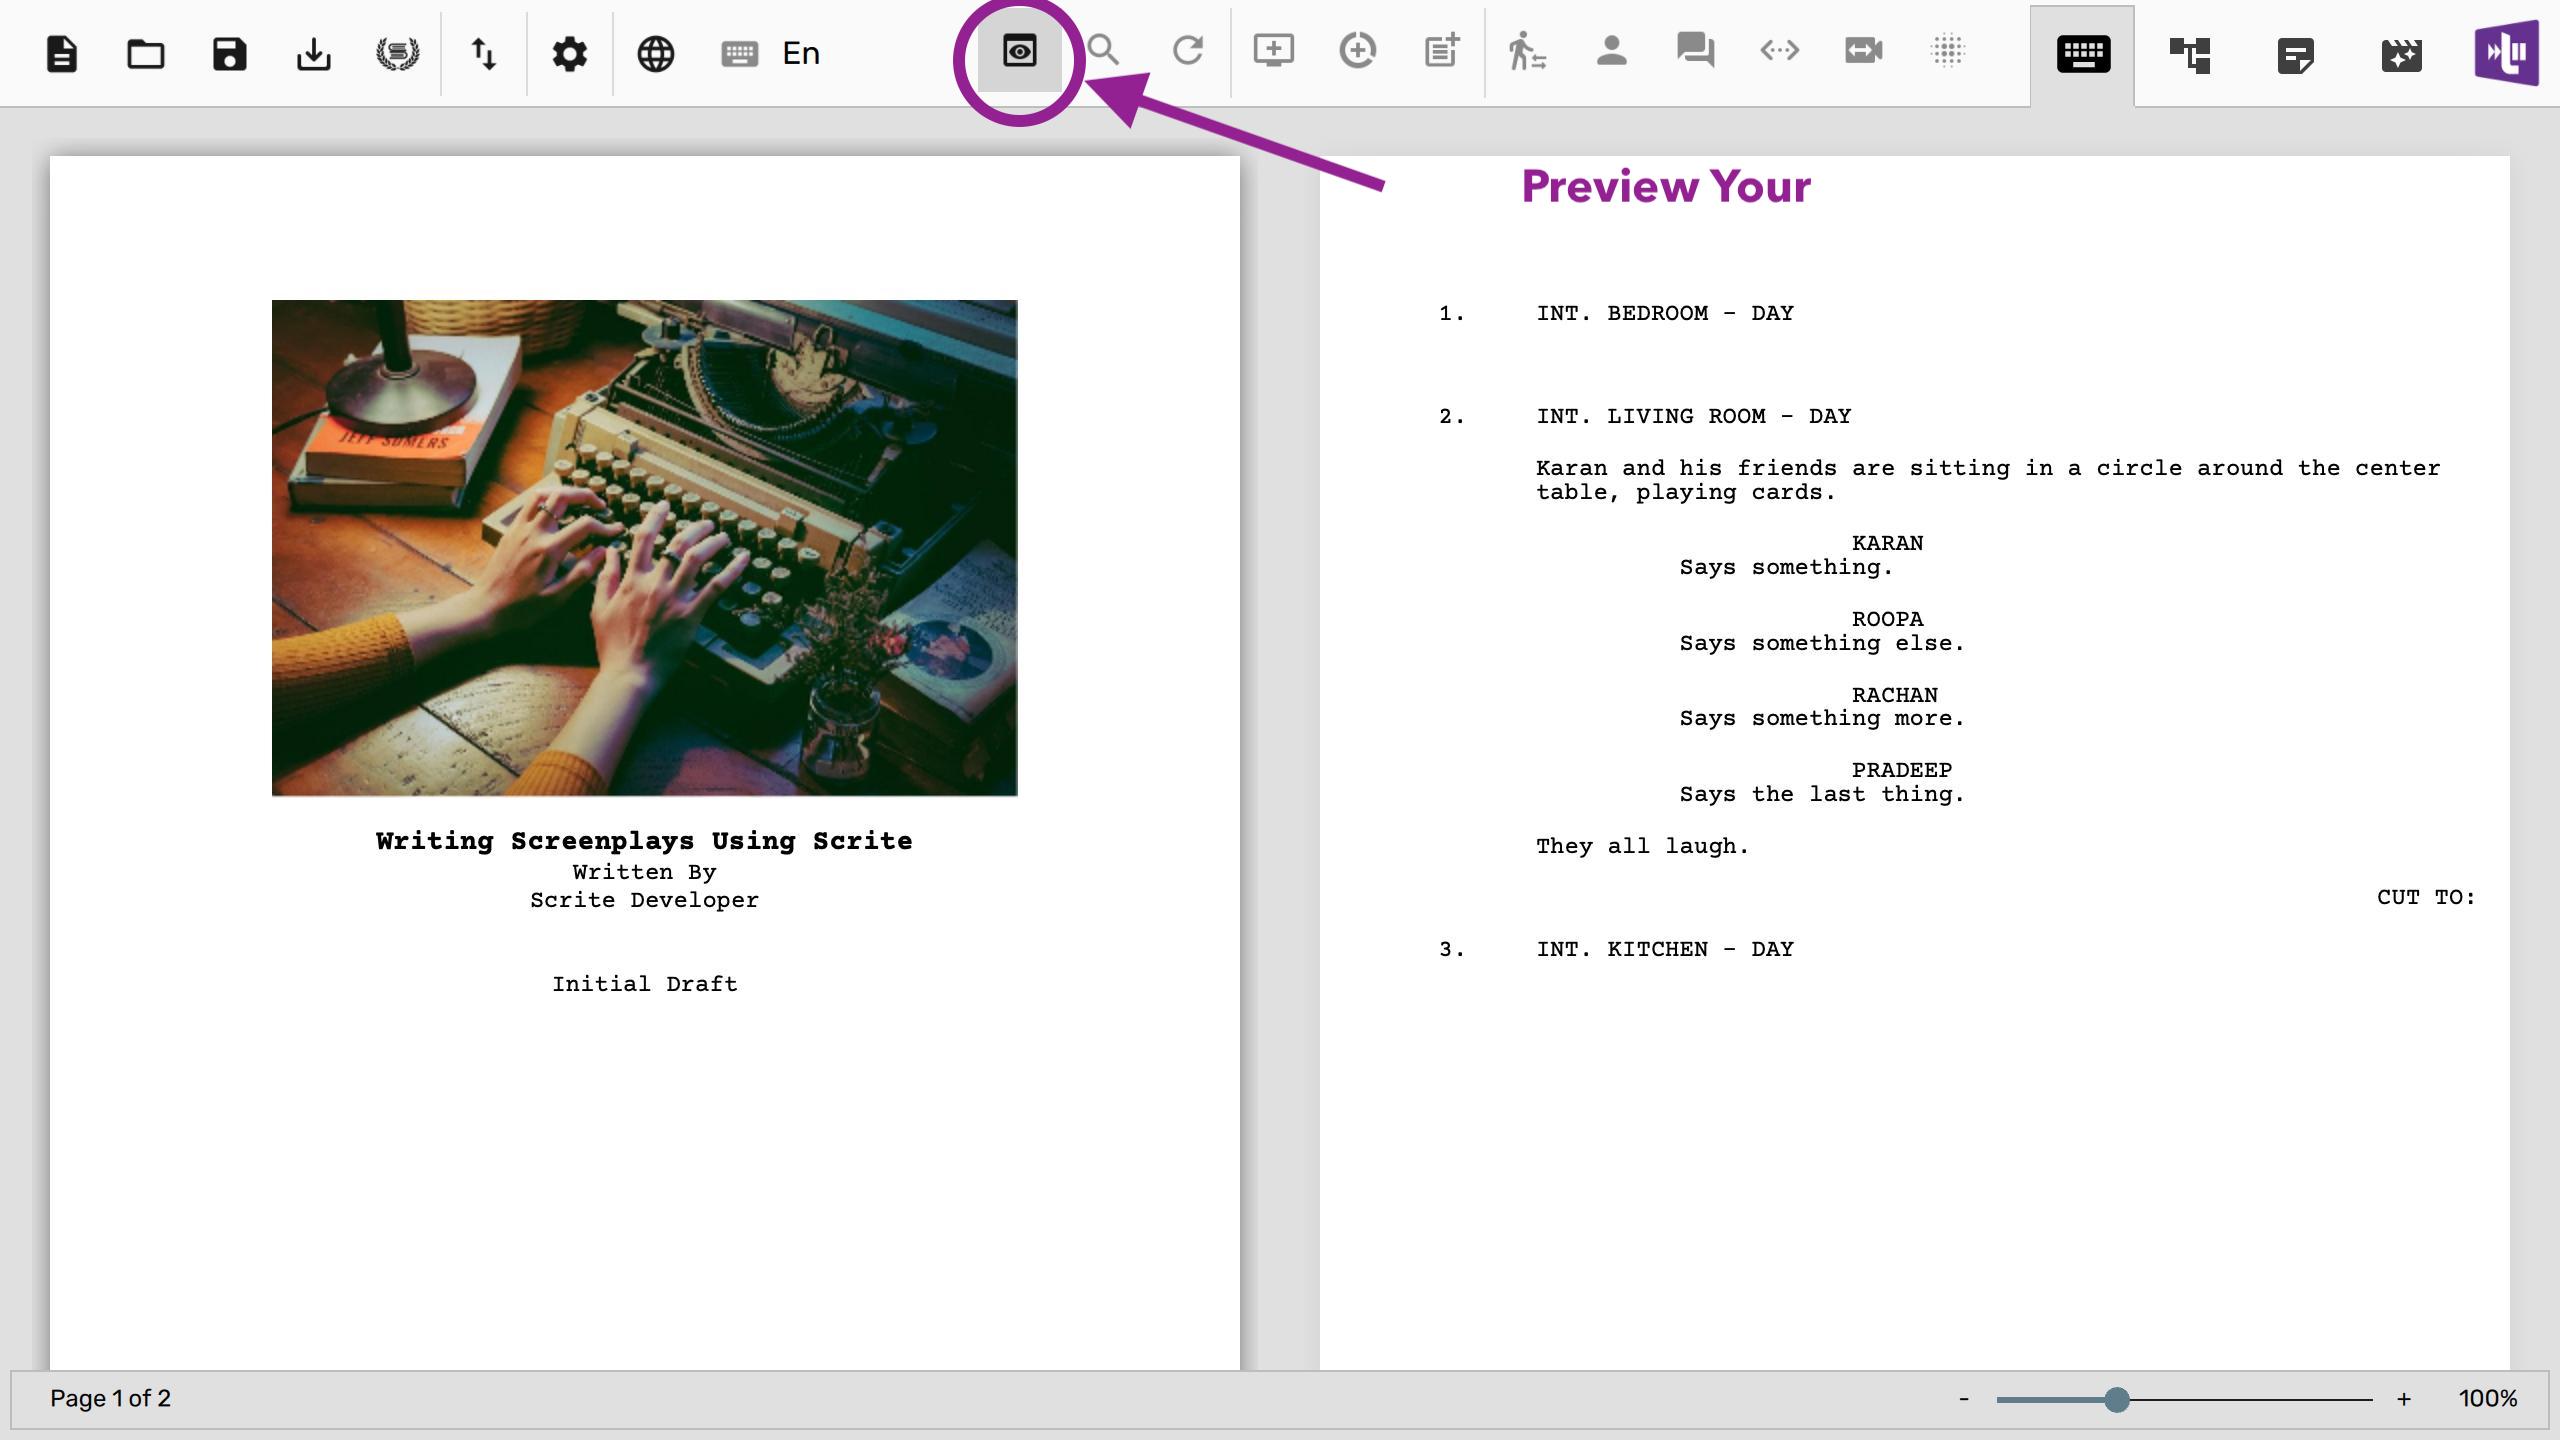
Preview Your Screenplay
At the click of a button, you can simply preview the screenplay.
Exporting To PDF
To export your screenplay to PDF, you can simply click on Export -> Adobe PDF option in the menu.
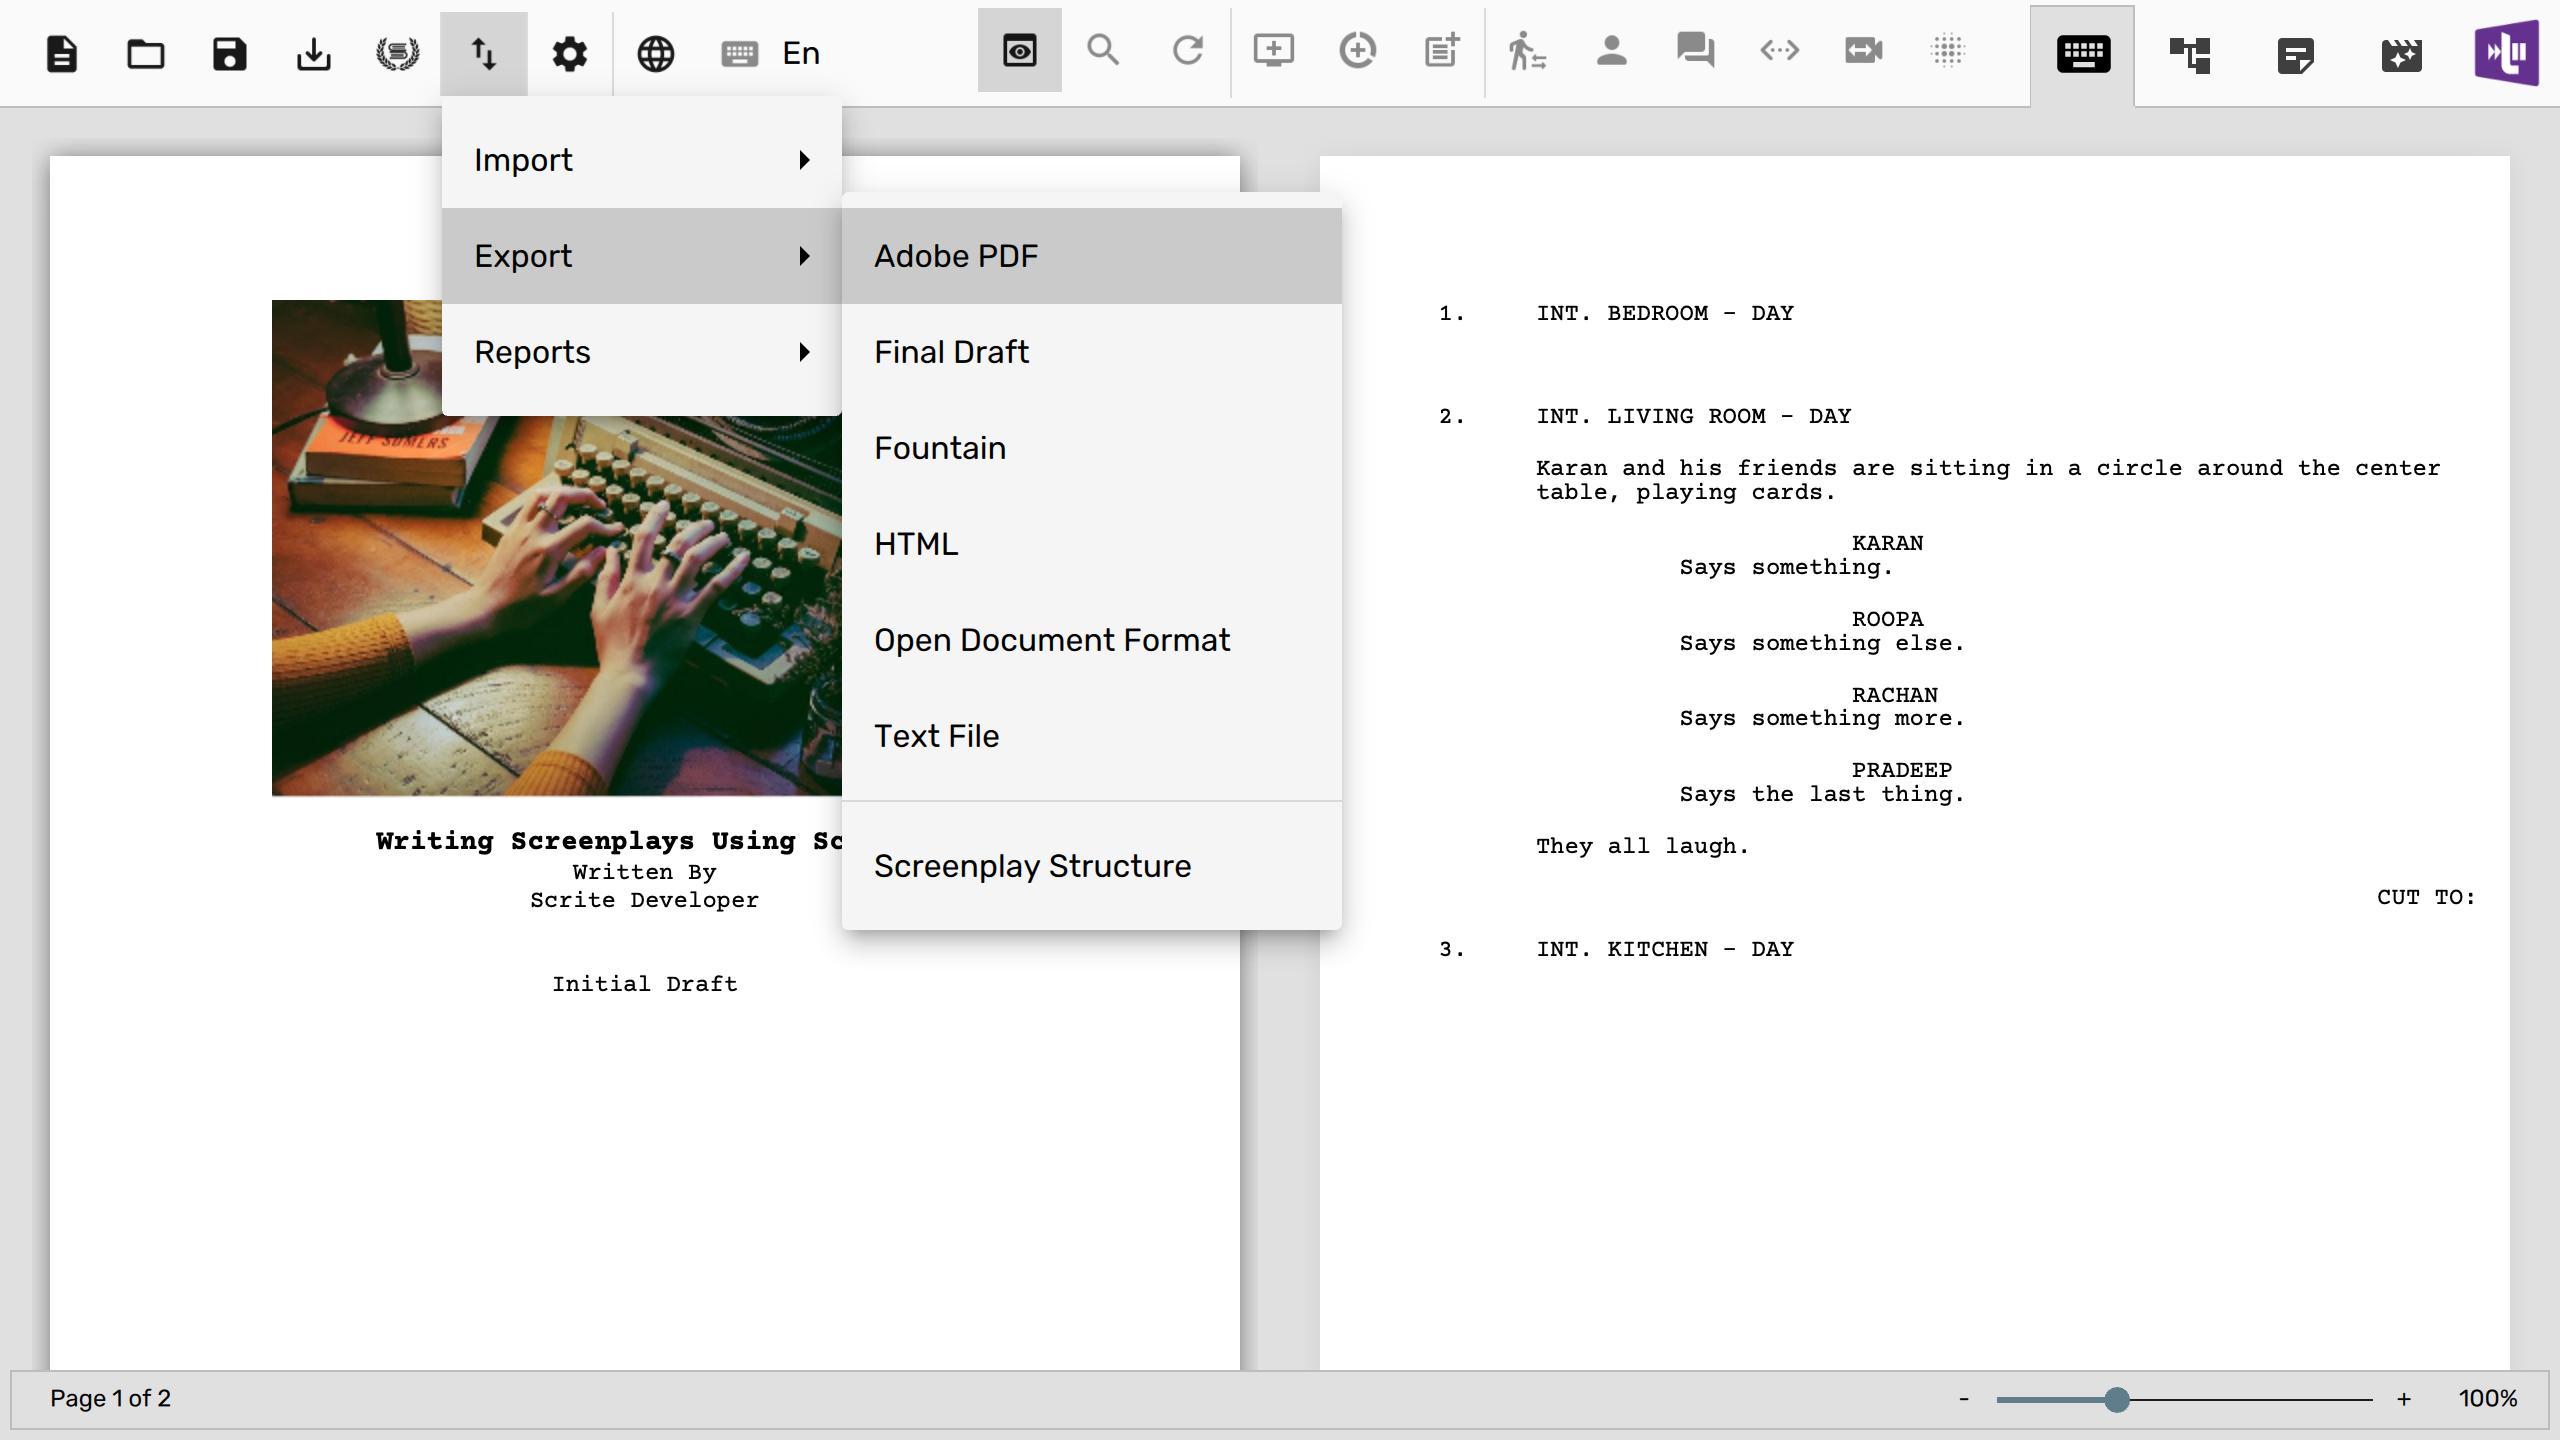
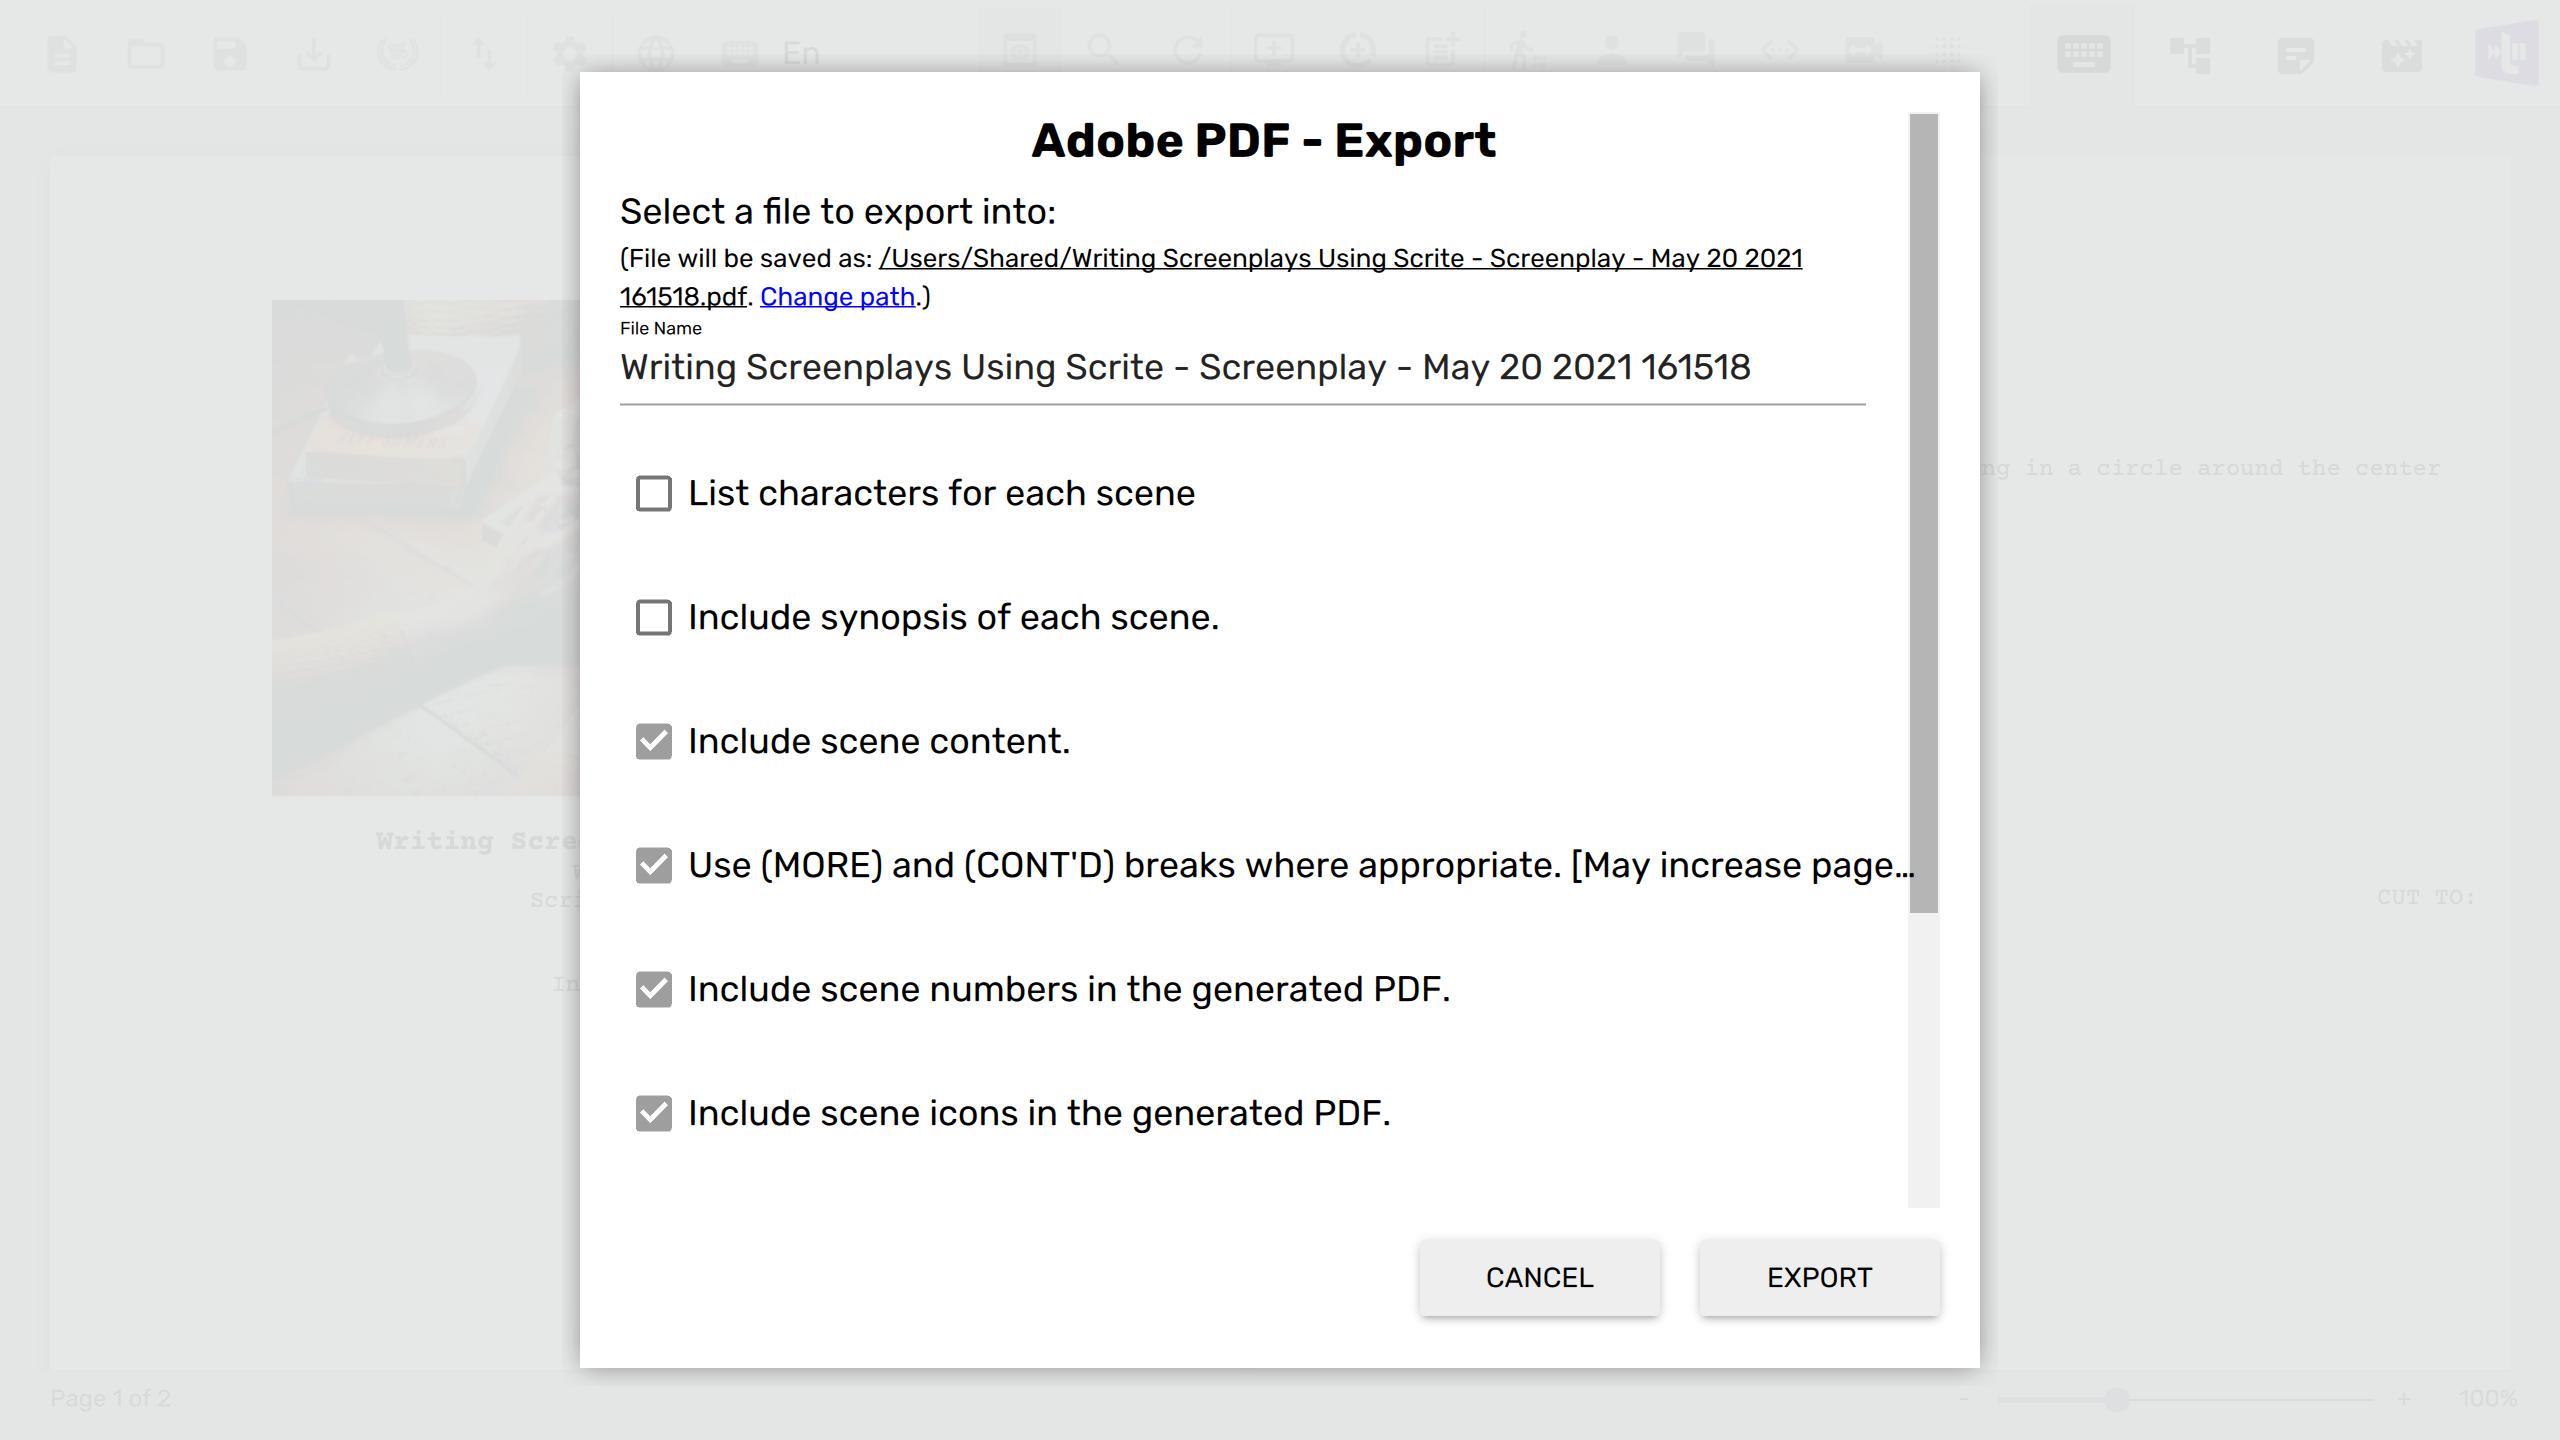
You can configure options on the PDF exporter in the resulting dialog box and generate the PDF output.
Discovering Keyboard Shortcuts
Before signing off from this quick start guide, we want to show you how to discover keyboard shortcuts for many actions in Scrite.
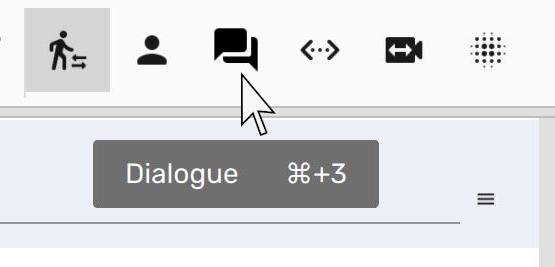
Keyboard shortcuts are displayed on most menu & toolbar options and sometimes also on tooltips.
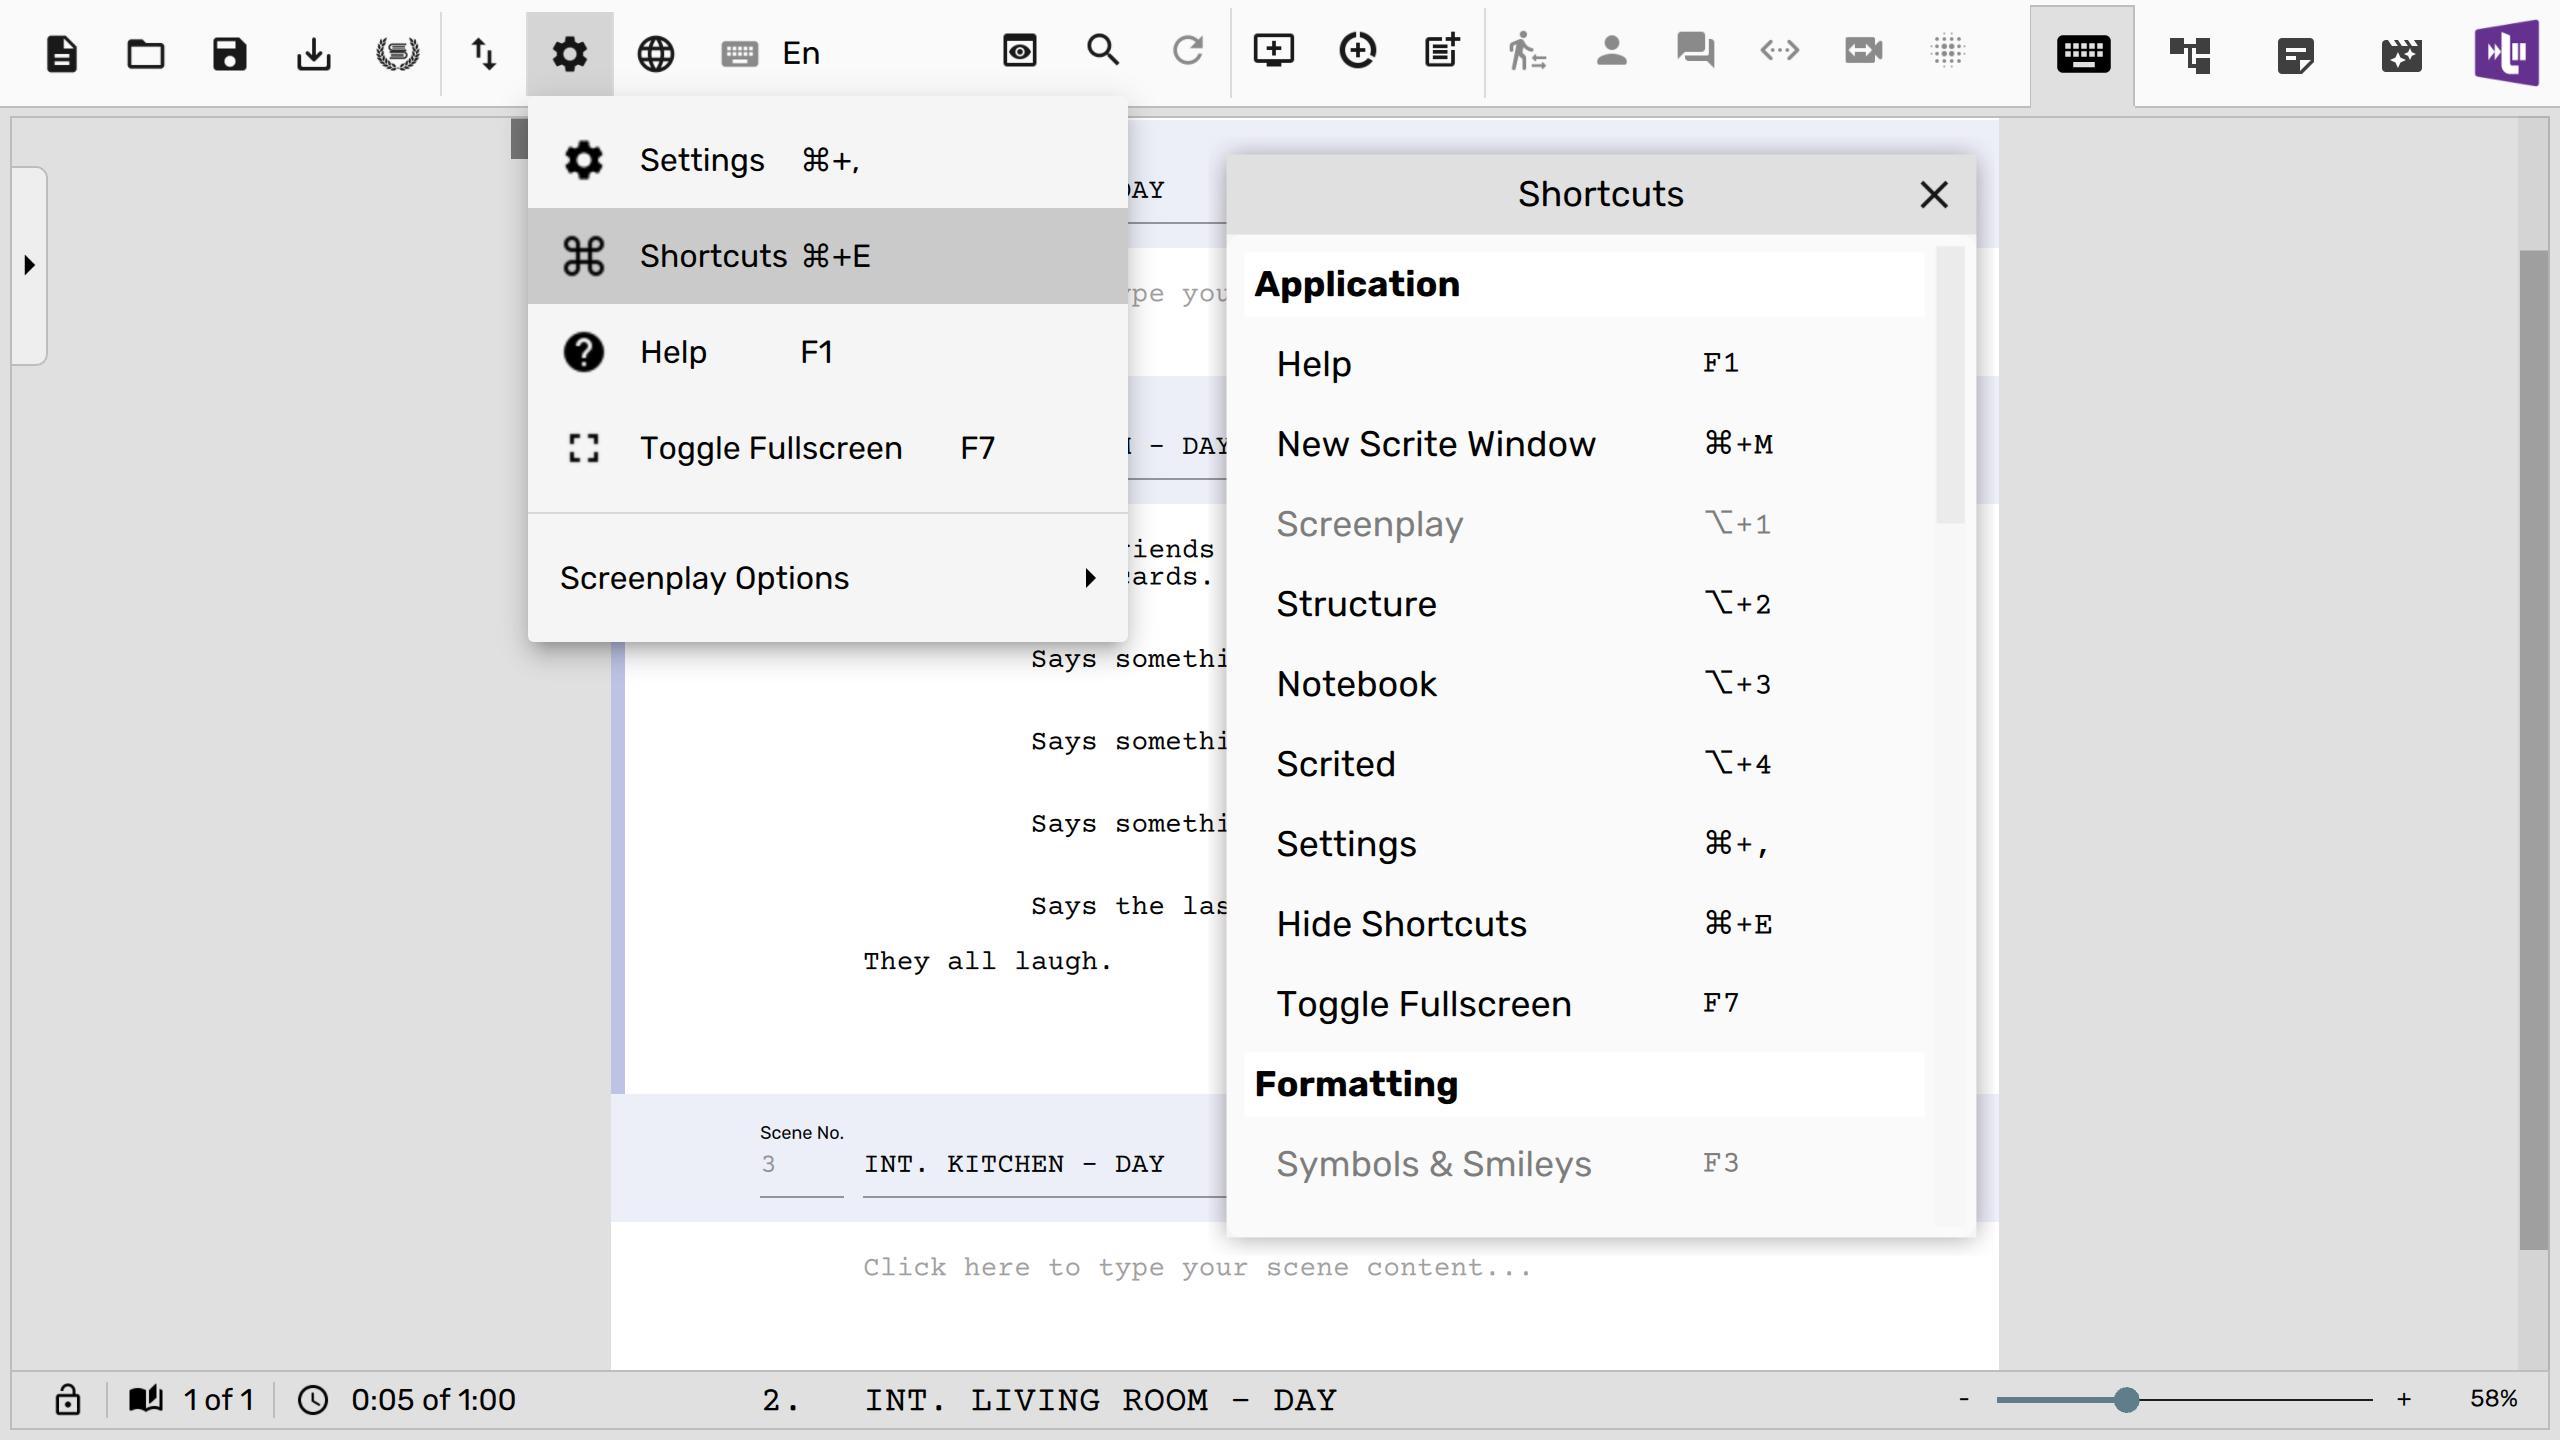
However, if you want to get a quick list of all keyboard shortcuts then you can pull out the shortcuts dockwidget.
What’s next?
In the next guide we show you how to import your screenplay from other apps and continue working on it in Scrite.